
By Jim Cavanagh
With spring just around the corner, it is time to do a bit of detailing before the real flying season starts. We use these days to take care of little things, and one of the things I always do is check the interior for dirt, grime, and general condition. What I always find are cracks in the plastic pieces, either from age or abuse, and this is the best time to get them taken care of.
For years I used different glues to repair plastics, both interior and exterior. In general, our airplane plastics are made of a type of ABS plastic, but there is some Kydex and a few other plastics mixed in depending on the properties needed. ABS has been the material of choice for years because it is relatively inexpensive, easy to heat-form, and lasts quite well. It can also be repaired and, depending on the amount of time you want to put into it, can result in a repair that is invisible and actually much stronger than the original part.
Read the entire article with pictures here
How parts are made
Our plastic parts are formed by applying a vacuum to a heated sheet of plastic and pulling it down into a mold. I have made simple parts, like a seat back and a cover for an access hole, in my oven at home. All you need is to make a mold, ensure that air can be pulled through the sharp bends, nooks and crannies, and that you don’t pull the plastic too thin. In the old days, Cessna and Piper (all of the OEMs, actually) used minimal thickness plastic sheet to save weight, and the result was often parts that were so thin as to be almost translucent.
These days the plastics guys are using a fairly thick gauge plastic, (.091) that allows for more material to be pulled into the mold. The result is a much more robust part than you would ever see 25 or more years ago.
New or repaired?
We need to mention that before you start trying to repair a bunch of stuff, which is easy and definitely inexpensive, you should consider the labor involved in cleaning, prepping and the actual labor involved in repairing a piece, and comparing this to the price of a new part. Many of the more popular, most often replaced parts have come down a lot in price and are quite reasonable. Everybody knows about Plane Plastics, which was the leader in the price declines, but Knots 2U, Texas Aeroplastics, and PAST are offering great parts at very fair prices, too.
Sure, you might need something like a porthole trim for a pressurized Mooney Mustang or a console cover for a Wing Derringer that are such rare airplanes no one has any molds, and these will be a bit pricey. All one-off or custom parts will be.
But Cessna parts are pretty much everyday items, and within these are parts that sell by the score. When you have a plastic part that needs repair, you can go to the local auto parts store and buy plastic repair kits all day long. There are dozens of them out there, ranging from $10 all the way up to the very expensive custom repair kits sold for commercial airliners and pro upholstery shops. I have used them all and, from being both an owner and a writer who has done a ton of How To articles, I have wheedled it down to my favorite methods and personal tricks.
Read the entire article with pictures here
Let’s do this
First of all, you have to use the right glue for the plastic, and there are many, many types of plastic. I repaired a bonnet on a John Deere Lawn tractor after months of tracking down its type of plastic, and then finding the ONLY epoxy adhesive that works on this type of plastic. The glue was $40, but the new bonnet was $270. For aircraft plastic, I used to take scrapings off of the edges of parts and mix them with acetone to form a glue, but Mark Seaver of Plane Plastics gave me a kit to try with a bag of ABS chips, sticks, and an airtight can. Put as much plastic into the can as you think will fill your repair and add MEK.
Directions say to let it set for 8 hours, so I mix it the night before I plan on doing the work. The result is a liquid plastic, the exact same stuff that is in your plane. The solvent (MEK) in the plastic will melt into the existing plastic readily. I was pleasantly surprised the first time I did this after years of agonizing over the slow melting process. Patience is a virtue in plastic repairs.
Here’s a checklist
- Take the parts out of the plane and get them clean
- Have a good, well-lit, generous work space available
- At least two razor blades
- A drill and bit to stop-drill even the smallest hole
- Masking tape
- Clamps. These can be anything from spring clothes pins to Clecos. The repair plastic will not stick to these.
- It should also be a comfortable temperature. Too cold could result in even more damage.
Before you start working, know that it is very easy to get too picky doing plastic repairs. You can achieve a perfect look with the right amount of work, and you can get a good, strong repair with minimal effort. Whichever way you go, painting the entire part with a flexitive added paint like SEM will make it seem like you have a new piece to the casual observer. You will see some extra effort in the pictures accompanying this piece. I filled some holes; by nature these will leave indentations. Just like sheet rock work, as the material dries, the solvents evaporate and remove mass, causing a dimple. I went back and filled the dimples on this sample piece. I also reinforced it with a couple of drops on the inside.
Repairing the repairs
Some repair kits will give you material to reinforce the repair. I did this by applying a couple of layers of melted plastic on the inside of the repairs, in effect tripling the thickness of the original material. The important thing in plastic repair is to have a clean, paint-free surface. The nature of a plastic repair is to chemically integrate the new, liquid plastic into the existing part. The solvents will do this, but the surface must be clean.
I use soap and water, then sand, then wipe with a cloth with MEK on it. If you are on an edge, you need to apply tape or strips of aluminum to support and align the parts. I used Cleco clamps. For holes, you simply tape the back side.
All repairs require as much surface area as you can get. Cutting a “v” notch and running a tool or razor blade down the crack creates a valley and quadruples the surface area. Remember, the repair material doesn’t stick to the plastic, it becomes a part of the plastic.
Some material needs to be spread if reinforcing well beyond the repair, and some can be applied as drops off of any pointed tool. By stippling or stabbing the plastic goo with something it can be worked down into crevices or gaps.
Get to the plastic
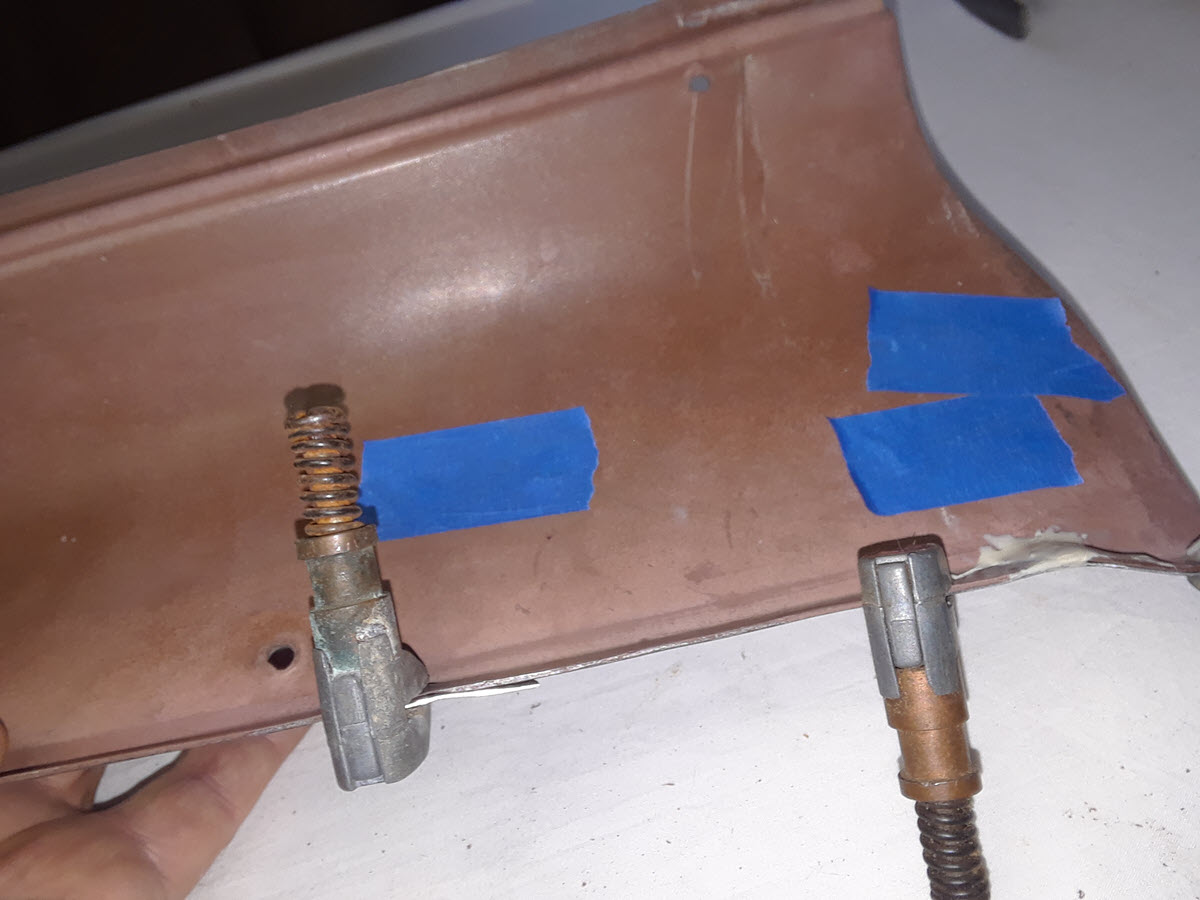
The piece I used as a repair example is a door post cover from a Cessna 182. It is very old, very thin, and a brownish color I have never seen. I washed, wiped and then sanded the repair areas, as this part had been primed and painted before and we need bare plastic.
Because this part was thin (I measured it: .035-.051) I spread a coat of plastic on both sides as reinforcement. Sometimes you have to scrape the paint if the sandpaper won’t fit, but do whatever you have to do to get to bare plastic. Any gouges or scrapes will be filled.
This old part had been installed for years and had had a couple of items attached to it, like a carbon monoxide detector and a pen holder. Where the upholstery screws had been installed, there were deep dimples set into the plastic. I tapped these with a hammer on a flat surface and then filled as you would a dimple in wood or sheetrock. Any material that is torn or loose should be removed, usually by cutting away with a razor.
Read the entire article with pictures here
Finishing touches
When you have everything clean, prepped and clamped, get the plastic out. If it is too thick, mix in more MEK. If too thin don’t really worry about it, you can add more, just don’t let it run down onto the part.
Again, be patient: Apply the plastic, and let it set. Come back and apply a bit more if you need it for filler, and (finally) apply any material you need for build-up or reinforcement.
When it is cured, you will need to remove excess material, and this can be done with a razor blade or sandpaper. Finish with a good grit wet sand, like 220 or 360. Some auto kits have different textures on patches of paper that can be ironed into the finish, but again, this depends on how much work you want to do. Wash and apply the paint system you have chosen. Some of the plastic paints suggest using a primer but most will work fine without it.
Reinstallation
Reinstallation will be fairly easy. I use SS hardware, rather than chromed or polished, and the correct sized SS Tinnerman washers and oval head screws, since I have accumulated a ton of this stuff over the years. Tinnerman washers are great as they can cover holes that are way too big and they do not damage the material with sharp edges.
A nice interior doesn’t just look good or make the owner proud. It makes passengers much more comfortable as it suggests excellent maintenance and attention to the airplane. Anything that makes a new rider comfortable is money in the bank for a pilot.
All of this information will work on external parts, like elevator tips, plastic wheel pants, and strut fairings. Actually, these are easier to repair since they are much thicker and easier to V-notch. Repairing plastic isn’t rocket science and it adds value and appeal to your airplane. And what else do you have to do when it is 20 degrees out?

