
By John Loughmiller
It’s a strange thing to behold — a rookie being a better pilot than most graybeards. But it’s true when it comes to preflights.
Go to an airdrome on any given day and watch the preflight action. The student pilot pokes and prods his or her flying machine, giving it a complete physical. They may not know everything to look for, but they certainly don’t kick the tires and light the fires.
There’s a certain amount of fear involved here — fear of what the instructor might say if a bit of a cavalier attitude is detected, and fear that some ham-fisted previous pilot may have broken something. Most of all there’s a fear that something could fall off the airplane or break while the student is committing amazing acts of aviation heretofore unseen in the civilized world by mortal man. Those possibilities, plus the fear of insufficient fuel and oil, motivate student pilots to do as thorough a preflight as they’ve been taught to do by
their instructor.
Contrast that with the average 250- to 20,000-hour owner/pilot’s preflight. We start by walking around the airplane to see if a fuel truck has run into it since the last time we flew it. Next we check the oil (almost always), visually check the fuel level (sometimes — after all, we fueled it after the last flight and there couldn’t be a leak or we’d have noticed it), drain the water out of the fuel (probably — unless the flying machine lives in a hangar and then maybe not), climb in, fasten the seat belts, start it up, and drive off. And we usually drive off without the mandatory passenger briefing, thereby compounding our malfeasance.
The point is made: We’re lazy slobs.
Fact is, there are preflights and then there are preflights; if you do the preflight specified in your airplane’s POH, you will be a doing a thorough (and FAR legal) preflight. But you can still miss stuff — important stuff.
This article appeared in the October 2019 issue of PIPERS magazine.
While I was killing some time at an airpatch waiting for a squall line to pass through, I decided to check out the status of some of the airplanes on the ramp and in the community hangars. I was looking for things that might go bump in the night on machines — sort of a one-man poll of obvious and not so obvious problems.
I found cracked brake hoses on one, a hydraulic leak on another (probably from a leaking master cylinder), a loose alternator (actually, it was about to fall off so I left a note), and a wingtip strobe light that was also about to fall off (another note).
Out of a dozen or so airplanes, four had problems that most likely wouldn’t have been noticed in the average preflight done by many mid- to high-time owner/pilots. But that episode got me to thinking — what we need is a once-in-a-while, super-dooper preflight!
FAR 43, Appendix A(c) tells us lots of things owner/pilots are allowed to do to their airplanes without the supervision of a real A&P. We’ve covered some of them in past issues — and we’ll continue to do so — but let’s travel a slightly different path this time. Although you may not be able to legally perform most types of maintenance unsupervised, you can always look for conditions requiring maintenance, as long as you realize that “looking” can be a complex process.
Here’s an admittedly extreme example:
Turn off the fuel and then make certain the magneto/ignition switch is set to “off.” Remove the engine cowling and then the top sparkplugs on all cylinders. Next find top dead center of the power stoke on cylinder No. 1. To do this rotate the prop until you feel pressure against a thumb held over the hole where the plug used to live, then look at the piston and visually position it at the top of its travel. Put a U.S. Industrial Tool TP102 timing indicator on the prop’s spinner and hook up a U.S. Industrial TP105 magneto timing light to the magnetos themselves. There are other products available but these are inexpensive and reliable.
From there, follow the instructions packed with the tools and you can see how much spark advance has been dialed in by your mechanic — plus see which magneto’s spark occurs first (leads) and which magneto’s spark lags, noting how much difference there is between the two.
Compare the results to the specs in the service manual and, if there’s a problem, either fix it yourself under the supervision of your A&P (and have them sign off) or merely show them what you found and let them fix it.
You definitely can remove a spark plug under FAR 43 A(c) and you aren’t going to make any adjustments or otherwise render the aircraft unairworthy.
Since that’s true, you aren’t fracturing any parts of FAR 43. You’re just being a proactive owner/pilot.
As long as you don’t disassemble anything on the airplane other than nonstructural fairings, cowlings, and access covers, you can look for problems anywhere you like. You can also lubricate per FAR 43 (D), as long as you don’t have to remove anything other than what’s specifically allowed.
The following is a list of things to look for in addition to what’s listed in your POH for a regular preflight:
- Check the hardware security. Look for loose hardware everywhere on the airframe and engine. Physically touch every nut, bolt, and screw you can reach and make sure they are not so loose that you can move them with just the strength of your hand. Check the condition of safety wire everywhere you see it. Is it tight and unlikely to fail anytime soon?
- Pay particular attention to the rod end bearings that attach to the ailerons. These are not normally safety wired. (Relax, it’s just a primary flight control. So what if it isn’t normally safety wired?)
- Look at the attachment security of everything that moves; things like the elevator, rudder, flaps, trim tabs, etc. Give any bolts you can reach the hand-tightness test.
- Make sure the stall warning device and pitot tube aren’t about to fall off, then look at the landing light assembly, inspecting the tightness of the lamp retraining brackets and the condition of the wiring. Inspect the position lights and strobes and when you’ve finished all of this, turn on the lights and strobes to make sure everything works.
- Is everything kosher with the landing gear? Are there any attachment problems or signs of damage? How’s the strut inflation? (The proper amount is called out in your service manual). Inspect the hydraulic lines for leaks, cracks, or dry rot. If you own a retractable gear airplane, inspect the squat switch and up/down microswitches for dirt that would interfere with their proper operation. Look over the wires going to the switches, following them all the way up until they disappear into the wing, paying particular attention to fraying of the insulation that would indicate an “about to occur” false indication of trouble. Look at the gear actuators for signs of leaking hydraulic fluid. If you know what to look for, check the up/down locks over-center cams while you’re there. You’re looking for signs of wear, misalignment or damage. Ask your A&P to help if you’re unsure.
- Top off all fluids in the brake cylinder and check it for leaks as you do. Ditto the gear power pack fluid if you fly a retractable.
- Check the condition of the battery. Better yet, remove it from the airplane and clean off any battery corrosion from the posts and the connecting cables. Top it off as required and if you haven’t flown for a while, trickle charge it overnight before you put it back in place. (Resist the temptation to fast-charge it. That’s potentially very bad Juju.)
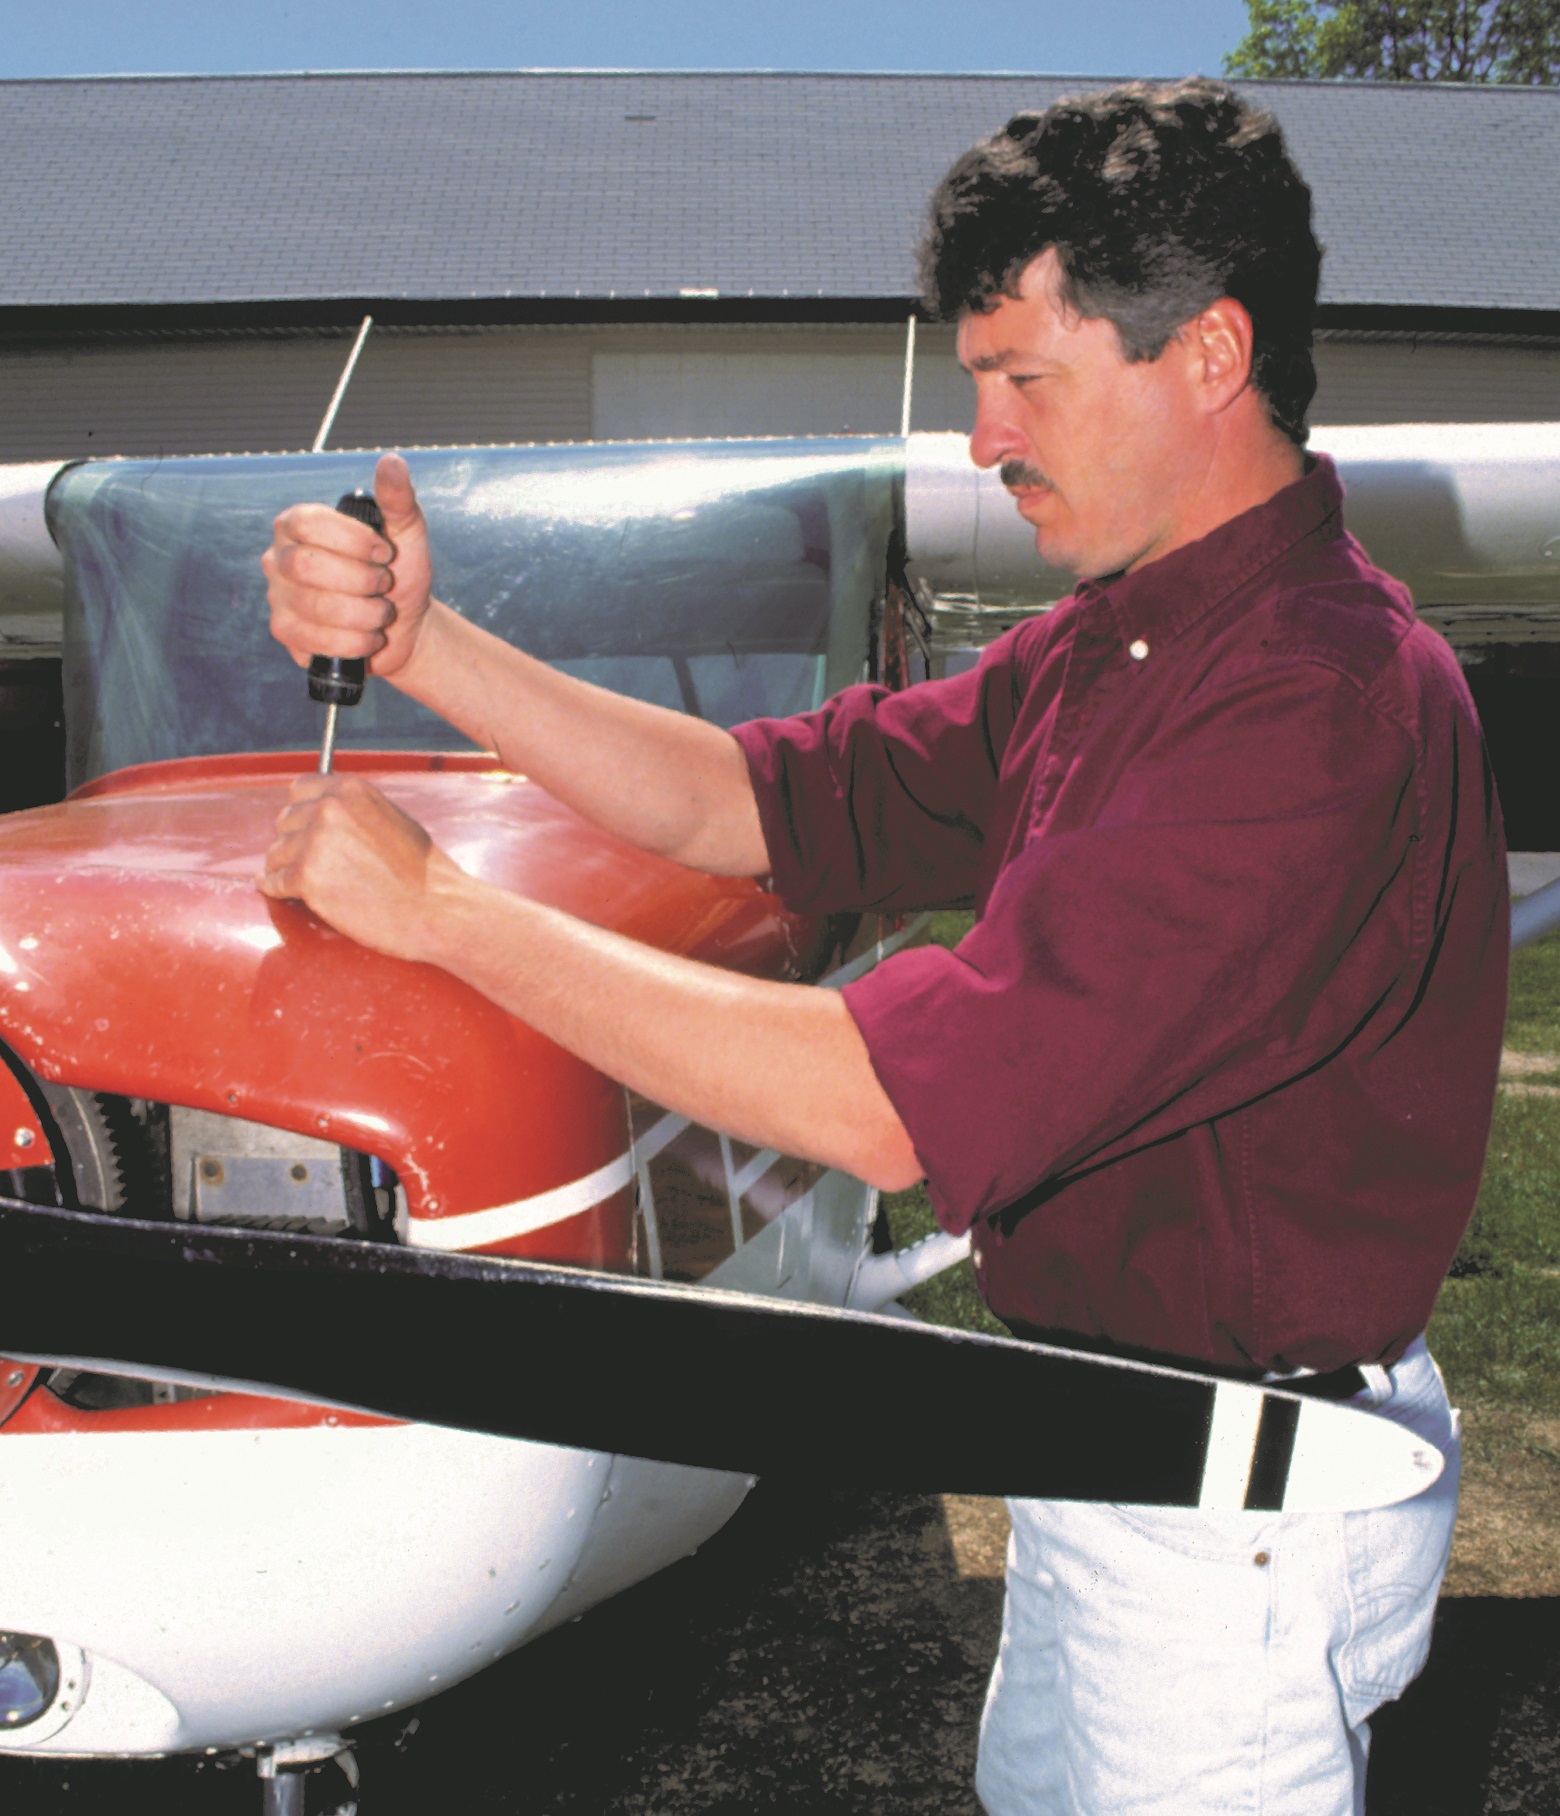
- Inspect the prop. Look at both sides checking for cracks. Feel both sides with your fingers. Sometimes you can feel a crack that the paint hides.
- If your prop is a constant-speed variety, look for leakage around the prop hub. Make sure the magneto ignition is off, then place one hand on the top of a blade and the other hand on the bottom and see if there is any “play” when you try to manually change the pitch by pulling with one hand and pushing with the other. Perform the same check with all the blades.
- Look for nicks on the leading edge of the prop blades and if you find anything significant (e.g. you can hang a thumbnail on it as you run your thumb along the surface), have your A&P dress it for you. (Nicks on the leading edge focus stress and can cause the blade to fail at the point of the damage.)
- Before you put the cowling back on, look at all the engine’s hoses, wiring, and belts for any signs of deterioration. The engine is a very hot place and eventually the best material begins to show signs of age.
- Check the exhaust pipe seams for any sign of leakage and check the muffler for holes or cracks. You definitely don’t want an encounter with carbon monoxide.
- Check for any signs of fuel leakage around the carburetor or fuel injection nozzles. Give the fuel lines the hand tightness test at all points where there’s a connection. If you find a problem, get your A&P by the hand and point out the problem. Look for oil leakage and introduce your A&P to that problem as well should you encounter it.
- Put the cowling back on (reconnecting the wires to the landing light if the light lives in the cowling) and reinstall all the access covers and fairings that you removed.
- Check the condition of the tires, position light lenses, the windows, locks, weather seal on the doors, and all antennas for secure attachment.
- Inside the airplane, check that the seats move and lock properly on the seat rails, that
the safety belts are not frayed, and that they are properly attached.
There are other things you can check, such as rigging, but this is enough for now. If you make this preflight part of your ownership routine, you’ll not only avoid many potential problems, you’ll learn a whole bunch about your pride and joy.
Besides, you don’t really want to take a back seat to a rookie do you?
This article appeared in the October 2019 issue of PIPERS magazine.


