Greg Piehl, who lives in St. Petersburg, Florida, with his wife Debbie, spent three years restoring and upgrading their 1959 Piper Comanche 250. After 34 years, the first flight of N6494P took place at Zephyrhills Airport, three days before leaving on a trip to Oshkosh, Wisconsin, just in time for AirVenture in July and August 2021. This is part four of seven parts.
Parts 1 and 2 of this Piper Comanche restoration series are free to read. Click here.
Subscribe today to read the entire series, which chronicles:
- How to Disassemble and Transport a Legacy Piper
- How and Why to Strip Your Plane Yourself Before it Gets Repainted
- Restoring the Interior of a Legacy Piper: How You Can Save Money
- Comanche Panel Upgrades
- Comanche Engine and Mounts: What Happens During an Upgrade
- Comanche Reassembly: What a Legacy Piper Looks Like When It’s Taken Apart
- 1959 Comanche Fully Restored
What you will learn in this installment, upgrading a Piper panel
- Can you hide the transponders if a Piper panel is small?
- What is the easiest way to swap out the wiring if you’re upgrading a Piper panel?
- Do you need a field approval to start or finish a panel upgrade?
- Can you rewire and move the circuit breakers on a Piper?
Upgrading a Comanche Panel (part 4 of Comanche Restoration Series)
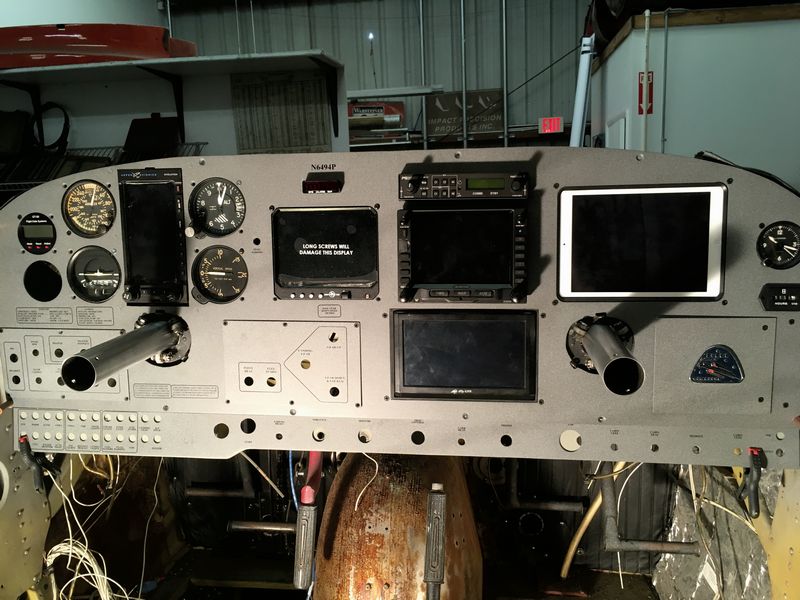
In this installment, from the May 2022 issue, we move to the panel, and again we see how Comanche plane owner Greg Piehl utilized his skills and his professional workshop to upgrade his plane in a way that teaches us how ingenuity can play a role and allow you to do some of this work yourself.
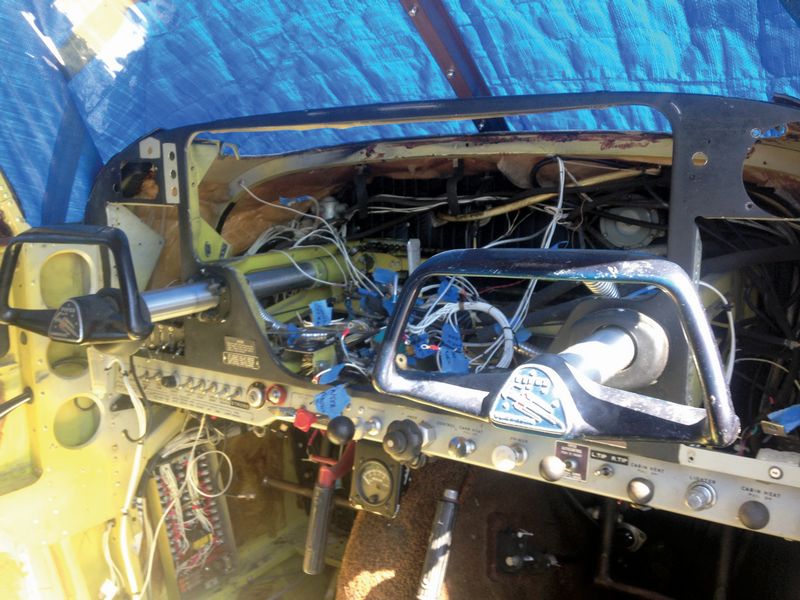
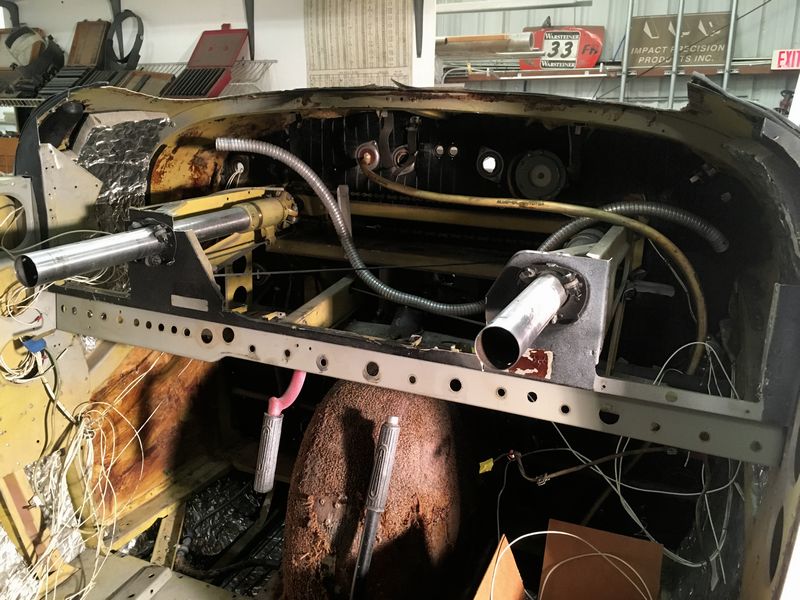
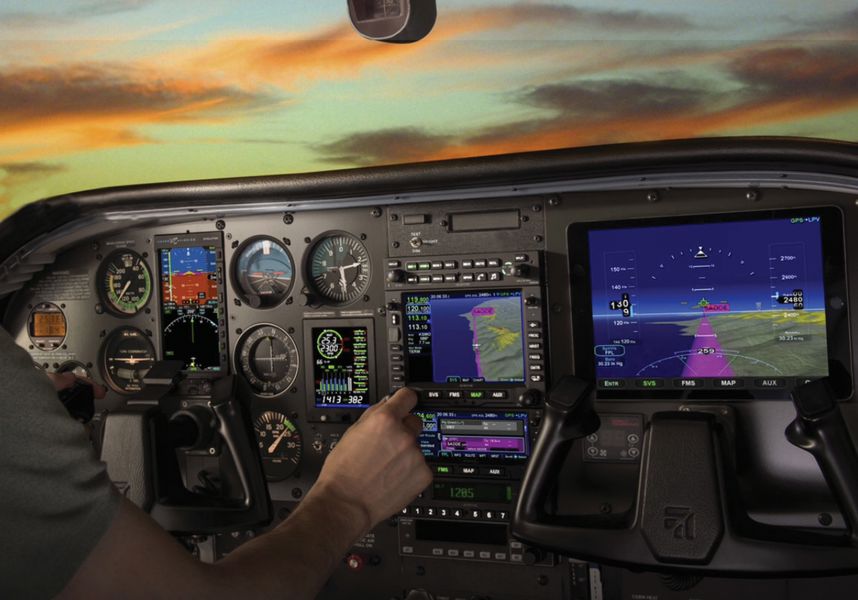
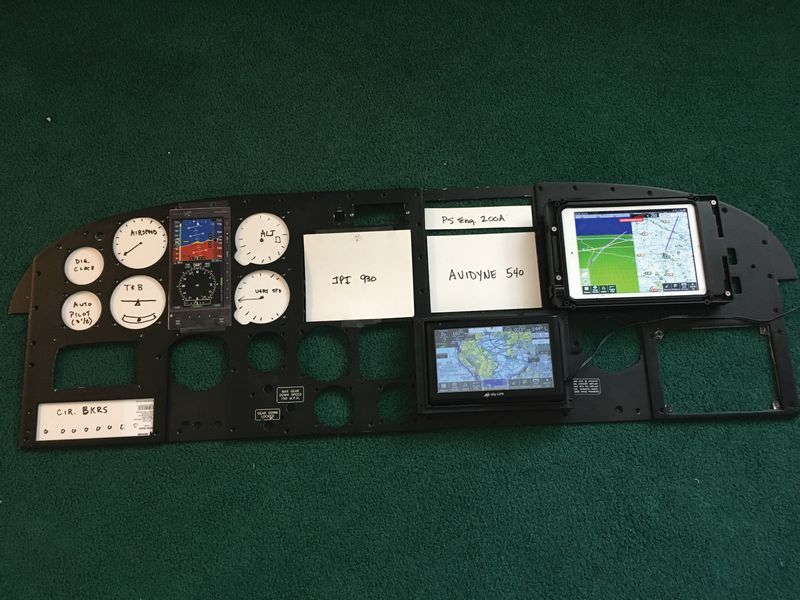
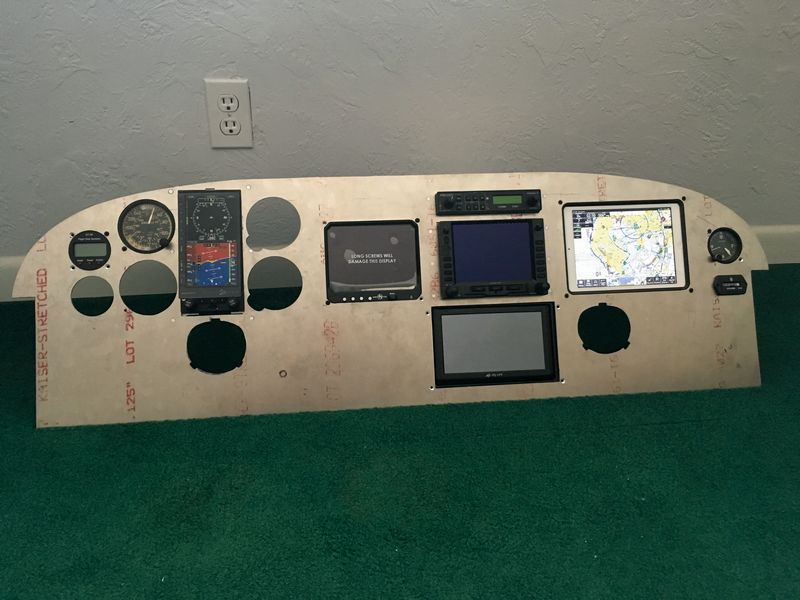
What stands out in this section of our overhaul is the way that Piehl again constructs a template with which to practice and test his major work. This time, he had an old Comanche panel to use as a framework for his new panel layout, along with a photo from a magazine ad.
The overarching theme for his avionics plan was to make the system interact with other elements and to make everything simple. That didn’t mean he went cheap.
“Early in my career, I was an avionics engineer in military electronics for a major contractor,” Piehl said. “We had requirements, in our MIL specs, that our avionics must communicate with the established protocols. In other words, our equipment had to talk with anything else installed in the
airframe.
“With that as mindset, that eliminated some of the equipment on the market. Most of the avionics manufacturers have established communication protocols that will work with other equipment. So that was #1 on my list: The avionics I chose had to communicate with the other avionics.”
His next requirement was the ability to self-install the instruments, with the help of his A&P. “I didn’t want any dealer-only installations; that was #2,” Piehl said. “Number 3 was ease of use. When you’re in the cockpit flying, using the avionics has to be second nature.”
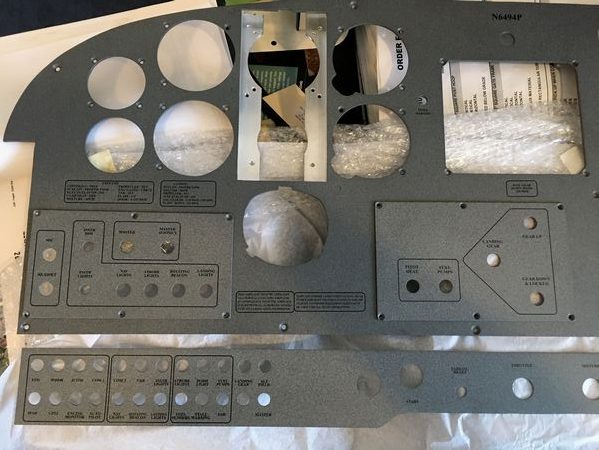
The Comanche panel is not large, so you’ll notice in the photos that follow that Piehl twice mentions the installation of hidden transponders. “The Comanche panel has limited space, vertically,” Piehl said. “It’s a small panel; it’s wide but not tall. Because of that, I had to choose some remote-mounted components such as the transponder, the ADS-B system, and a second communication radio.”
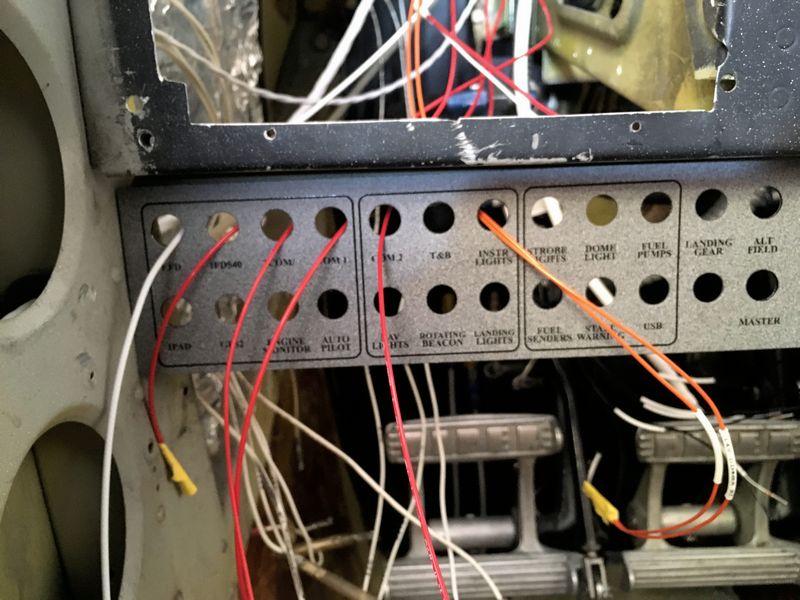
As with a car stereo or home theater setup, you can get help with the wiring harnesses, and Piehl, who didn’t farm out very much in this restoration, did use one of those services. “I used the company Approach Fast Stack to build the wiring harness for the entire panel,” he said. “I gave them the info on the avionics I chose, and the layout of them in the panel. They build and 100% test the harness for installation.
“It’s pretty much plug and play. I basically just had to make the power connections to each component/circuit breaker. There was a little bit more than that (headset jacks/wiring/soldering), but their work is of the highest quality.”
One other thing that Piehl stressed about this part of the project — you need to coordinate the field approval before you start this process. Most of us have heard horror stories about the person who built a dock or deck next to the lake without calling the Department of Natural Resources. Don’t make that mistake with your plane. “Call your Flight Standards District Office (FSDO),” he said. “Get it approved in advance.”
Coming next month: Engine, prop, and motor mount.
Upgrading a Comanche Panel: Photo Gallery
Click on a photo for a popup slideshow.
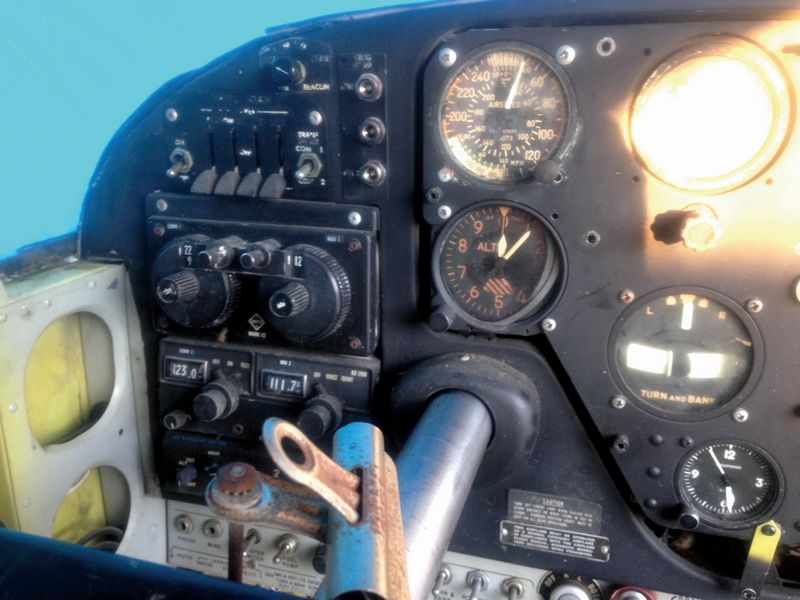
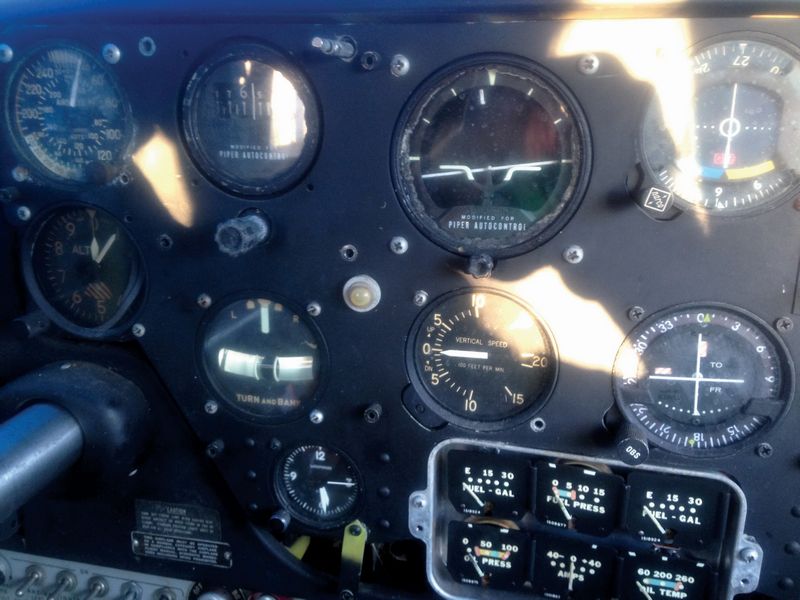
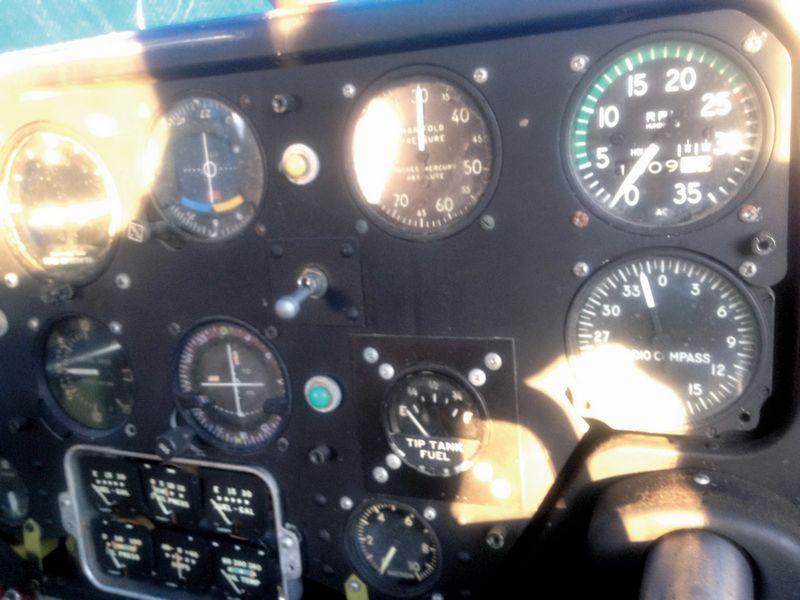
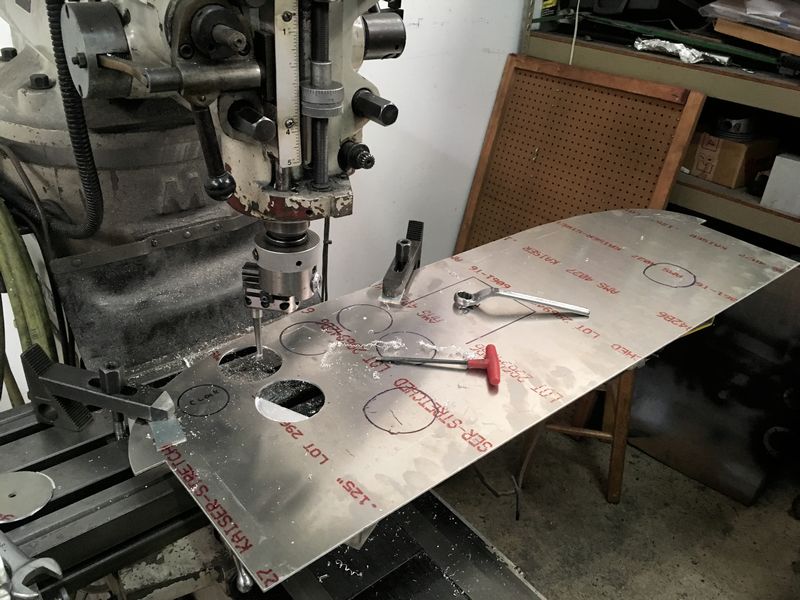
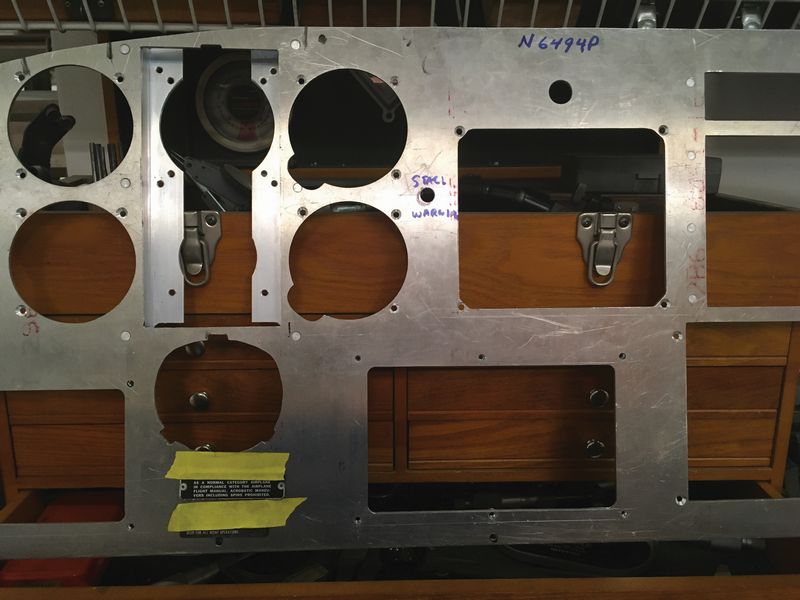
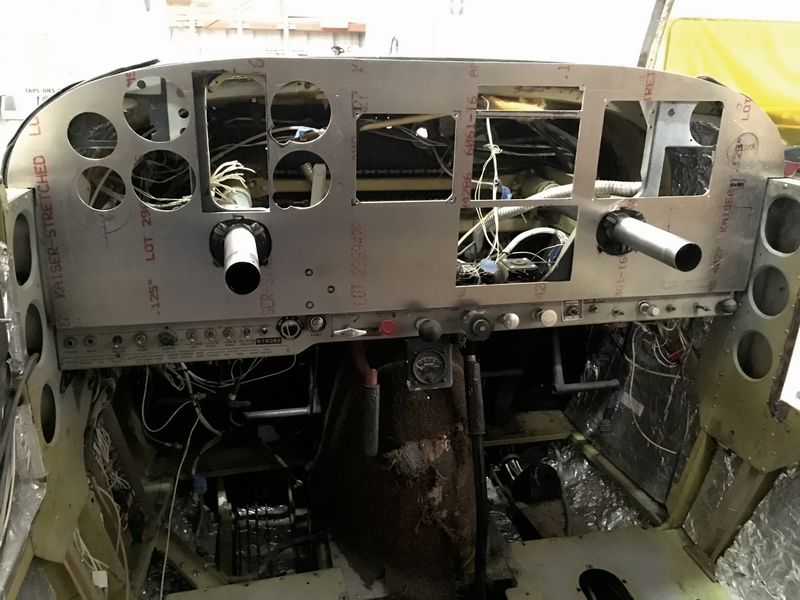
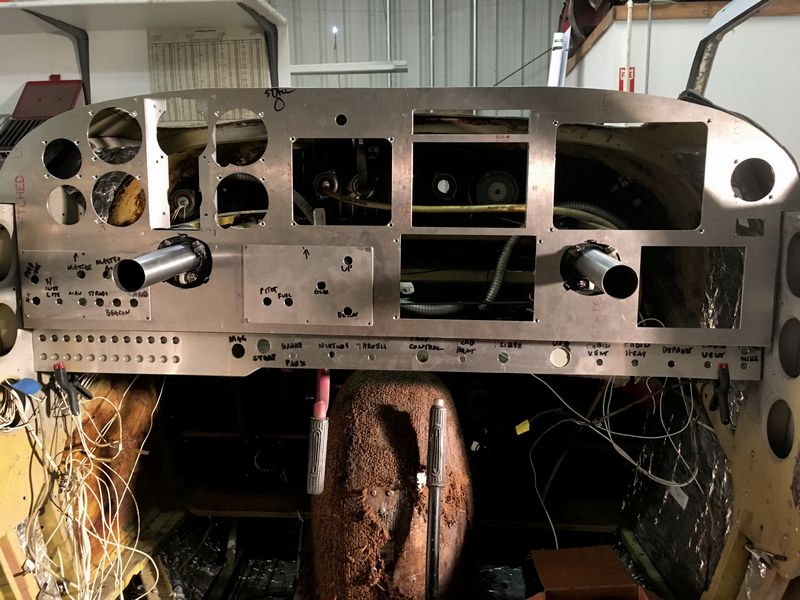
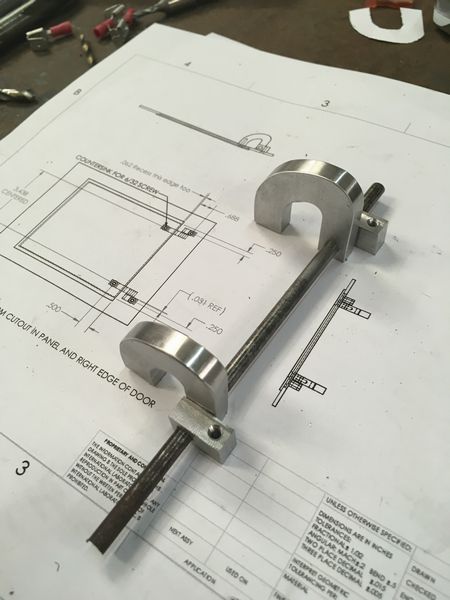


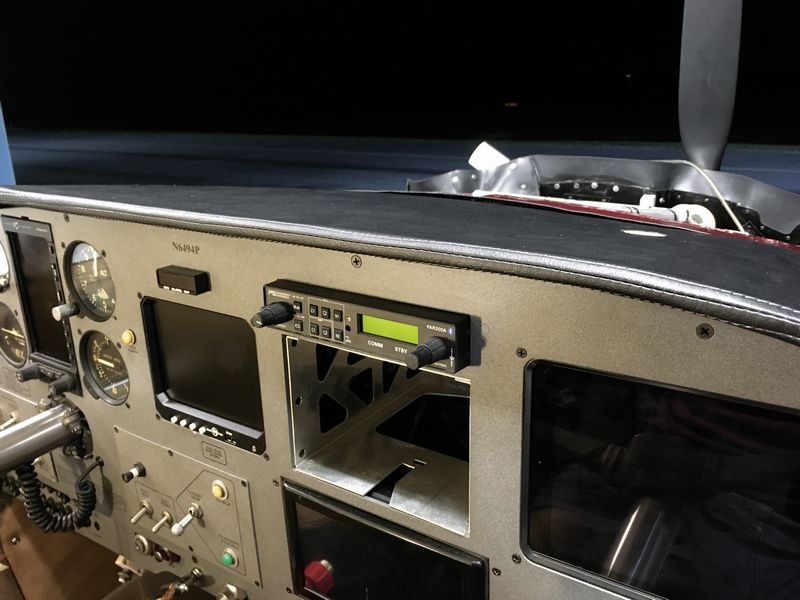
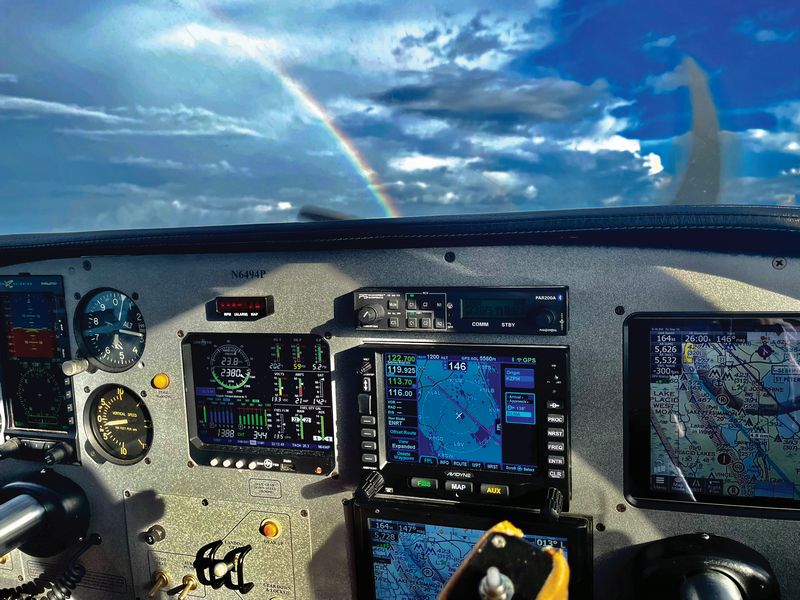
Below are more photos and advice from Piehl as he went through this process. Quotes in the photo captions are from Piehl. Recommended: Click on a photo for a popup photo gallery.
The rest of this article can be seen only by paid members who are logged in.Have a website login already? Log in and start reading now.
Never created a website login before? Find your Customer Number (it’s on your mailing label) and register here.
Still have questions? Contact us here.
Resources / Companies
Approach Fast Stack
Modular Wiring System
www.approachfaststack.com
Avidyne
Avionics
www.avidyne.com
Aspen Avionics
Primary Flight Display
aspenavionics.com
PS Engineering
Audio Panel
www.ps-engineering.com
Adventure Pilot iFly GPS
Backup GPS (uncertified)
www.iflygps.com

