
Why it’s necessary, what is costs, and why you should leave it to the experts
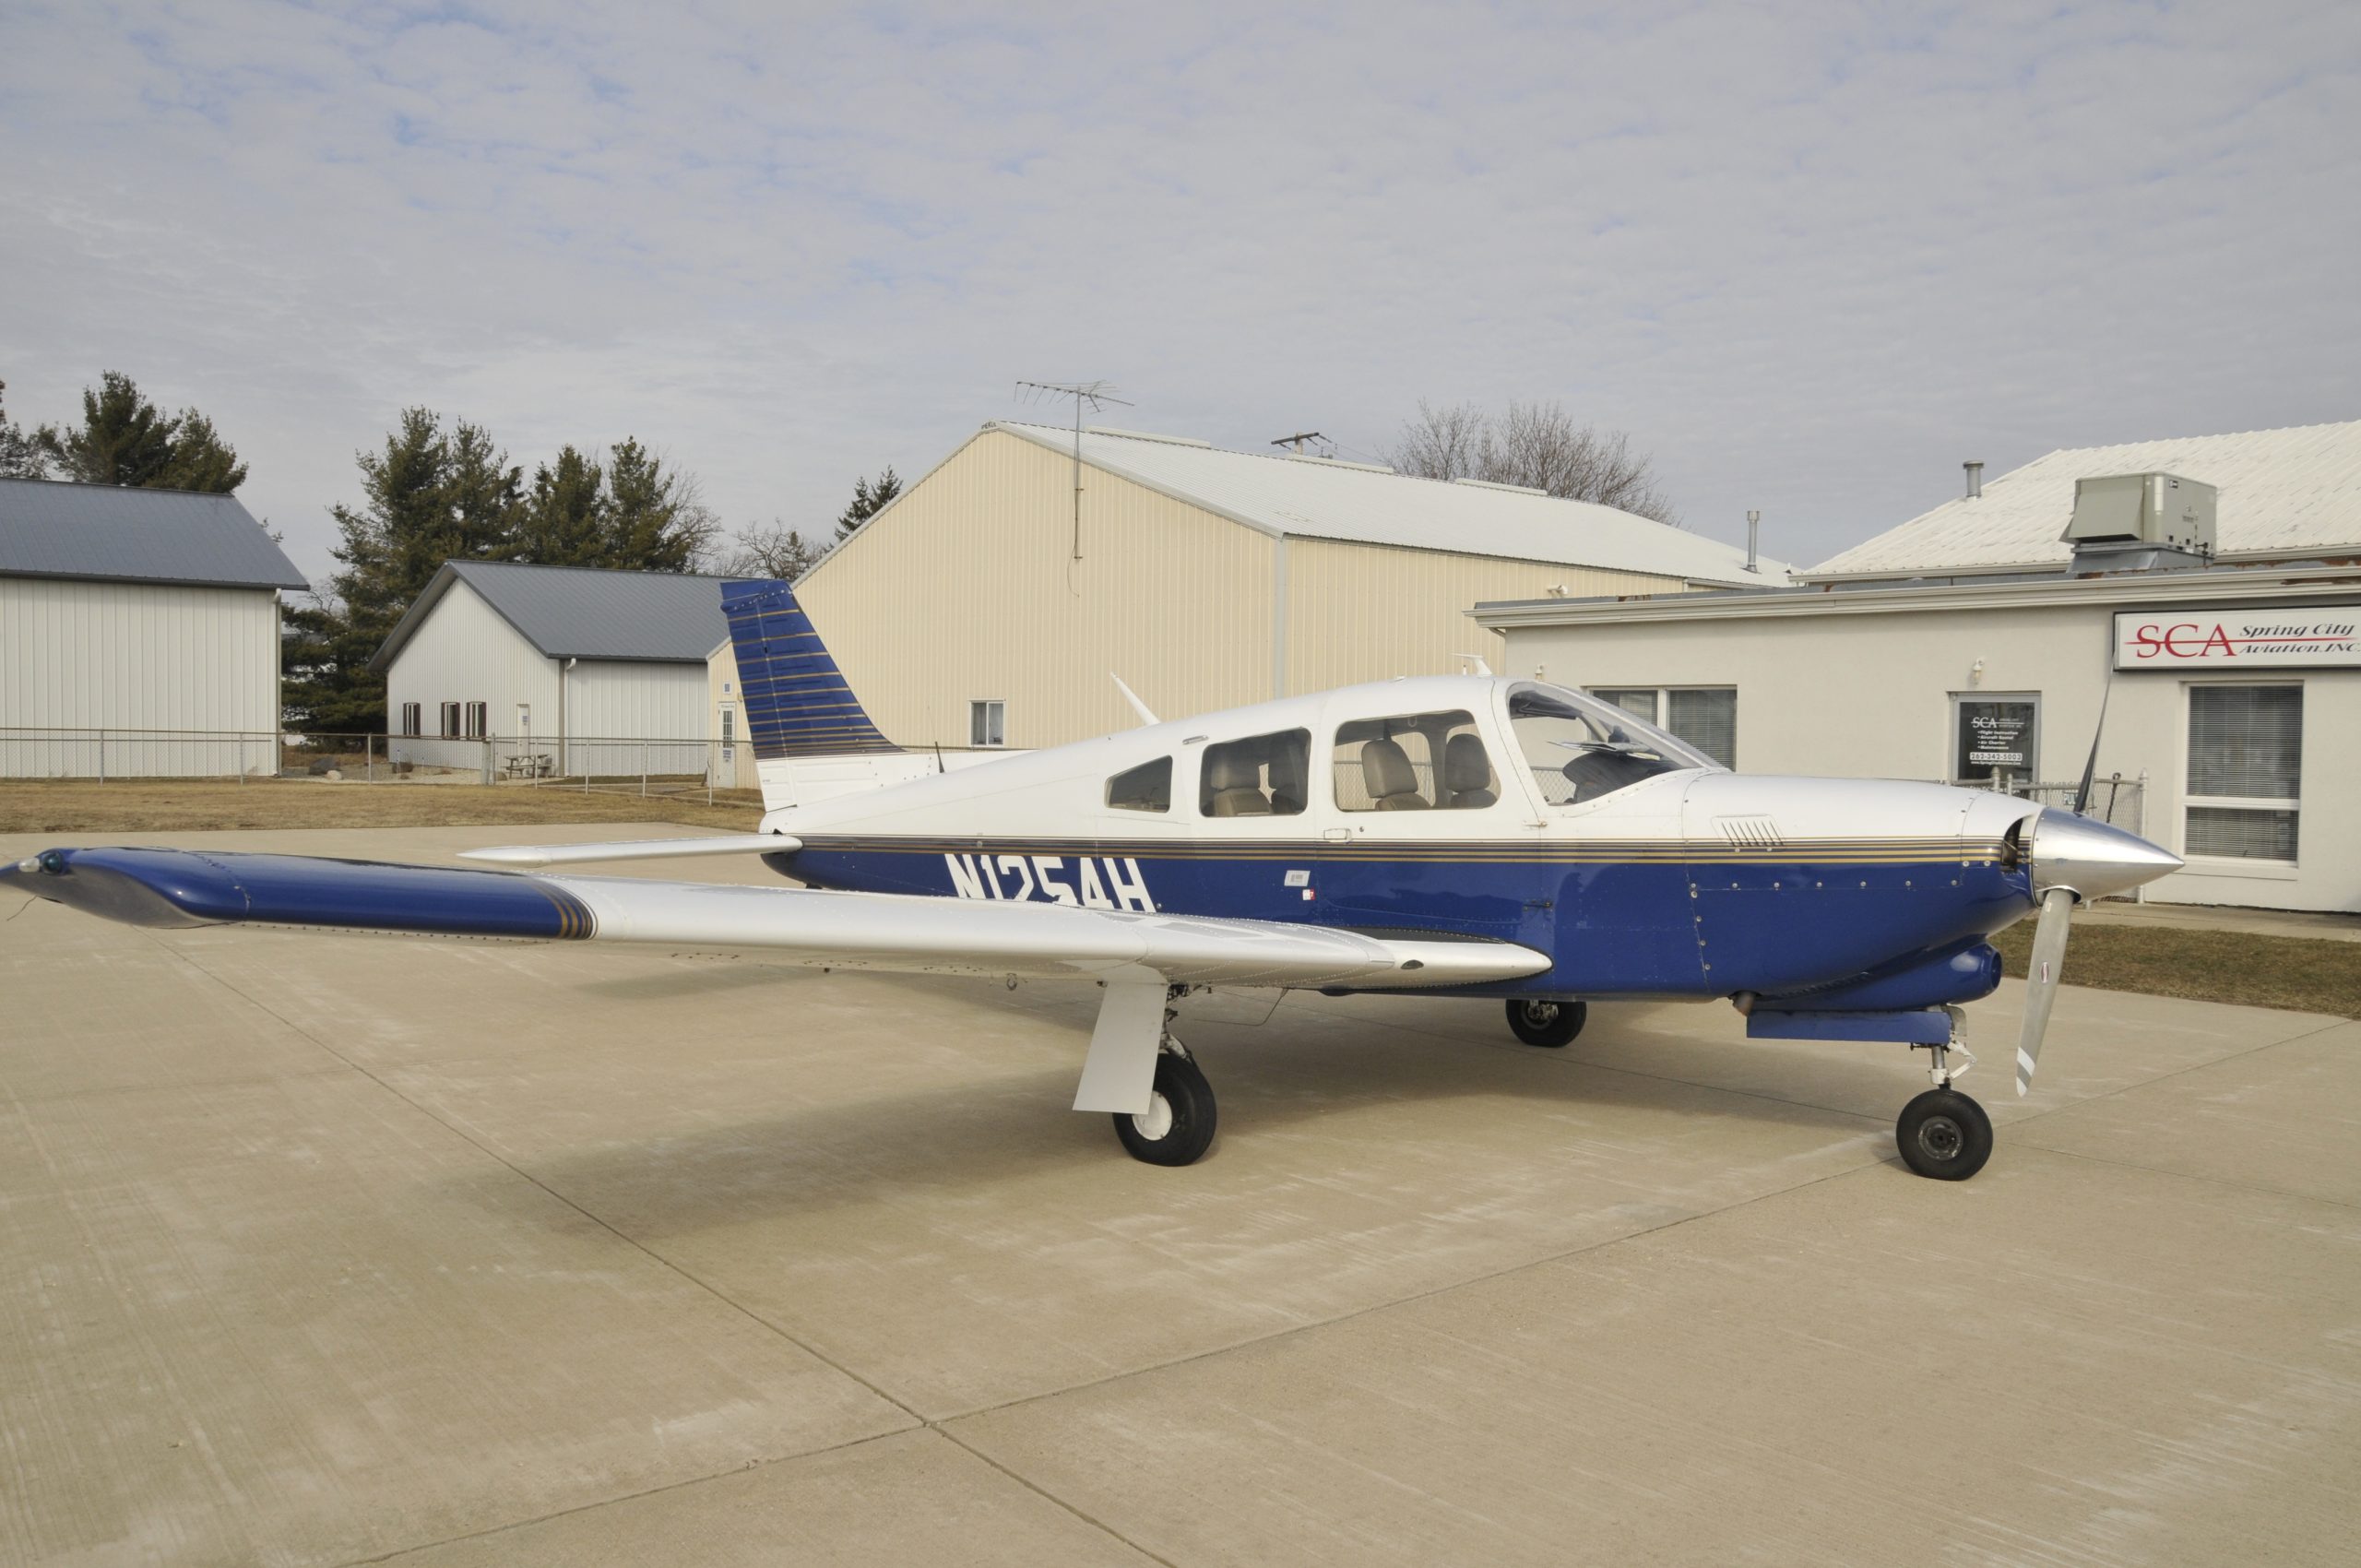
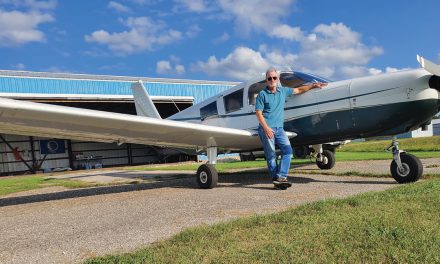
My first six months of Arrow ownership was largely uneventful, thanks to a variety of factors. For those of you that are looking at buying a new-to-you airplane and are intimidated about it, here’s a prime example of a purchase that went right and had little in the way of financial or service surprises.
Because of the ease of transition into my new ride, I feel that I need to give copious amounts of credit to the prior owner, John Scifers, who was a very good owner and took very good care of the Arrow. My hat is off to him. Also, JA Aero in the Chicago, Illinois area did a good job on the prepurchase inspection.
Making a long story short, they found three items on the Arrow needing attention:
- The engine, a Continental TSIO-360-FB, had 1,200 hours on it against an 1,800-hour TBO. The engine did, however, in the opinion of JA Aero, need new lifters. As part of the purchase, the prior owner paid for that to be done by JA Aero before delivery. JA Aero completed the work in about two weeks and the plane was good to go. They did an excellent job.
- Also on the list was a crack in the stair that I had repaired back at our association’s shop by Erich Rempert, our association A&P.
- Finally, the wing walk area was mushy when you walked on it. Even though I’ve been flying Pipers since wheels were square, I hadn’t noticed it. The prior owner agreed to cover that, and I finally had that project completed during my annual inspection six months after purchase.
Here’s how my Arrow wing walk replacement turned out
If you’ve never seen an Arrow, it’s a Cherokee with retractable landing gear and (except for the first version, the 180 discussed on Page 8) a bigger engine. Everything else is the same, including the wing walk. The repairs needed in this area can happen to any Piper where you enter by climbing on the wing.
So, here’s the message: If you’re flying a Piper with at least a few thousand hours and maybe a few decades on it, you may be due for this soon. While it is NOT an airworthiness issue according to our association A&P, you might fall through the wing walk area if you wait too long to do this maintenance. Have your mechanic check on this and cracks on the stair at your next annual.
My shop purchased a new wing walk assembly; it was readily available through the Piper primary parts supplier, Avial. Your shop can get the correct part numbers from their documentation, although if you’re curious you can get a part number from your parts manual and search for yourself on the web.
In my case, I let my mechanic do all of the work. My only role was to come out every couple of days and take pictures and learn what I could from the experience.
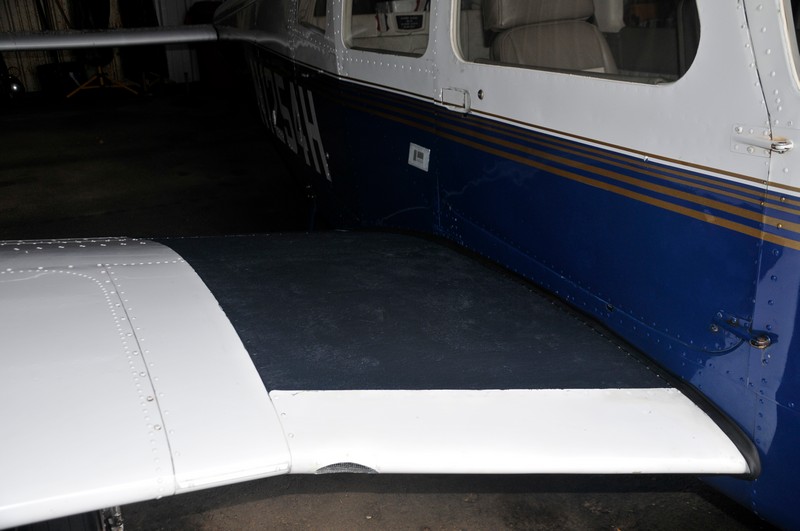
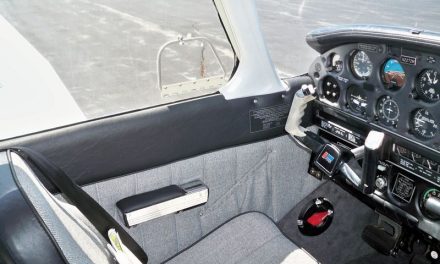
Picture 1 shows the wing walk before it was unriveted and removed. As you can see, it looks just great. Visually you can’t tell if there’s a problem or not; you have to feel it.
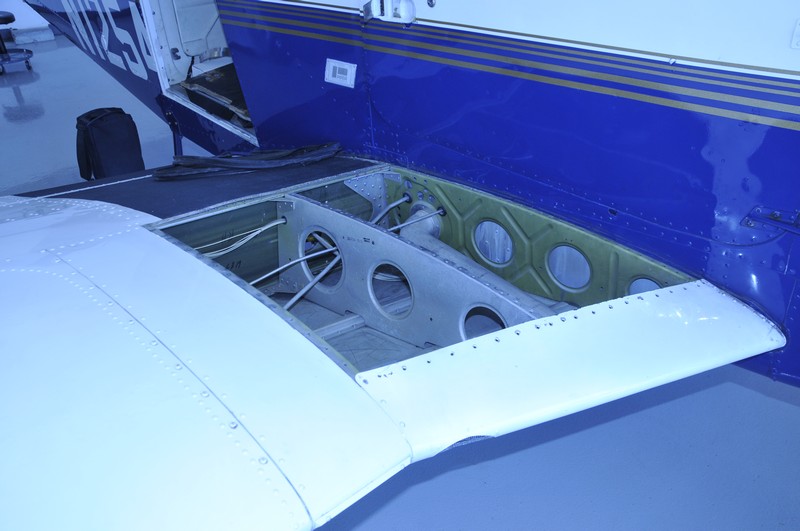
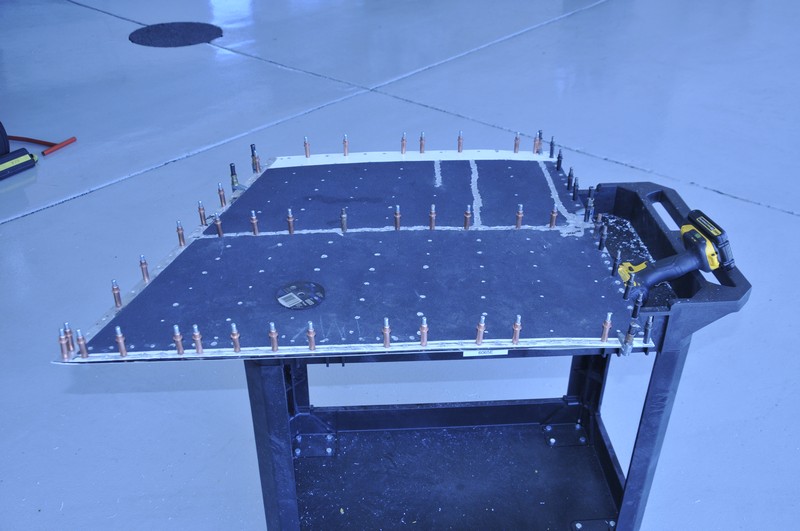
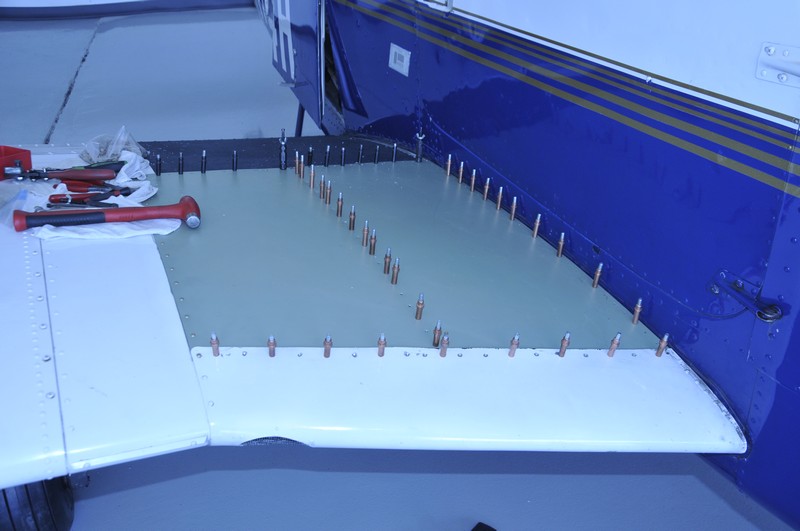
My shop mechanics as seen in Pictures 2 and 3, then drilled out the rivets and removed the assembly, which consists of two layers of plates. The top layer is a sheet of flat aluminum that gets coated with that black tarry wing walk coating to keep you from sliding off the wing and suing Piper.
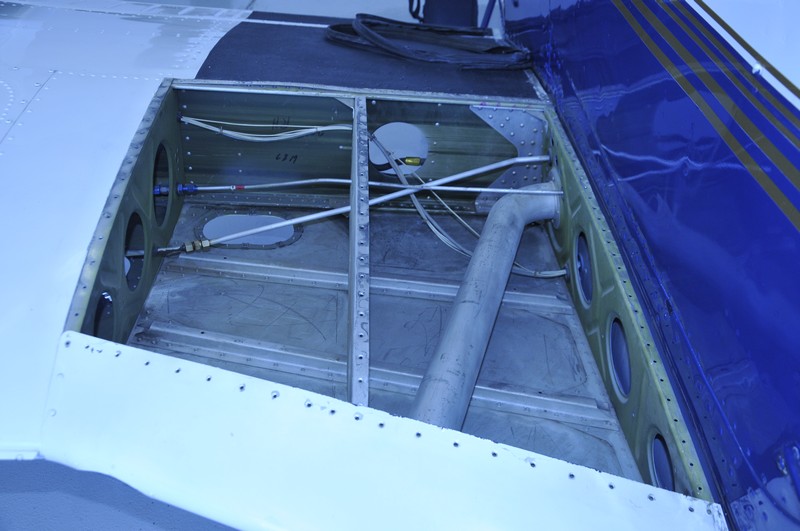
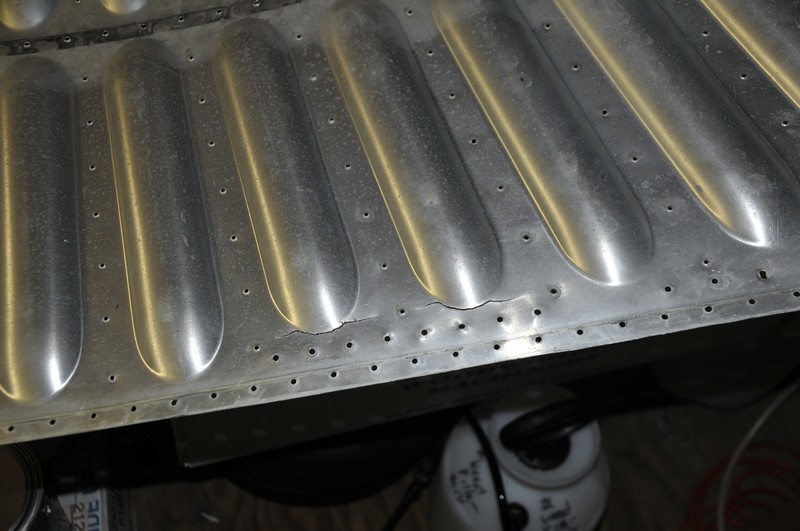
Underneath is a second layer as seen in Picture 4. Look closely and you can see 40 years of stress cracks from people walking on the wing. Both pieces are getting replaced. It should be noted that there were many cracks, not just the couple shown in the photo.
I made another observation, too, while looking in the wing (Picture 2 and 3). The aluminum is bright and shiny, just like it came off the manufacturing line in 1977. No corrosion, dirt or wear anywhere. It was very comforting to know that this airplane has absolutely no corrosion. Just for the record, I took a permanent black magic marker and wrote “Scott Was Here, October 2018,” on the inside of the wing.
Picture 5 shows the old wing walk top plate placed on top of the new top plate. The holes needed to be drilled to fit what Piper built by hand in 1977.
Picture 6 shows the new bottom stringer plate and the new top wing walk plate back in place and drilled to match the existing holes in the wing.
What you don’t see is a couple of days of two mechanics re-riveting all of this back into place, which to me seemed a herculean effort. One mechanic was under the wing with a bucking bar and his hand snaked up through the wing via an inspection panel and the other mechanic on top with a rivet gun pounding them into place.
I didn’t put a final picture showing the project complete because it would look identical to Picture 1. However, the project is complete, and the wing walk looks just like it did on the day that the factory made it back in 1977. My shop did an excellent job and my Arrow is ready for another four decades of flying.
One final note about the cost. While there aren’t a lot of parts involved, there was significant labor. This “simple” repair cost almost $6,000 to complete.
If you’re purchasing a Piper, make sure that this is on the inspection list.
