

By Kurt Johnson
Have you recently restored or upgraded your airplane? Send us your story!
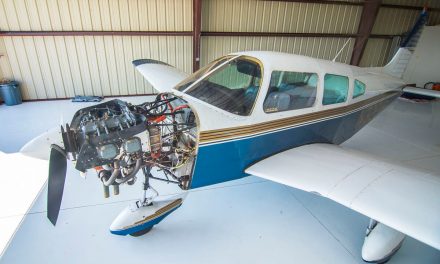
My name is Kurt Johnson and this is the story of my Cherokee Six’s interior restoration. N936BW is the July “pinup girl” from the 2019 Piper Owner Society calendar. Though it looked good on the outside from a new paint job in 2016, it still had the original 1967 interior. I purchased 6BW in April 2018 with a couple of other gentlemen. The previous owner was responsible for the paint job, which gets lots of compliments, as well as some minor avionics upgrades, and lots of work under the bonnet. So, when we purchased it I thanked him for doing all the expensive stuff and leaving the cheapest part for us.
The first thing I did was a ton of research about how to go about restoring the interior myself. I watched YouTube videos and read website after website. Everything from how to paint plastics and how to apply vinyl wrap, to corrosion removal and repair. I ultimately designed my project around Dennis Wolter’s method from Air Mod (www.AirMod.com/articles-media). He wrote an exhaustively detailed set of articles about how his shop goes from start to finish. An absolute must read for anyone considering this. Throughout the project I have talked to him several times on the phone and via email. He has always been very helpful. He is passionate about interior restoration and loves to see others succeed at it, too.
Many of the plastic pieces on the floor were pretty damaged. I replaced the flap handle and trim wheel cover with a new one from Plane Plastics, but I couldn’t find one for the fuel selector. The earlier models had a different plastic cover than the later (’69 and on) models. So, I had to figure out how to work with what I had.
Fortunately, most of the broken pieces of the fuel selector were still in the plane. I initially used super glue to tack weld the pieces into place, and then I used a product called Plast-aid to repair the broken plastic pieces. The rest of the plastics and wall panels were in good condition so I decided to clean them up and refurbish them. A visit to a local auto paint store was invaluable. They set me up with the cleaners and paints I needed to restore the old plastic and vinyl pieces with a fresh, durable new look. They gave me gray Scotch- Brite pads to use with an all-in-one cleaner and surface prep. Then I coated each piece with a pretreatment before painting. I finished with SEM paint.
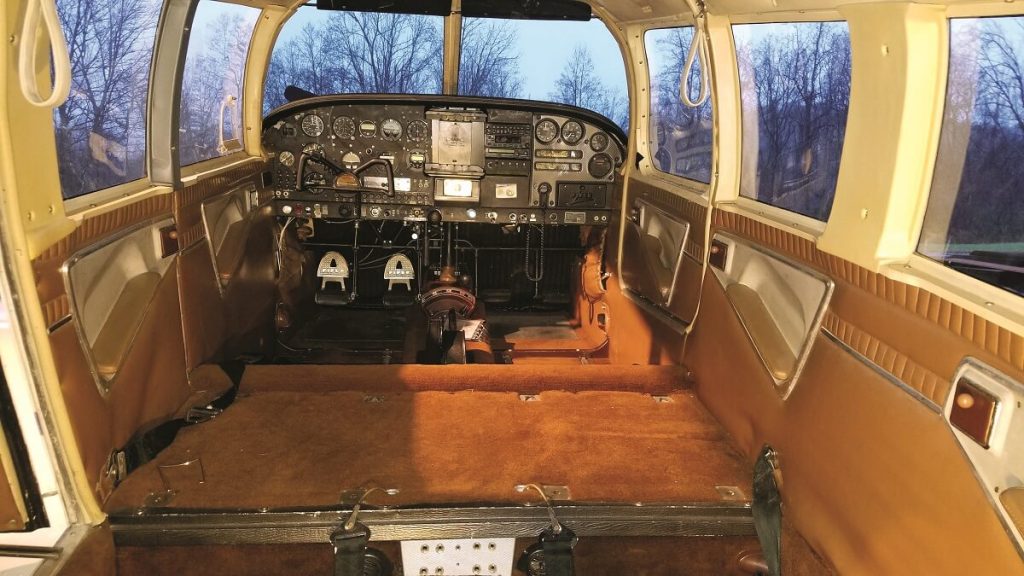
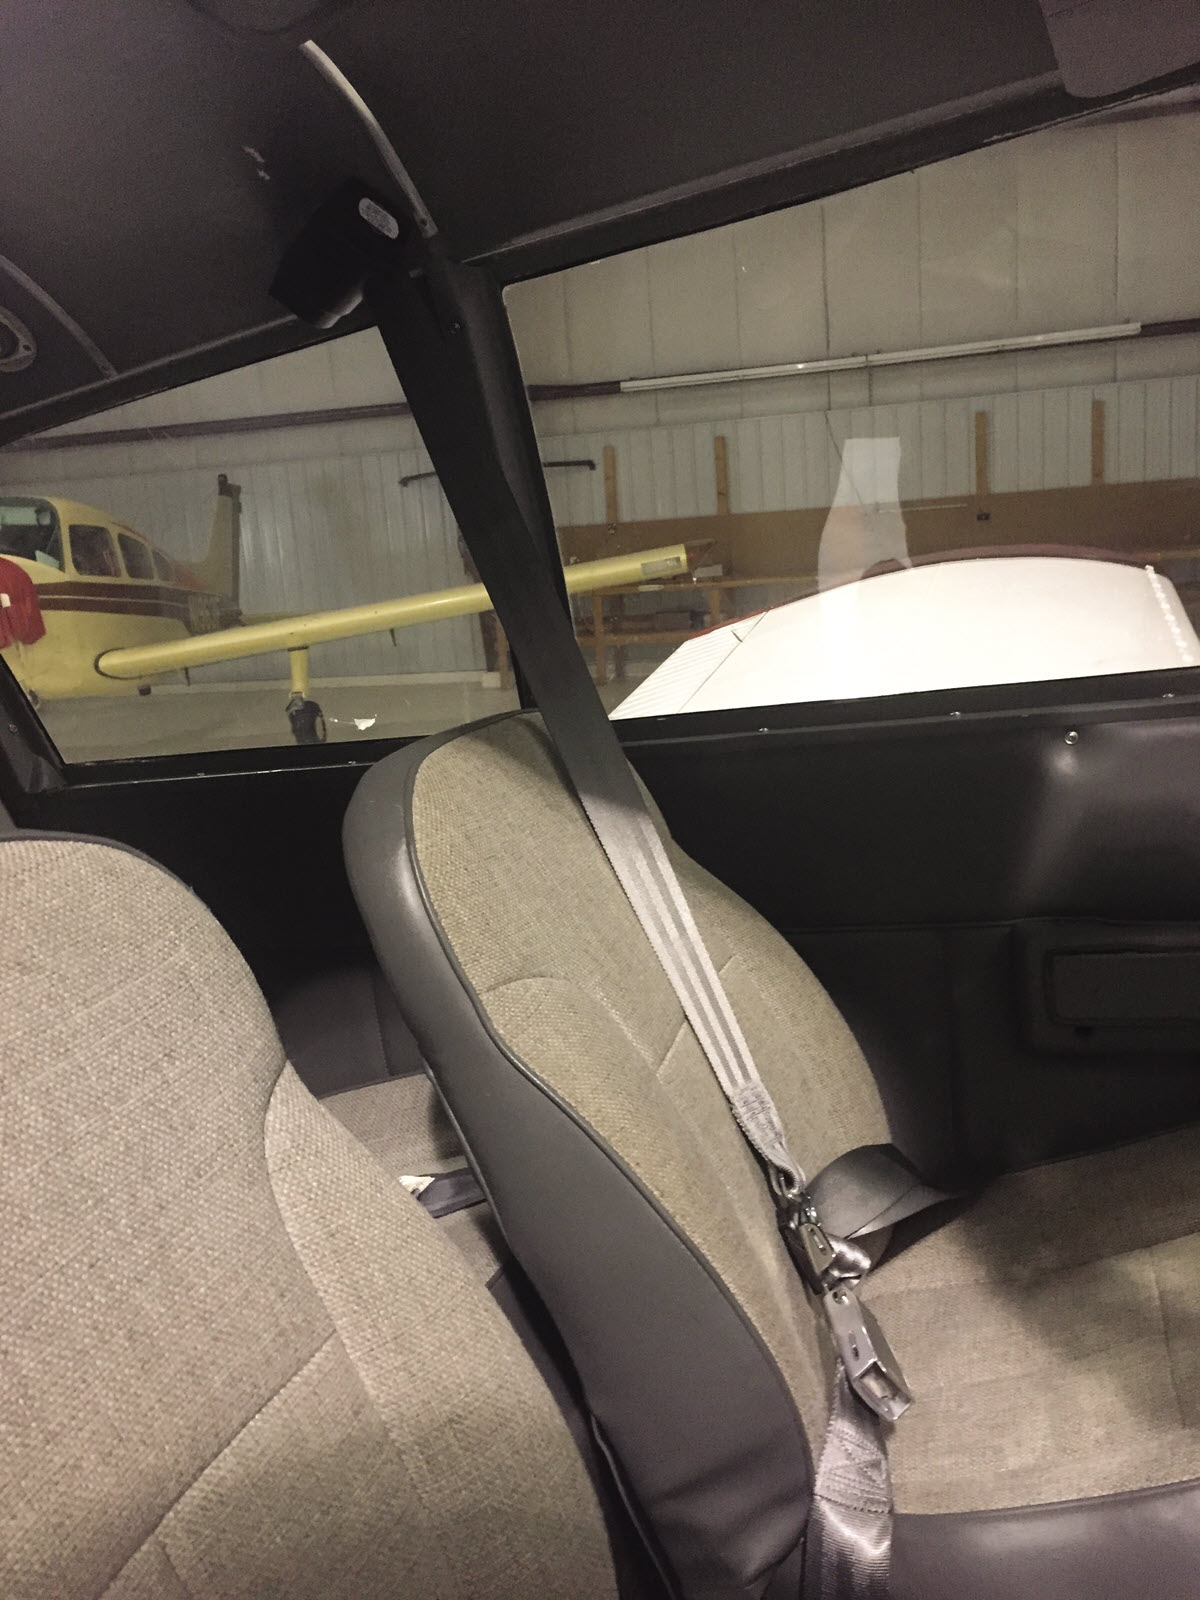
The next step was to remove the seats, strip them to the frame, and send them off to be sandblasted and powder coated. I then contacted a local upholstery shop. I gave him a drawing of my idea and selected the materials. He gave me the samples I needed to have sent off for burn testing so I could keep the FAA happy. The finished product was everything I hoped it would be. Total invested in the seats is $470 a piece.
While the seats were being worked on, I started the tear down of the interior. I used pieces of cardboard and Styrofoam to place each piece of hardware so I knew exactly where it went. I also took lots and lots of pictures and video so I could remember how it all went back together.
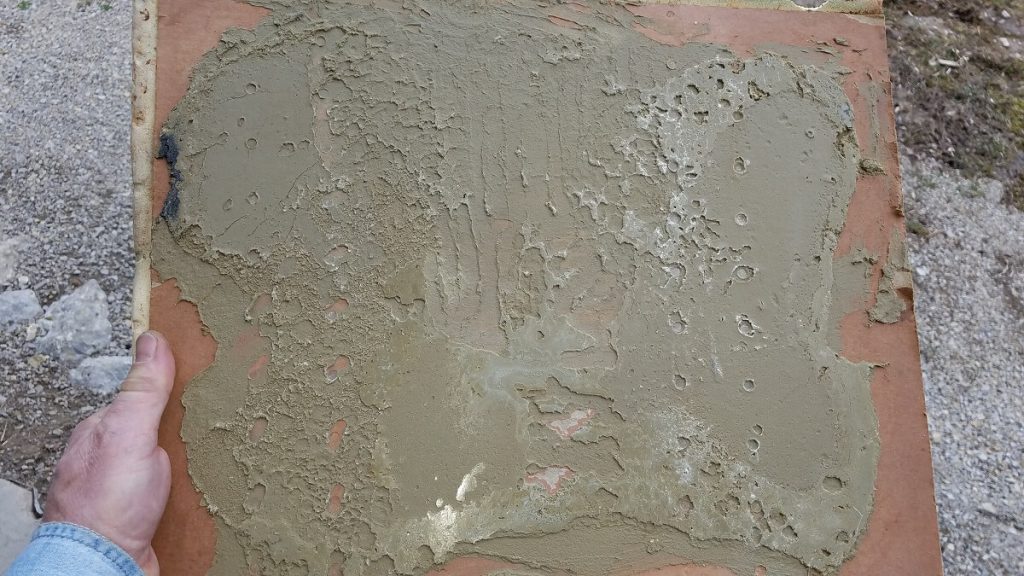
The first thing I encountered was that everything had been glued to the airframe and it was a mess. I also noticed that most of the hardware was corroded. As I stripped foam, insulation, and glue down to bare metal I sure enough found lots of surface corrosion. The carpeting had been replaced once, about 15 years ago and the installer must have been out of his mind. They had used some kind of glue that was literally troweled on with a notch trowel a quarter-inch thick. It took hours and hours to remove it.
I wanted a clean airframe so I could inspect it for corrosion and zinc chromate it from front to back to keep it in good condition for years to come. All told it took more than 70 man-hours to clean the interior from front to back, and top to bottom. Take that number with a grain of salt because I’m a perfectionist and I create more work for myself than is necessary most times.
See more photos of Kurt Johnson’s airplane restoration in the August issue of PIPERS magazine.
I was working in an uninsulated hangar in Ohio so I had to come up with some creative ways to stay warm but still ventilate properly — you can’t have too much ventilation. I used a system of sheets and fans with furnace filters on them. Have a lot of filters on hand because they get clogged up fast. I laid a sheet across the floor if I was spraying overhead. Then I would hang a sheet from the ceiling to section off the part of the cabin that wasn’t being treated. This was basically over the forward spar separating the cockpit from the cabin. I did this to try to control the overspray — and there is lots of it.
You absolutely have to have a good mask and goggles. A head covering might not hurt either. I went to my barber one day after working in the plane — she didn’t think it was quite as funny as I did that I had a fine yellow tint to my do.
If I was working in the back of the airplane, I would have the fan in the back drawing air through the cockpit door and out the back. Just the opposite if I was working up front.
I brought all the wall panels and interior pieces to my home so I could work with them when not in the hangar. Whenever I wasn’t in the hangar working on the fuselage I was in my garage working on everything else.
I have a curse for details. No matter how small or insignificant, if it was shiny, it got polished; if it had been painted once, it got painted again; and so on. There was nothing that I didn’t clean, shine, paint, or try to improve. I had a system of polishing compounds and cleaners along with three different grades of polishing wheels and a wire brush wheel.
I bought the zinc chromate from Pilot’s HQ. It was about $5 a can and I purchased a dozen. I had one and a half cans left over. Per Air Mod’s instructions, I used full cans to work in places that required me to spray upside down or other odd angles and that approach worked very well. Once the cans stopped spraying, I would set them aside and use them later when I was painting the walls.
See more photos of Kurt Johnson’s airplane restoration in the August issue of PIPERS magazine.
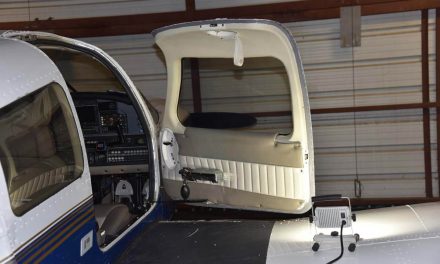
Some of the vinyl wall panels had some minor damage, but it was easily repaired with a typical vinyl repair kit from any auto shop. Definitely get the one that has the little heating iron. Once I painted over the repair it was nearly invisible. The casual observer would never be able to pick it out.
I couldn’t figure out how to remove the vent and light covers from the ceiling panels. I thought those were flush rivets on either side of the rotary light switch. I could, however, manage to get the painter’s tape under the edges then roll it over the top so I could mask it off while painting the ceiling panel. For all of you who know the truth — stop laughing. Even my A&P/ IA didn’t know how, so I don’t feel bad. After I finished painting I started to remove the tape and voila — they were just snaps! Unbelievable.
I decided the panel was looking a little weary for its time and would stick out like a sore thumb if I didn’t do something. Instead of removing all the instruments, which I don’t think I’m allowed to anyway, I just unscrewed the screws enough to allow me to push the face back enough to slip the tape behind the panel.
I want to make it clear that I certainly didn’t do this alone. My co-owner, partner, and friend was instrumental in getting this completed. We spent nearly a full week in my garage getting everything cleaned, painted, and put back together.
See more photos of Kurt Johnson’s airplane restoration in the August issue of PIPERS magazine.
