When you’re tearing apart your airplane to work on it and restore something, there are many rules to make your life easier. One of those rules is to never do anything twice if you can help it. To be specific, I started replacing the interior of my airplane and that meant removing the seats, removing the side walls, and removing the seat belts before I could start on the carpet replacement. I have already completed the carpeting, but with the walls, seats, and belts out, I figured what better time to replace the seat belts?
Aircraft Belts: ABI Piper Seat Belts
There are several places to go for seat belts but there’s one company that has supplied me new belts in various airplanes for several decades and that’s Aircraft Belts, Inc. based in Creedmoor, North Carolina.
Unless you’ve replaced your aircraft’s belts yourself, it likely has original belts that are worn to the point where they may not be safe, or airworthy. In the eight airplanes that I’ve owned I’ve replaced all of the belts and since 1981 all of my new belts have come from ABI. In each case the belts, especially the front seat belts, were so worn that I was concerned about my safety and if you look at yours you may conclude the same thing. Some of these belts are 30, 40, or 50 years old. Do you feel safe in them?
The belts from ABI are TSO-approved and they may be installed as “functionally similar substitute equipment” to comply with FAA AC 20-41A as a minor repair or alteration to replace your original equipment. They supply OEM replacement belts for aircraft manufactured by Cessna, Piper, Beechcraft, and Bell (the helicopter people). When ordering, you specify front, center, or rear seat, or baggage area belts. Front seat belts come in three-point configuration with fixed harness or inertial reel. Rear seats come with a three-point fixed harness or inertial reel or two-point lap belt. Different colors are available to match your interior colors. Since I’m changing the interior color of my airplane from beige, which I’ve had over the last 20 years in various airplanes, to blue and gray, I ordered blue. The new belts come with a Manufacturer’s Certificate of Conformance (C of C) and an FAA 8130-3 is available if you need one.
Piper Seat Belt options
I selected the three-point inertial reel belts in blue for the front seats, two point for the rear seats, and new baggage area belts, too. There are custom options that you can select when you’re purchasing your belts such as buckle type and color, length, and end fitting type, but I didn’t feel the need to do that even though some of the custom options are very cool. If you’re on a really tight budget and the metal on your old belts is in good shape, you can opt to re-web your old belts and save a significant amount of your scarce upgrade dollars.
Once I had placed the order, I was instructed to remove my old belts and ship them to ABI. They do this so they can measure the old belts and make sure that the new belts are a perfect match. So, I boxed up my old belts, sent them via overnight delivery, and a new box showed up 10 days later. In the new box was a bag for each belt. Each bag had both the new and old belt in it. Frankly, receiving that box, which weighed over 10 pounds with both sets of belts in it, was like getting a gift on Christmas morning! I couldn’t wait, so I removed my pocketknife from my pocket and carefully opened the box. I controlled my anticipation to make sure that I didn’t cut a new belt or slice open my hand in the process. The new belts are of very high quality and the new buckles are wrapped in plastic film so they don’t get scratched during shipment or installation. The new belts were totally identical to the old belts and ABI clearly makes products of the highest quality and they are A+ in appearance.
Removal and installation
The old belts remove in less than 30 minutes. You’ll need a few tools: a thread identifier, a bolt identifier, a socket wrench, and a few miscellaneous tools like a needle nose pliers, etc. Use the socket set to remove each seatbelt bolt. If you’re going to put your new belts back into the existing carpeting, then place the removed bolt next to the hole that it came out of. That way you won’t have any issues during the reinstallation.
Inspect each bolt as you remove it. If it’s worn, you’ll need to replace it. Bolts are generally less than a dollar each from Aircraft Spruce and if you order them as you’re removing the old belts, they will likely arrive before your new belts, so there will be no hold-ups in the project.
Use the thread identifier to find out what thread to order and use the bolt identifier to find out what length and width bolt. Then order a cadmium plated bolt from Aircraft Spruce. All of the seat belt bolts in my plane were reusable except for two: the shoulder harness inertial reel bolts. The old bolt was a screw that was stripped out. I replaced it with a compatible bolt and I’ll never use a screwdriver again but rather a socket wrench. Much better! I think I spent about $2 for the bolts and included them with another order so I wouldn’t have to pay the shipping fee.
The new belts were just as easy to install as the old belts were to get out with one exception: In my plane, the shoulder harness inertial reels are in a very confined location and have to be installed through the headliner, which is new in my plane. Go easy here and if you need help, ask for it. And make sure you’re either wearing plastic gloves or your hands are very clean. You don’t want grease or dirt or, as my grandmother would have said, “schmutz,” on your headliner! And one final note on this, you will need a second person to remove and reinstall the left inertial reel. The outside person will need to hold the screwdriver in the screw while the inside person ratchets out the nut on the inertial reel. You’ll need that person again to tighten the bolt on the inertial reel during the reinstall with a box or crescent wrench, or socket.
Other than sitting on the floor in a pretzel position to work on these belts, the entire project is quick and easy. While the removal was done in about a half hour, the reinstall took a bit over an hour as I slowed down and made sure I was doing a correct and high-quality job. This is an easy project and I think that most people can do it without a professional’s help. The cost is reasonable, especially with no labor cost. Best of all, your airplane is as safe as it can be, and the new belts look amazing. ABI is a fine company that delivers the highest quality, I recommend them highly!
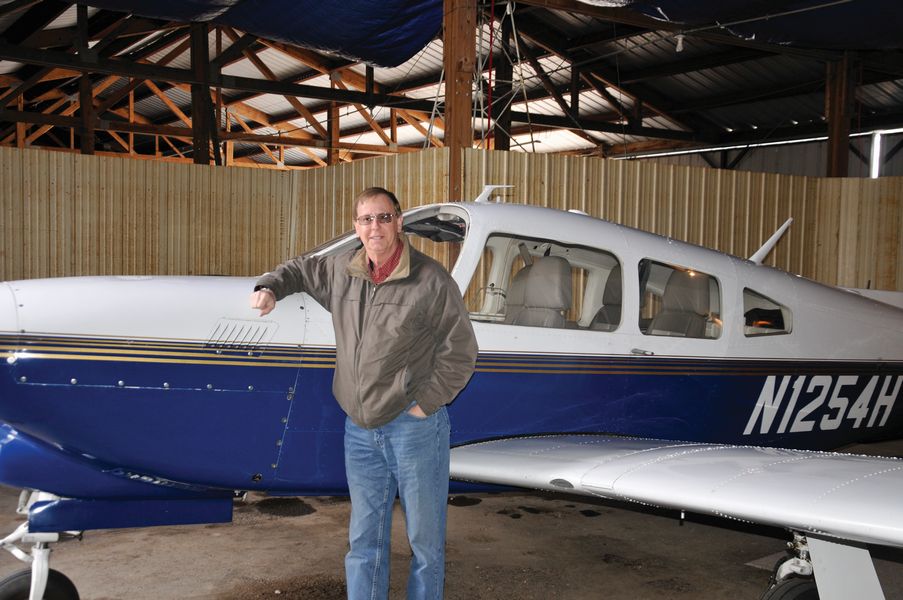
Shows the author with his 1977 Turbo Arrow III. 
Thread finder next to a candy cane for a size comparison. 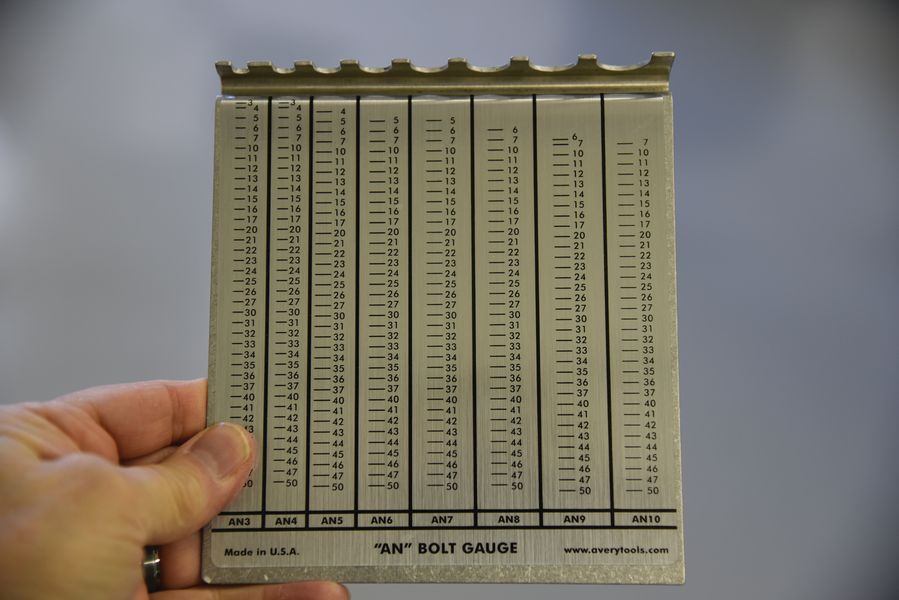
A bolt identifier for use in replacing bolts. 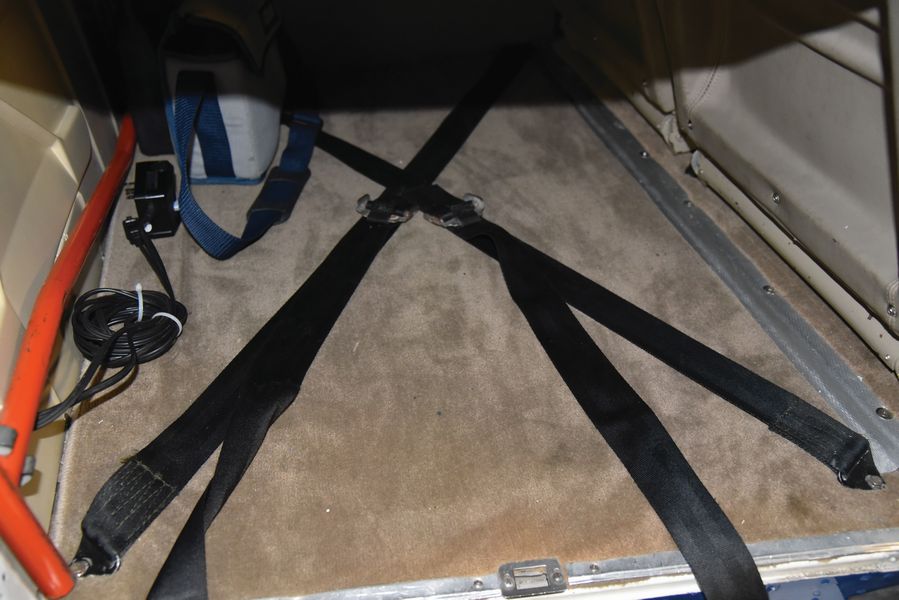
The baggage area belts with the old carpet. 
A close-up of one of the baggage area bolts. 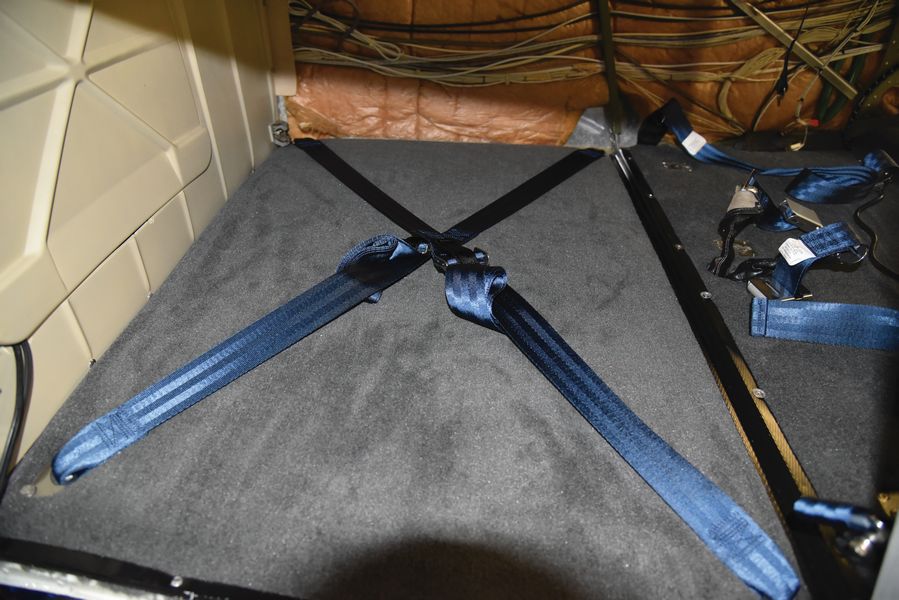
The new baggage area carpet is installed with the new blue ABI belts. 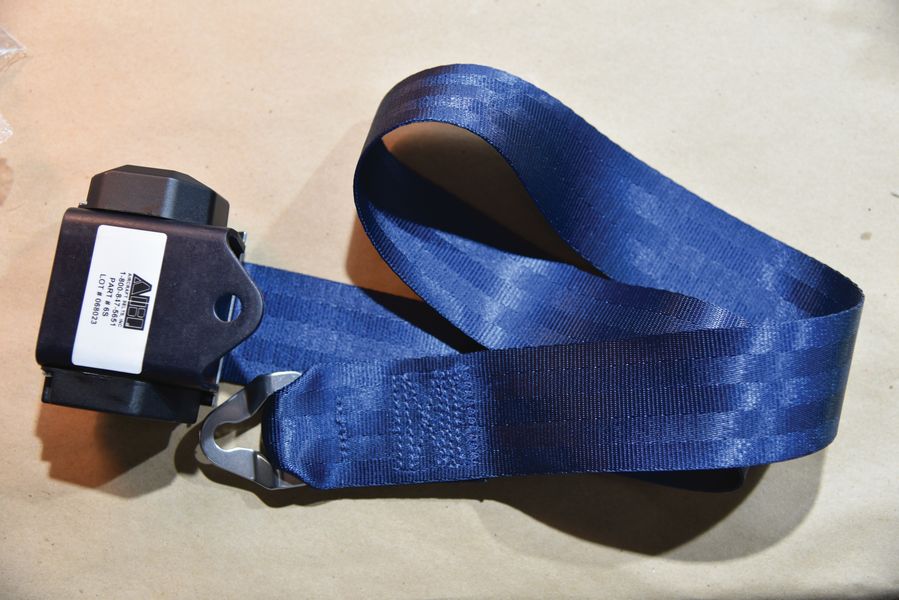
A new ABI front seat shoulder harness inertial reel. 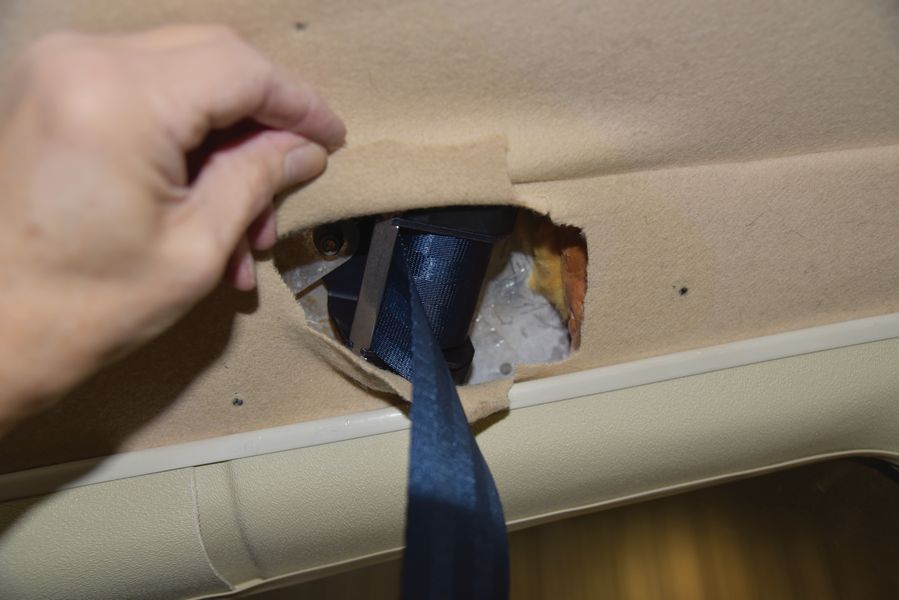
With the white plastic shoulder harness cover removed, you can see the hold that the reel is in. 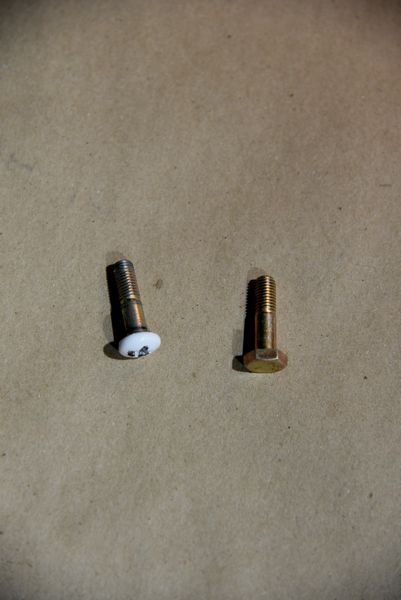
Shows the old screw replaced by a new bolt. 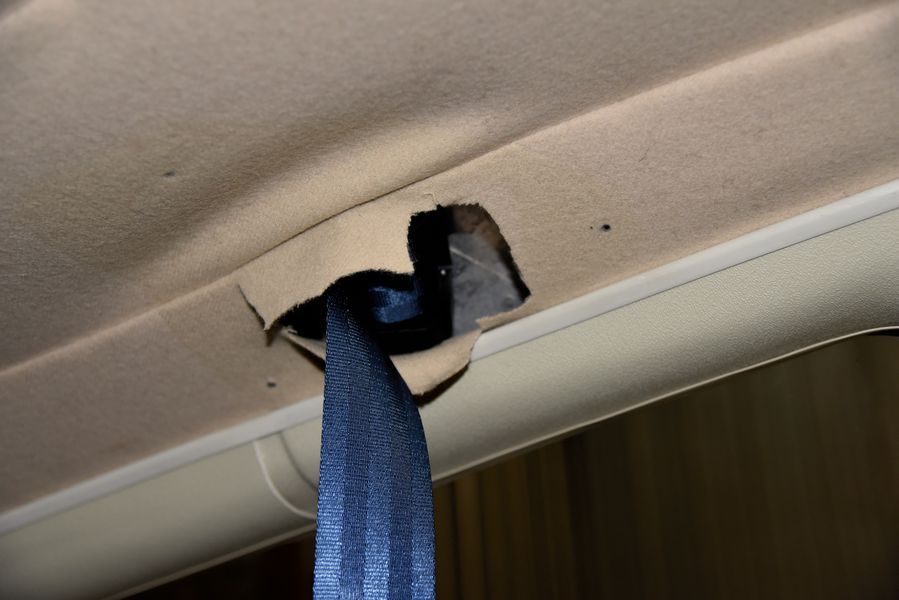
Shows the new reel hanging from the ceiling and the three screw holes for the cover plate are clearly visible. 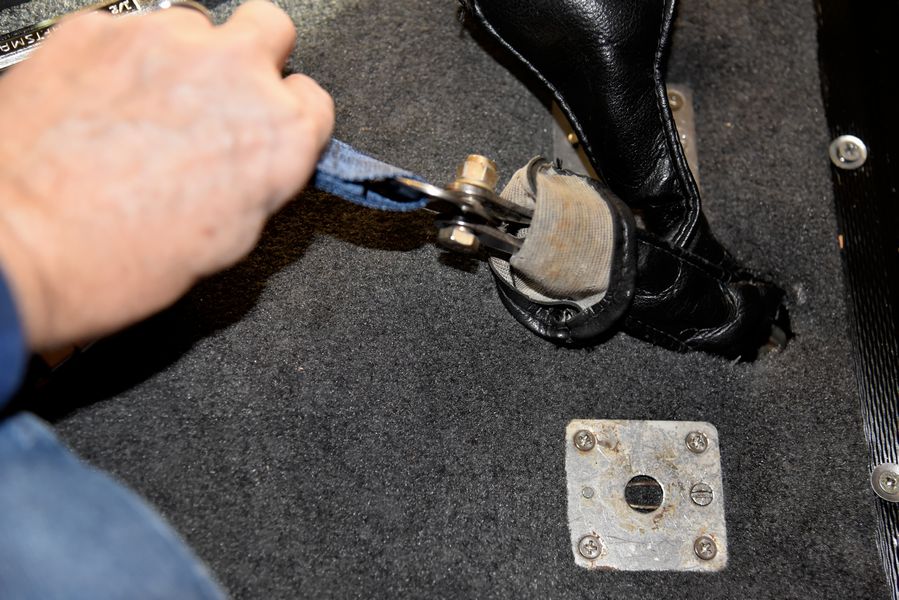
The center rear seat belts being reinstalled. 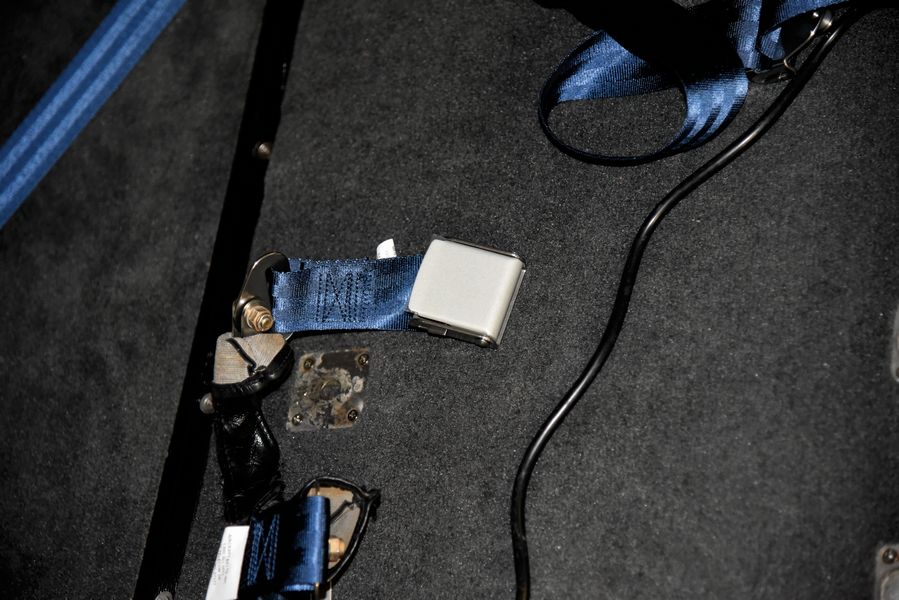
The center back seat belt successfully installed on the new carpeting. 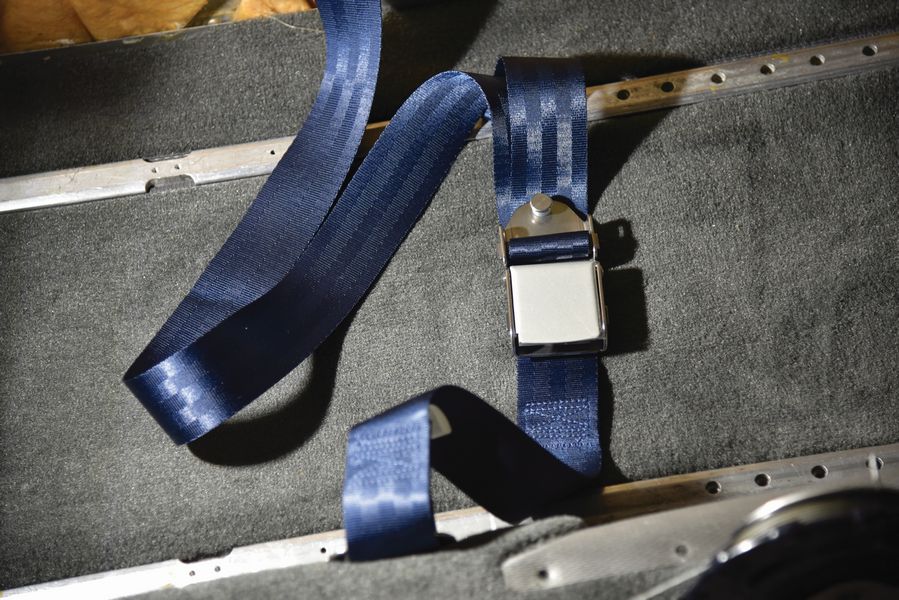
The front seat belt installed with the front seats out.

