

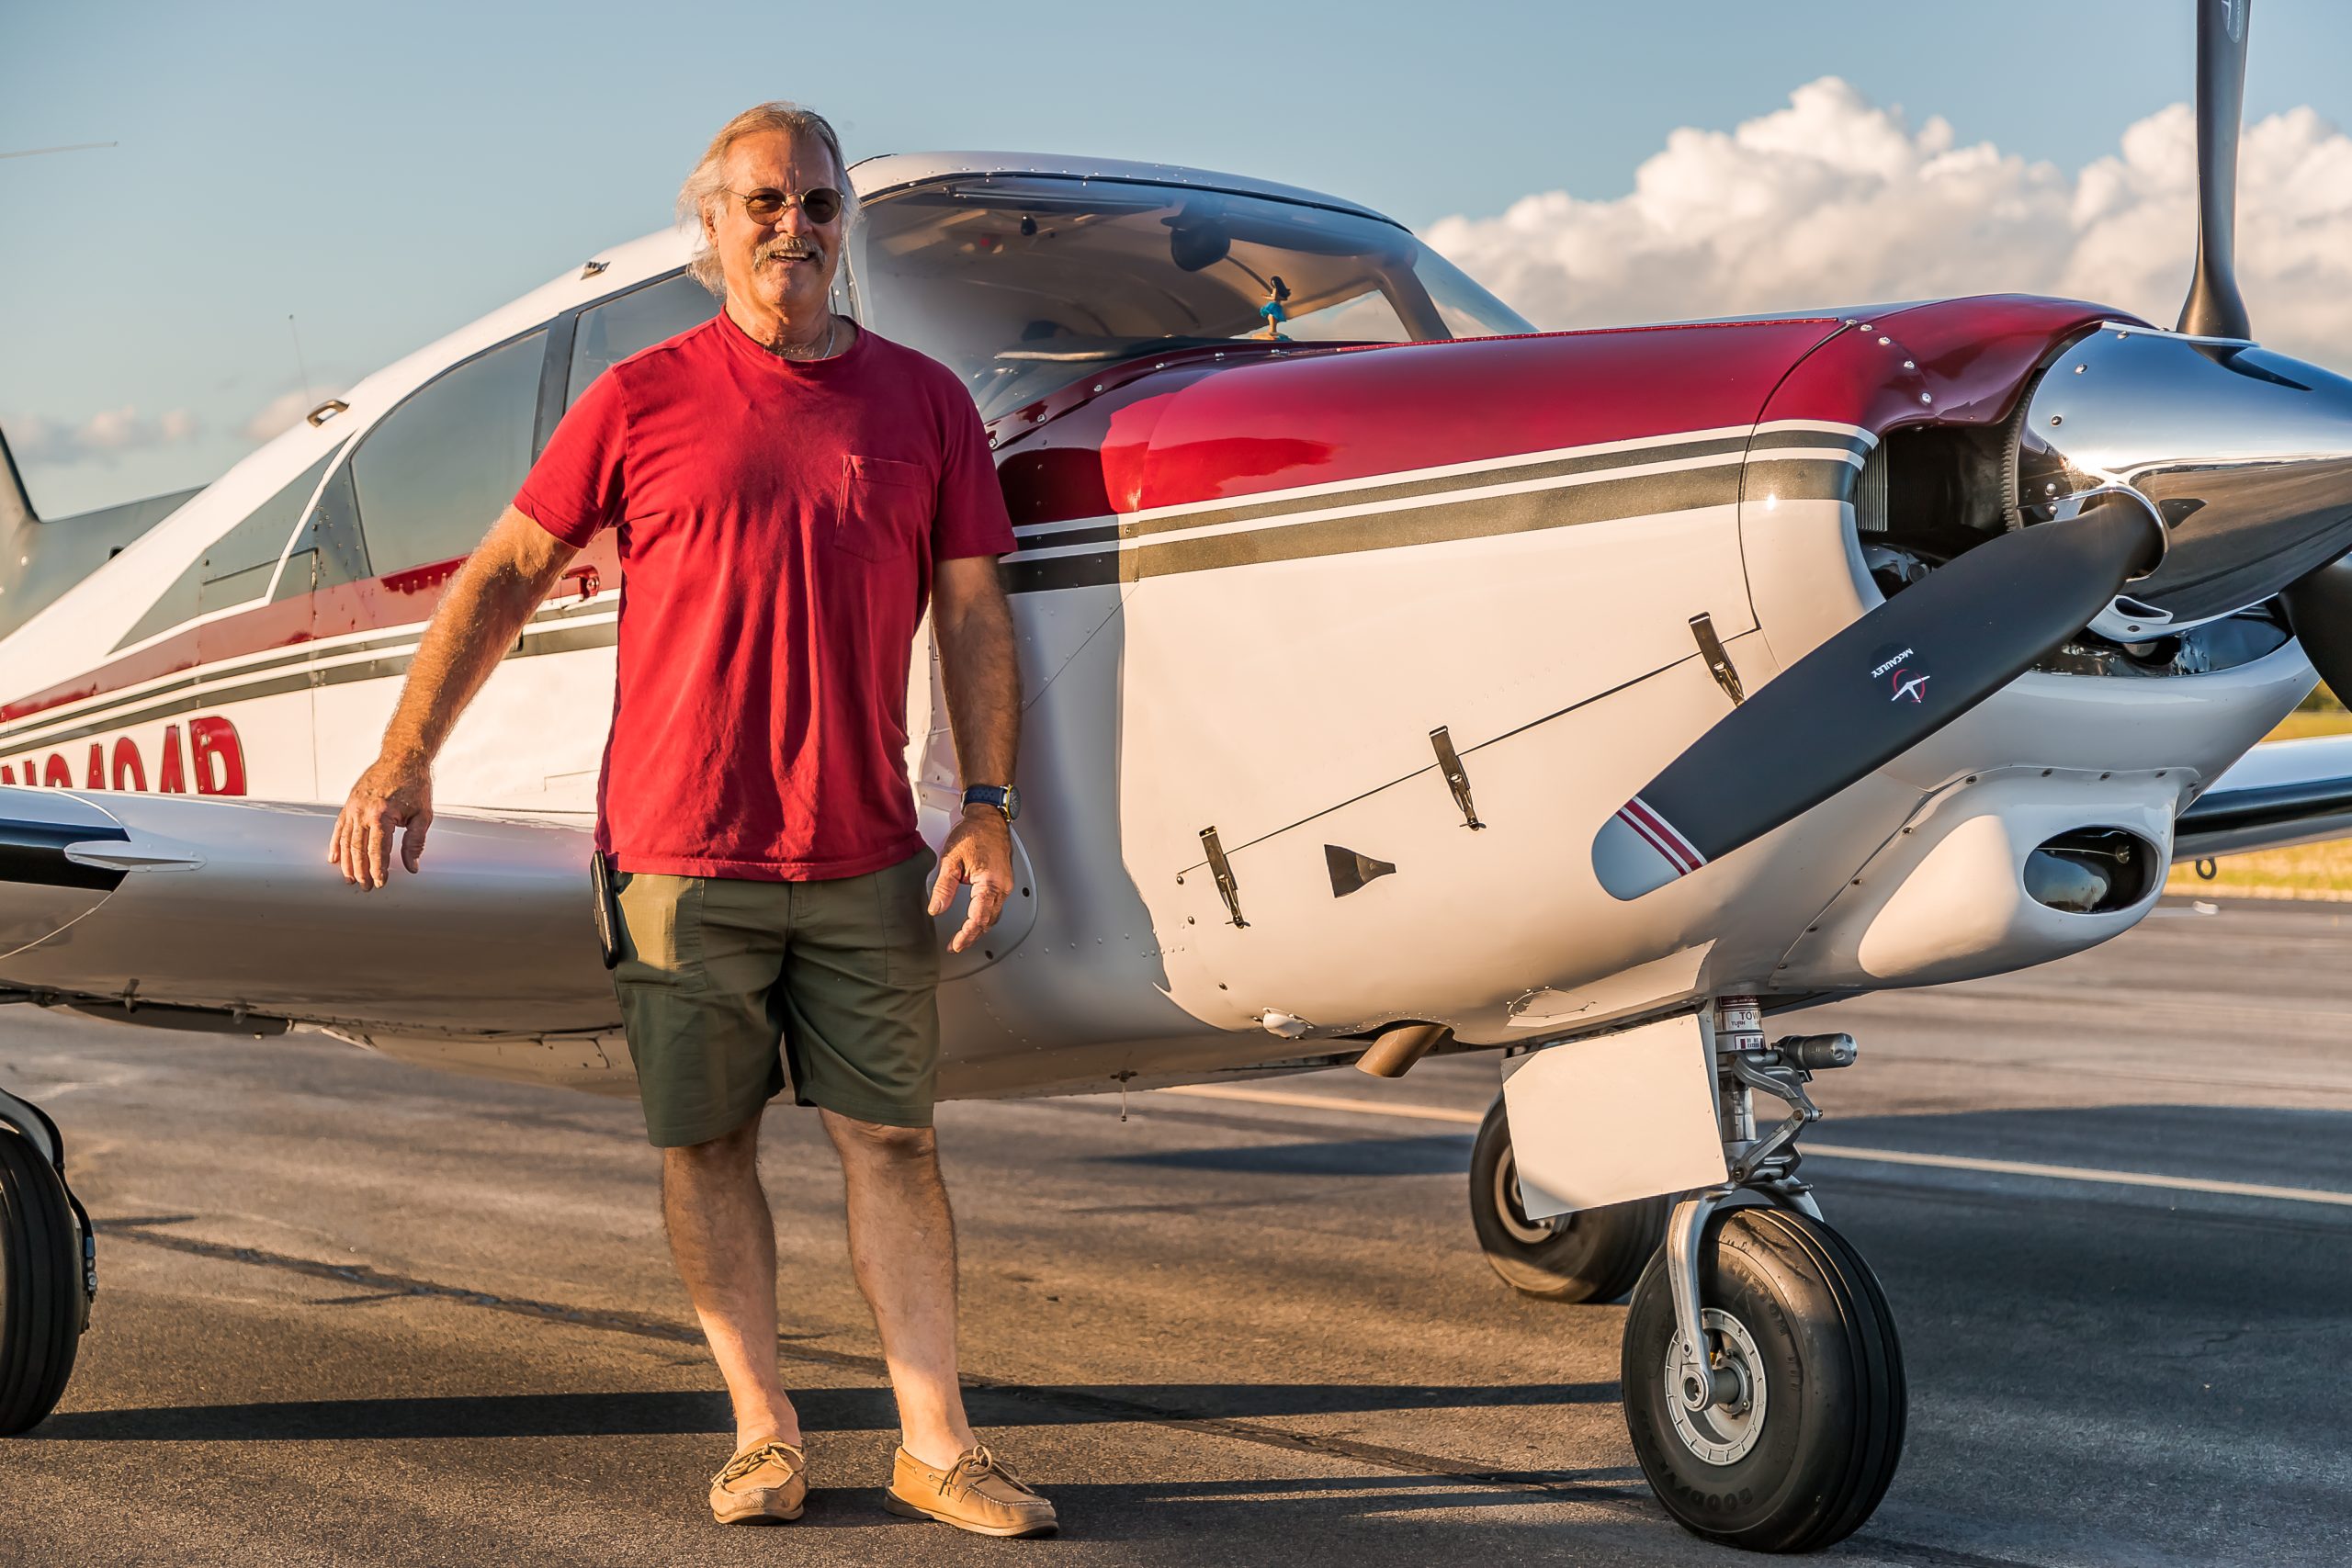
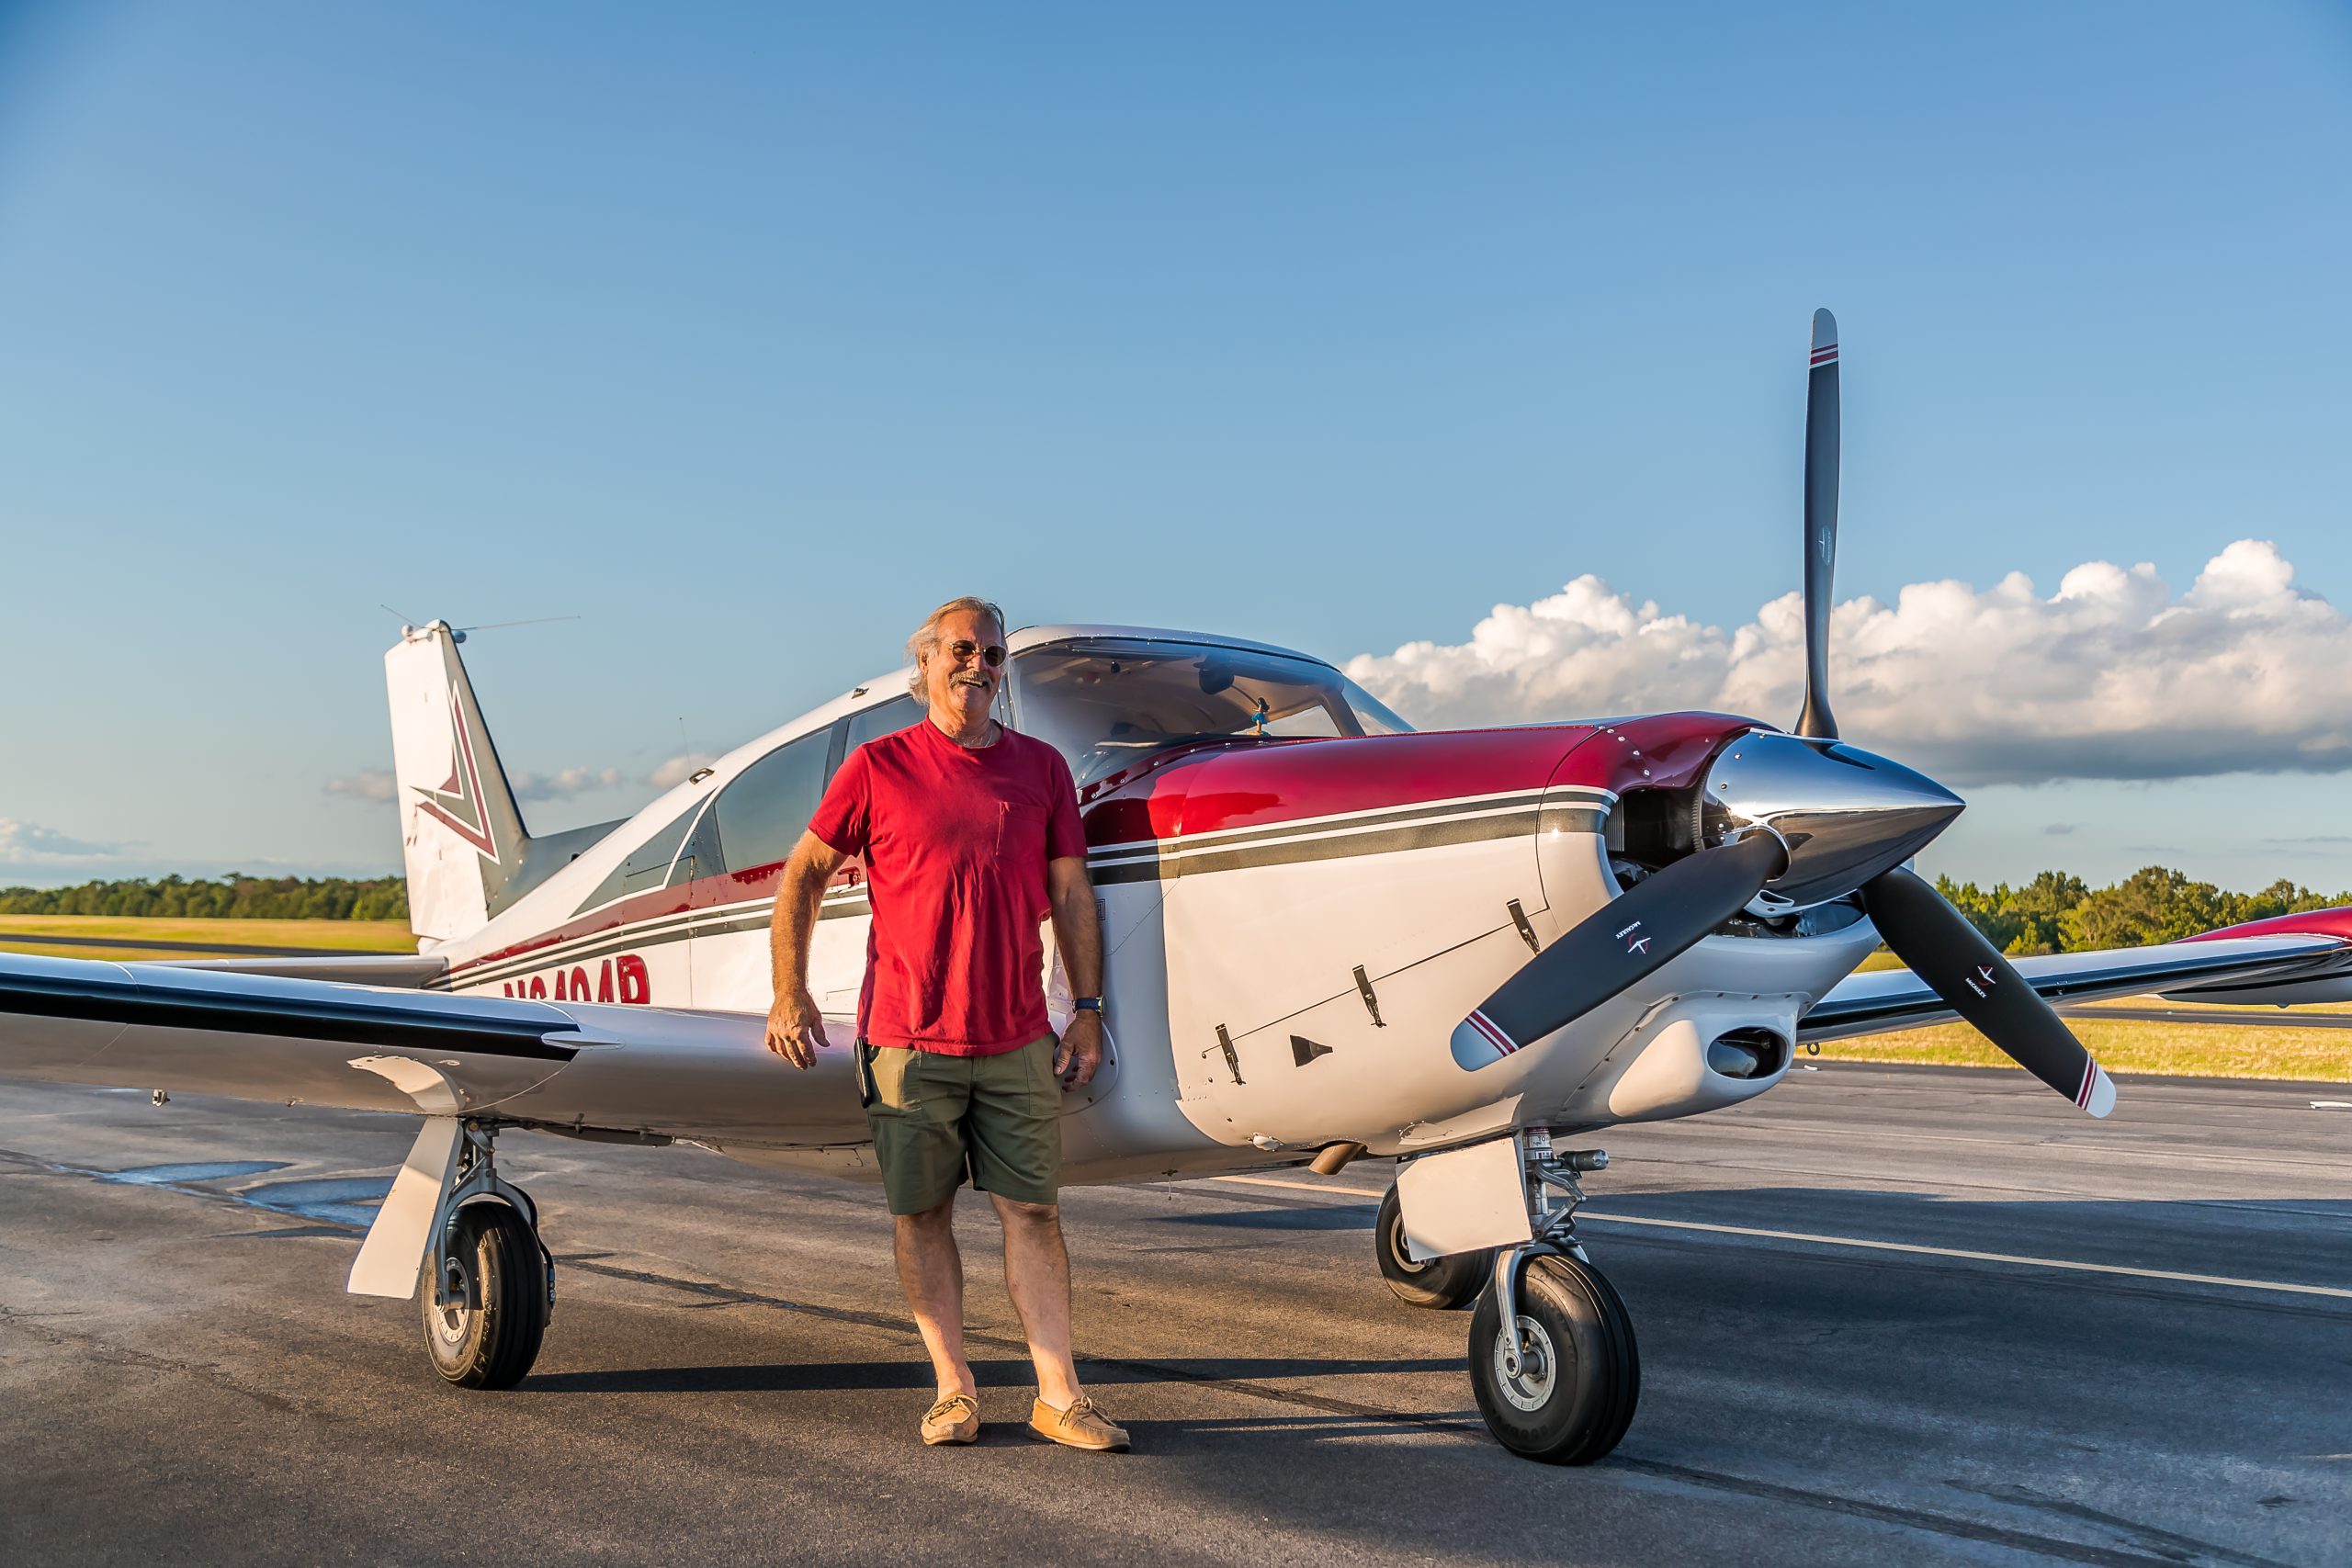
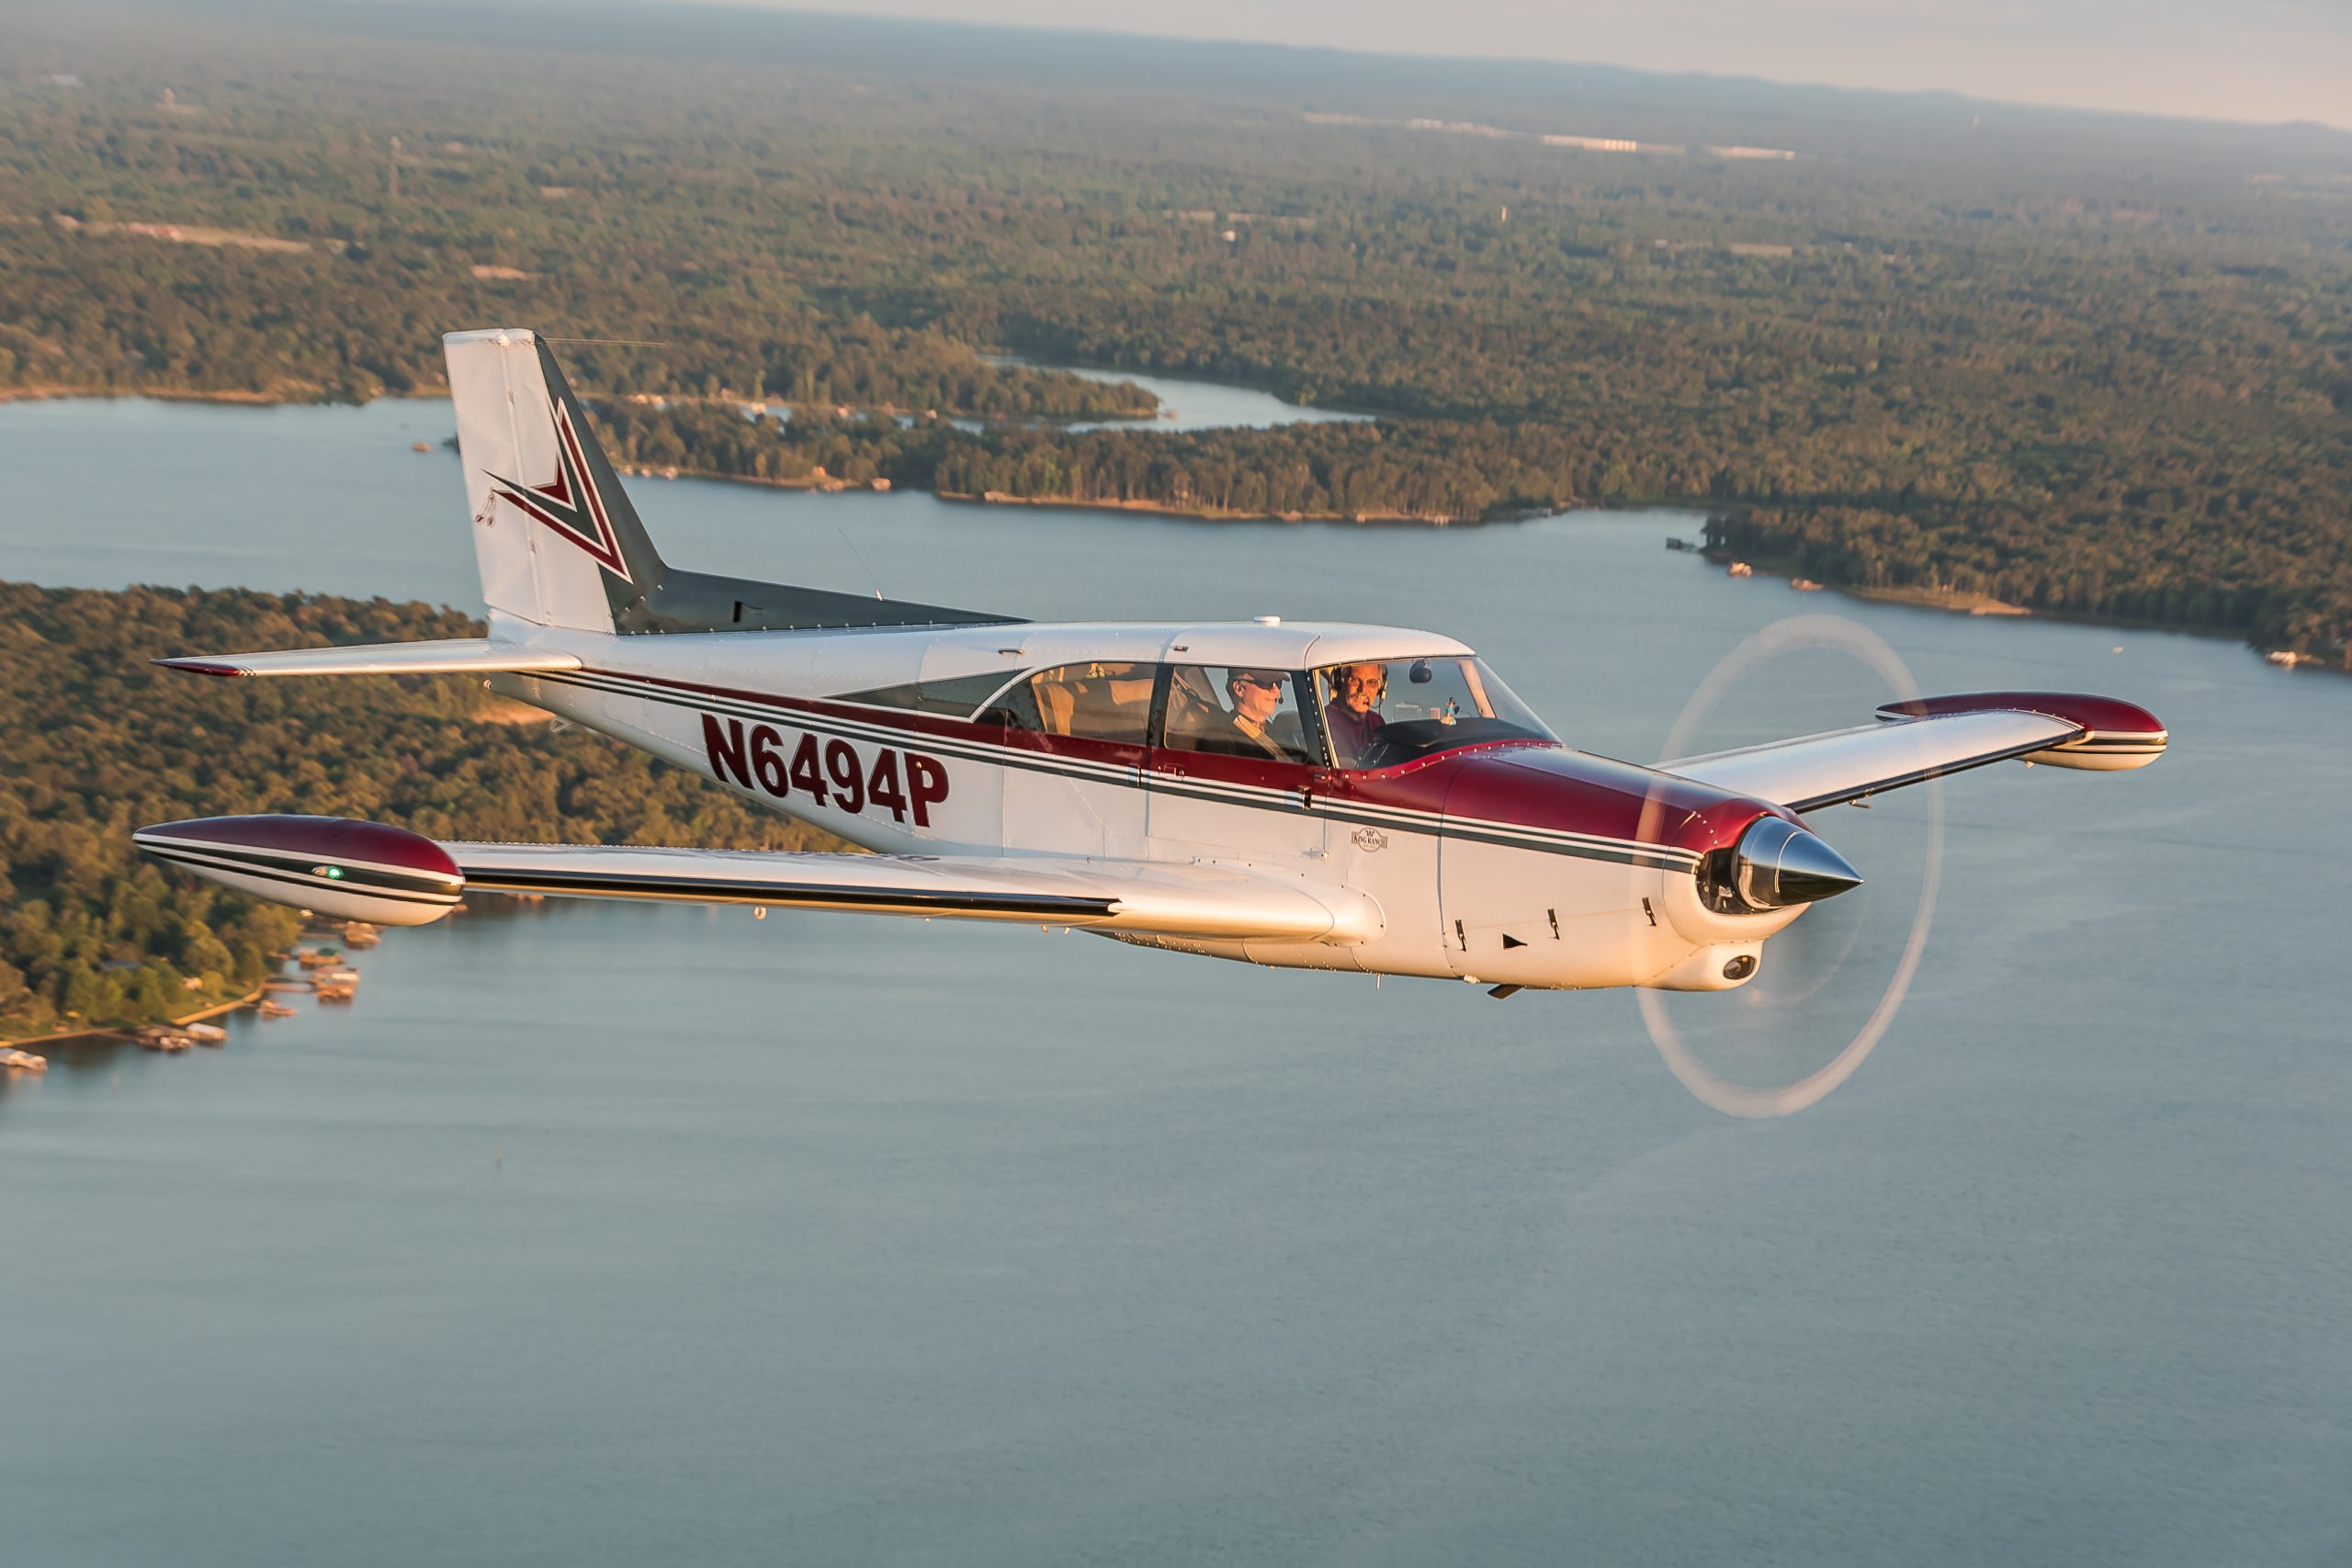
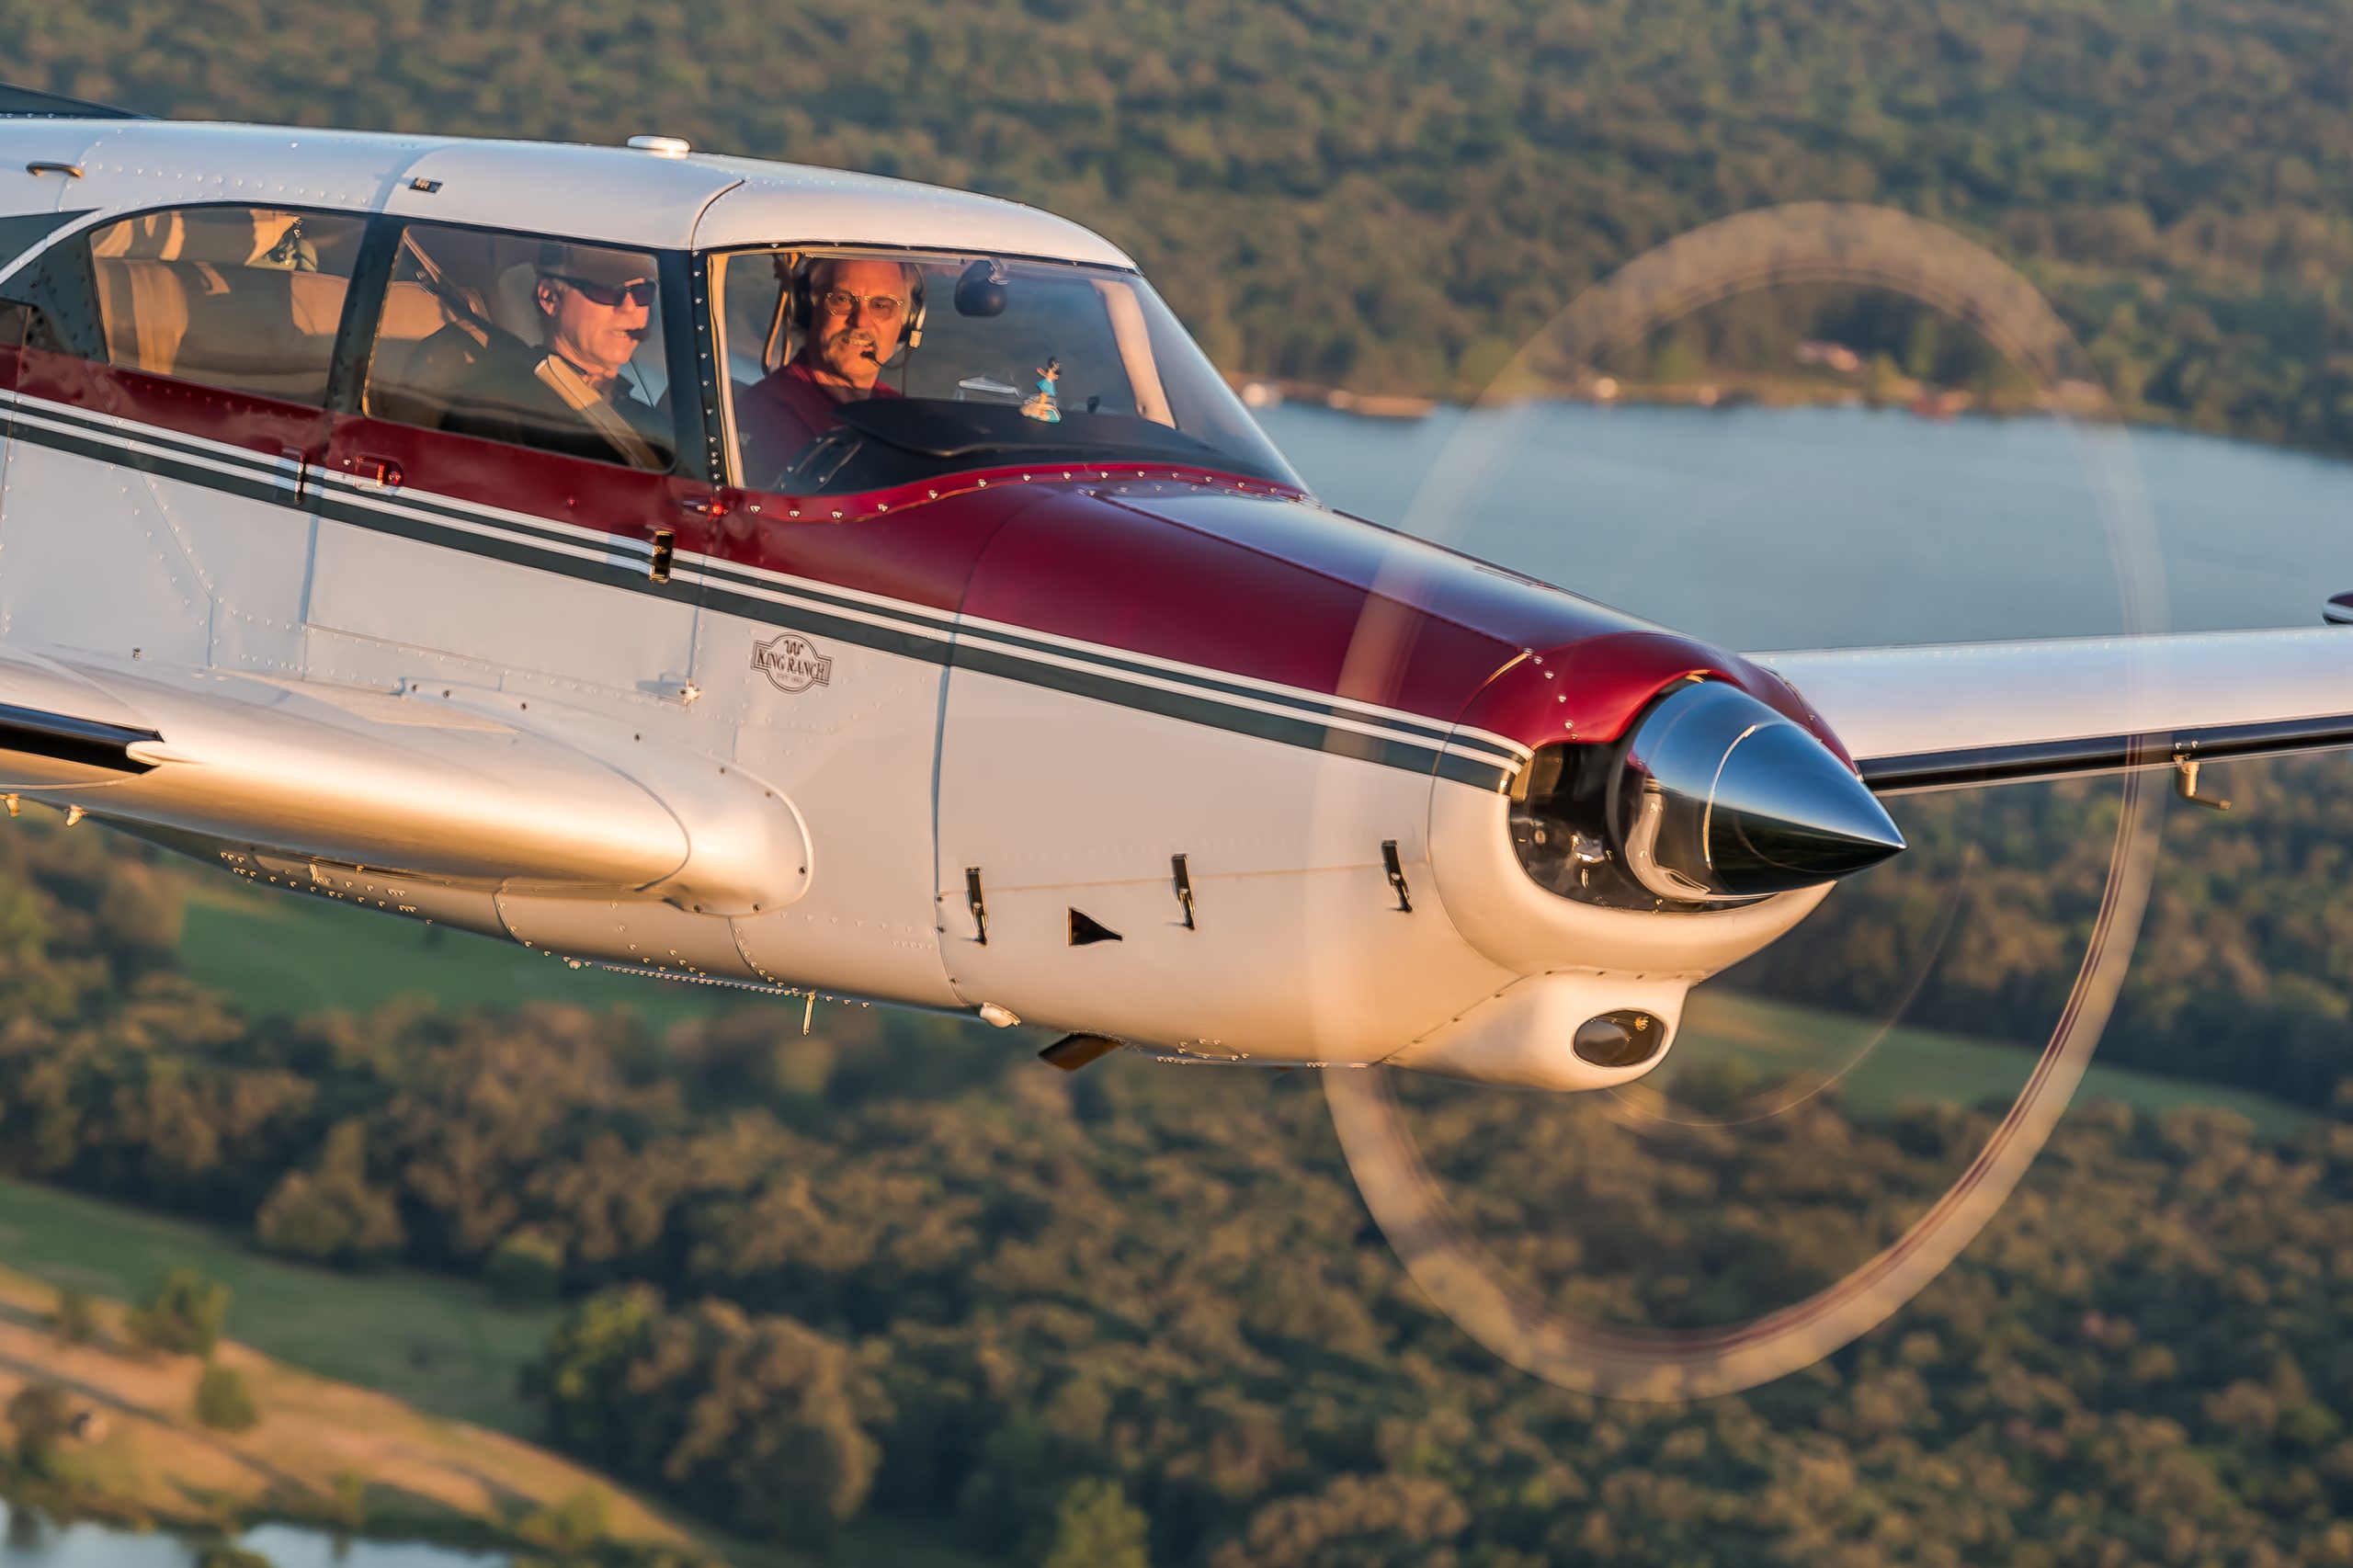
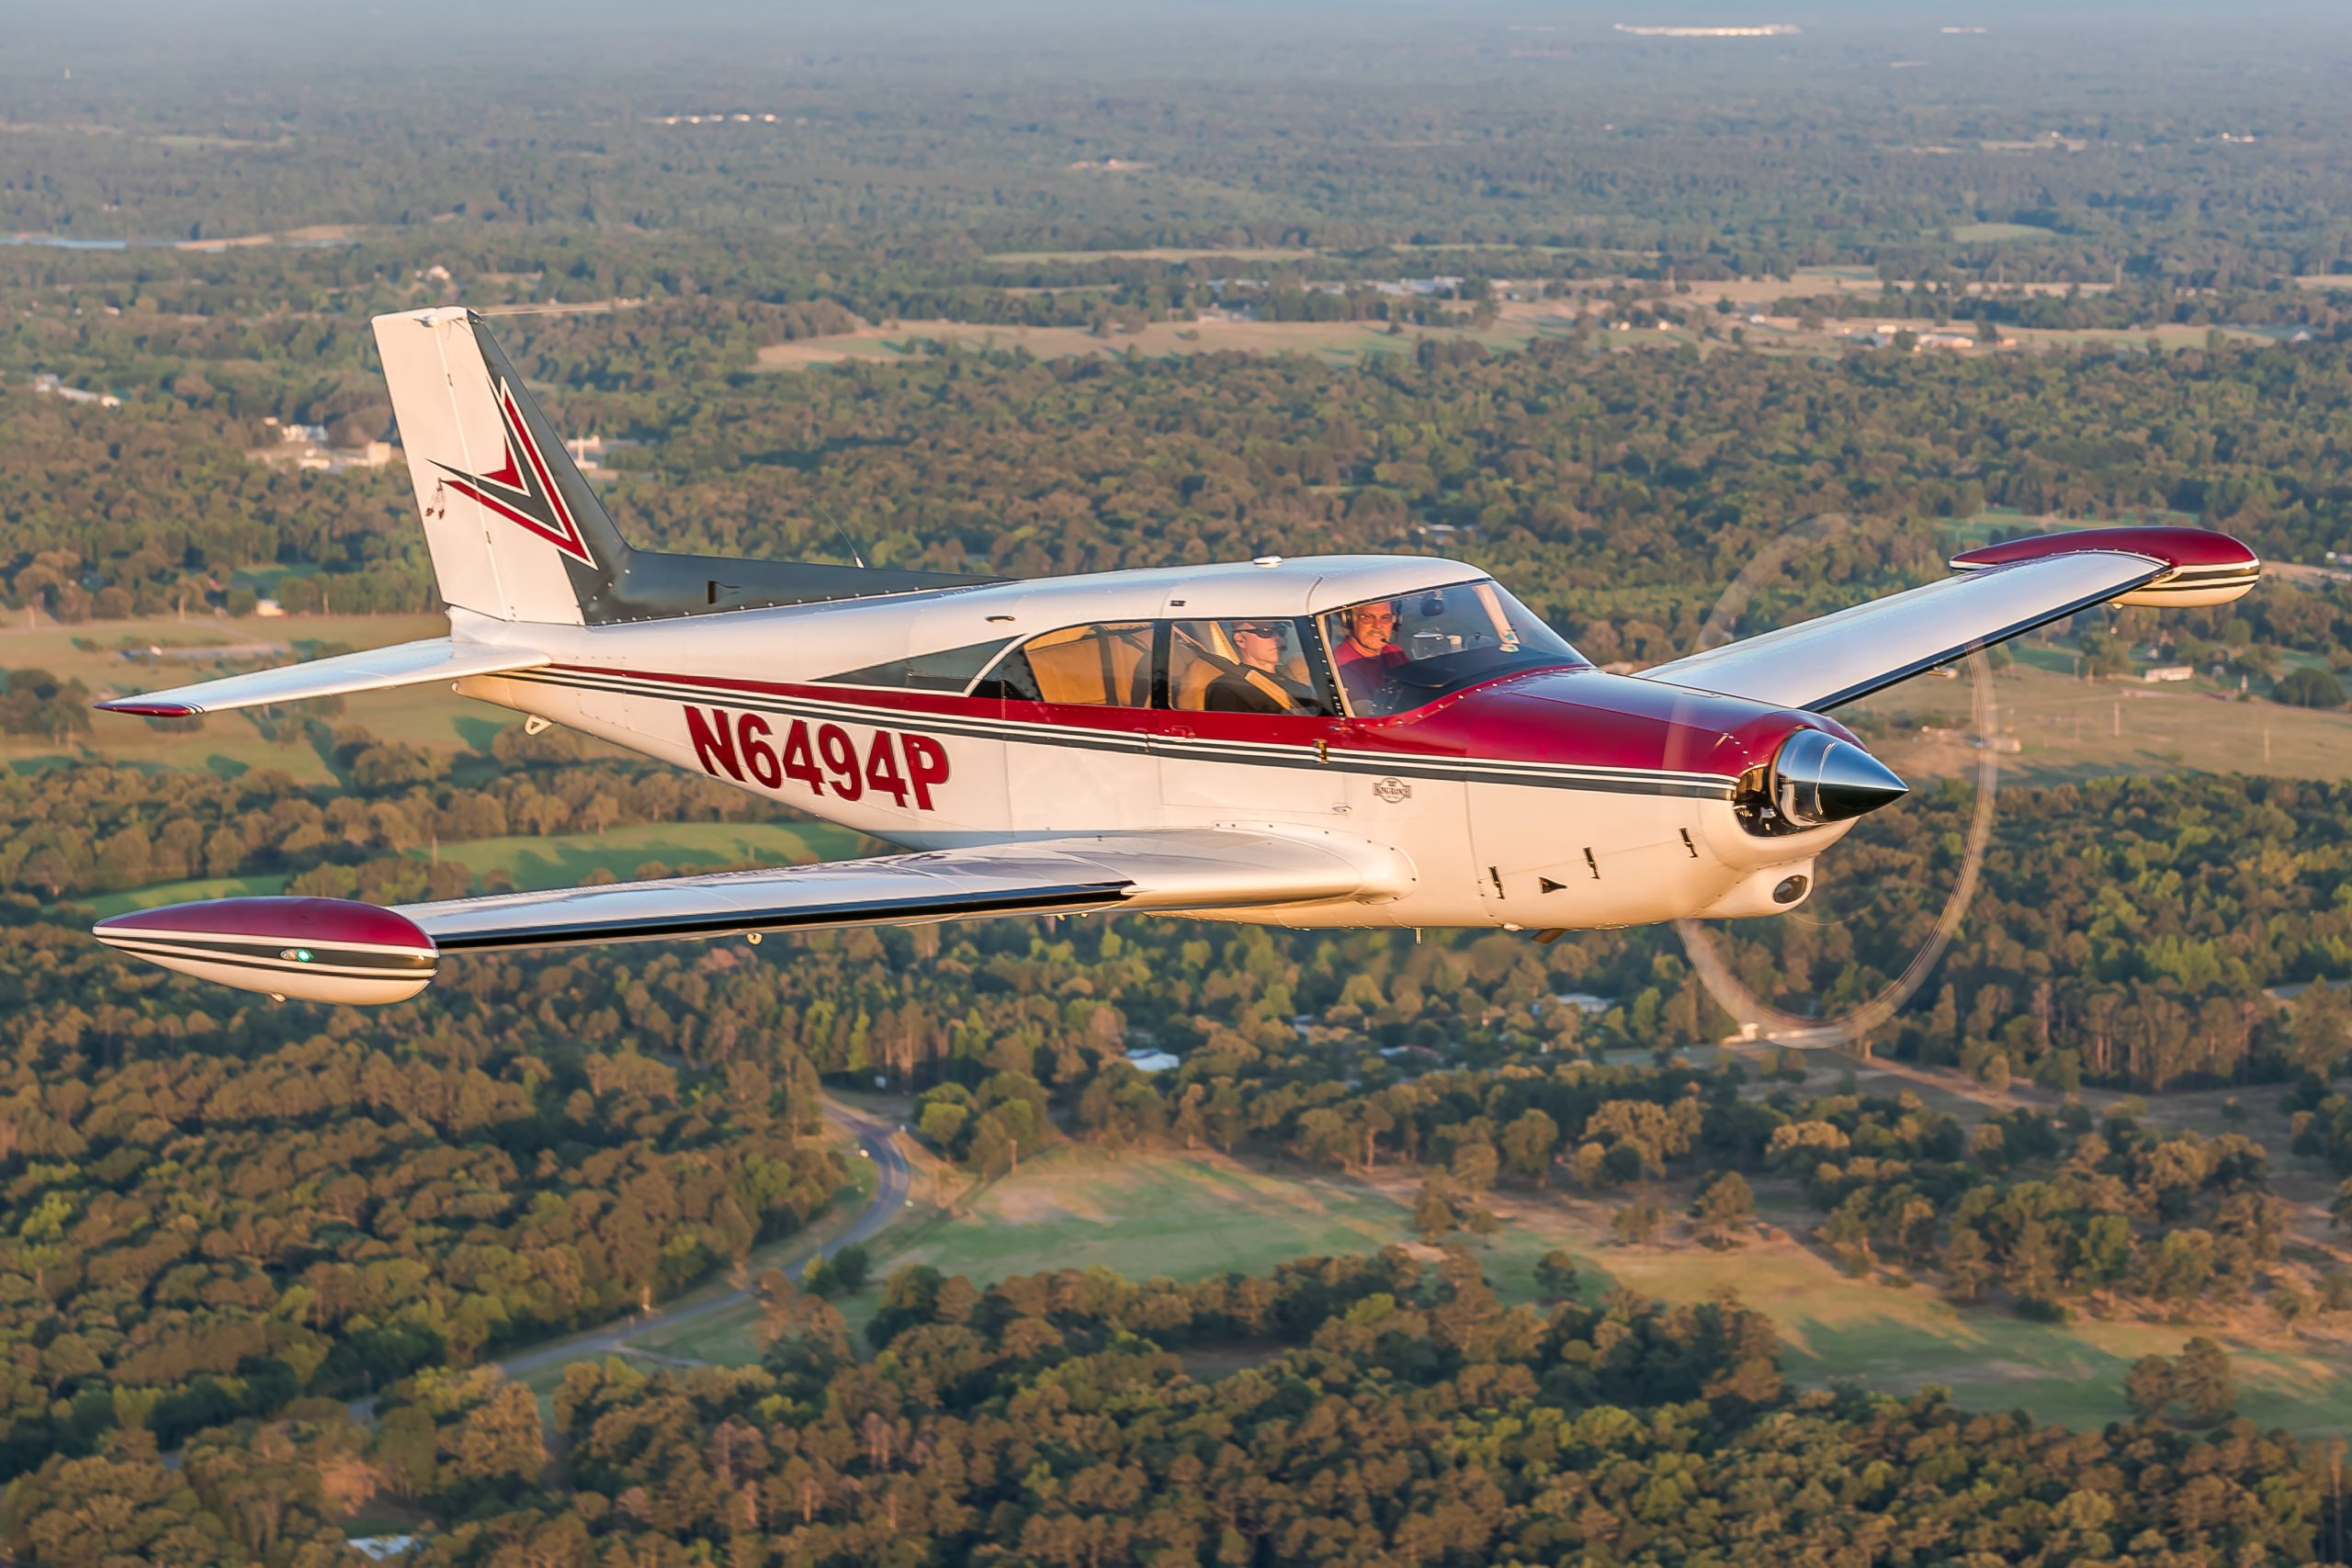
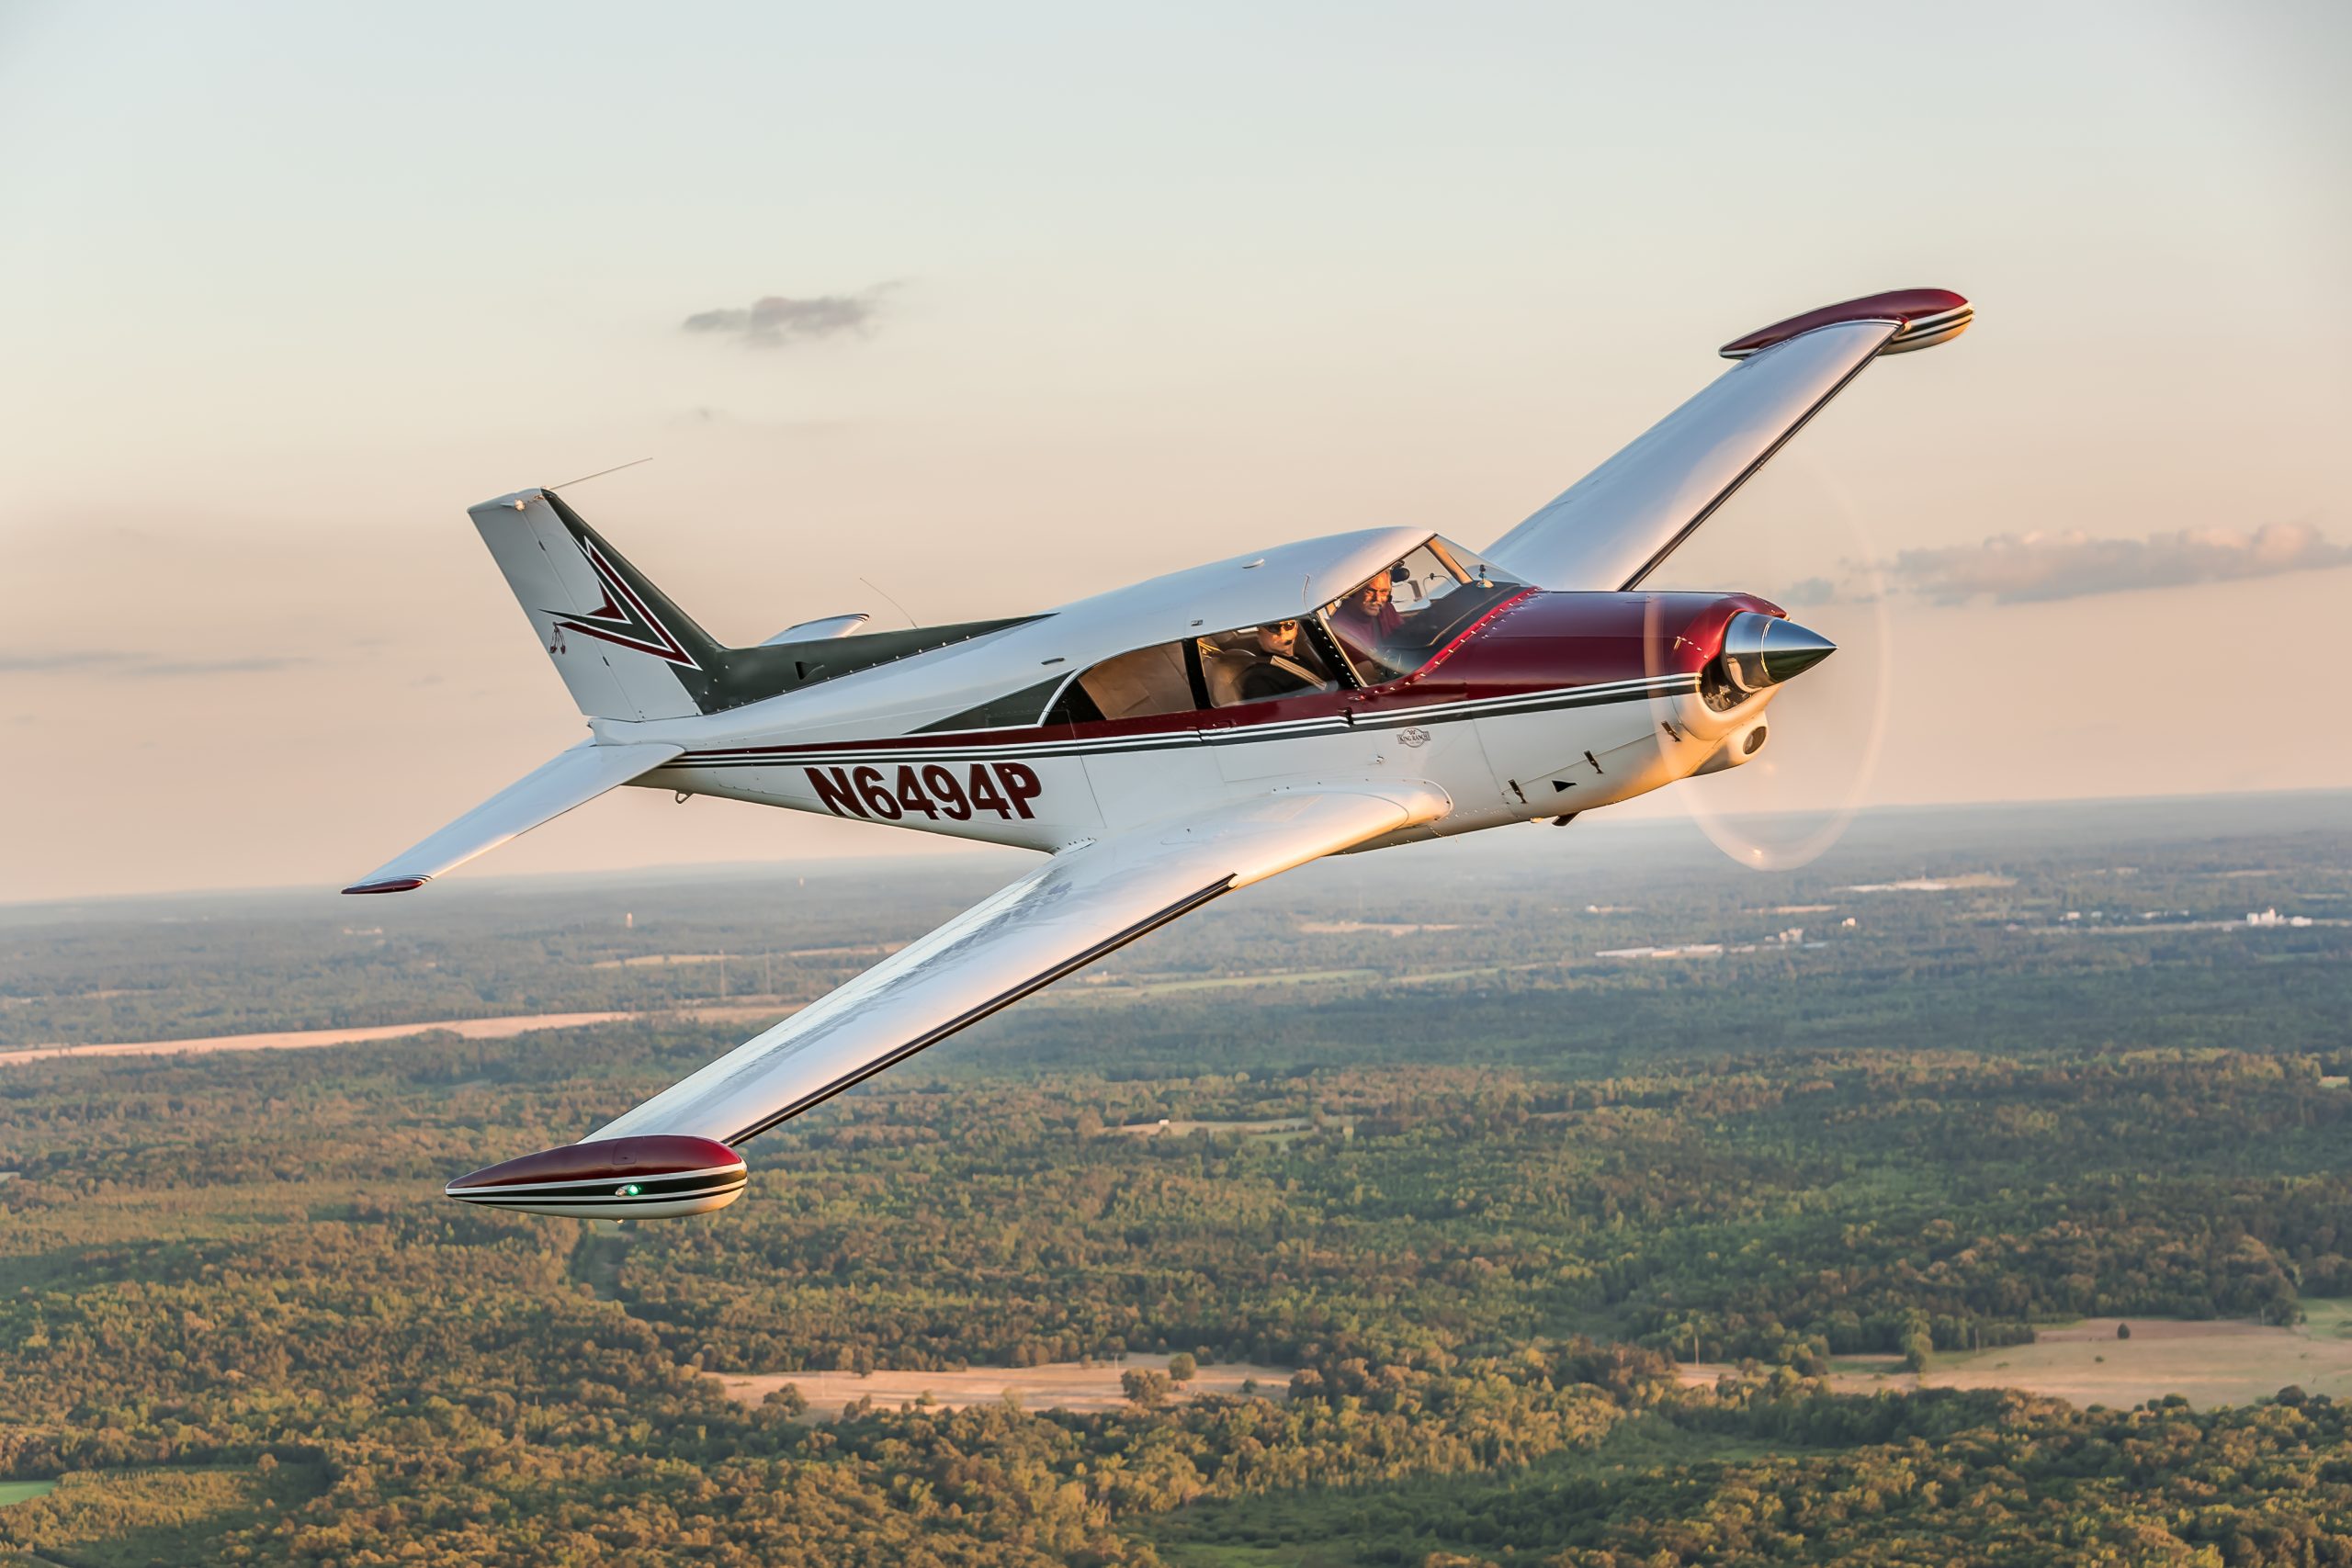
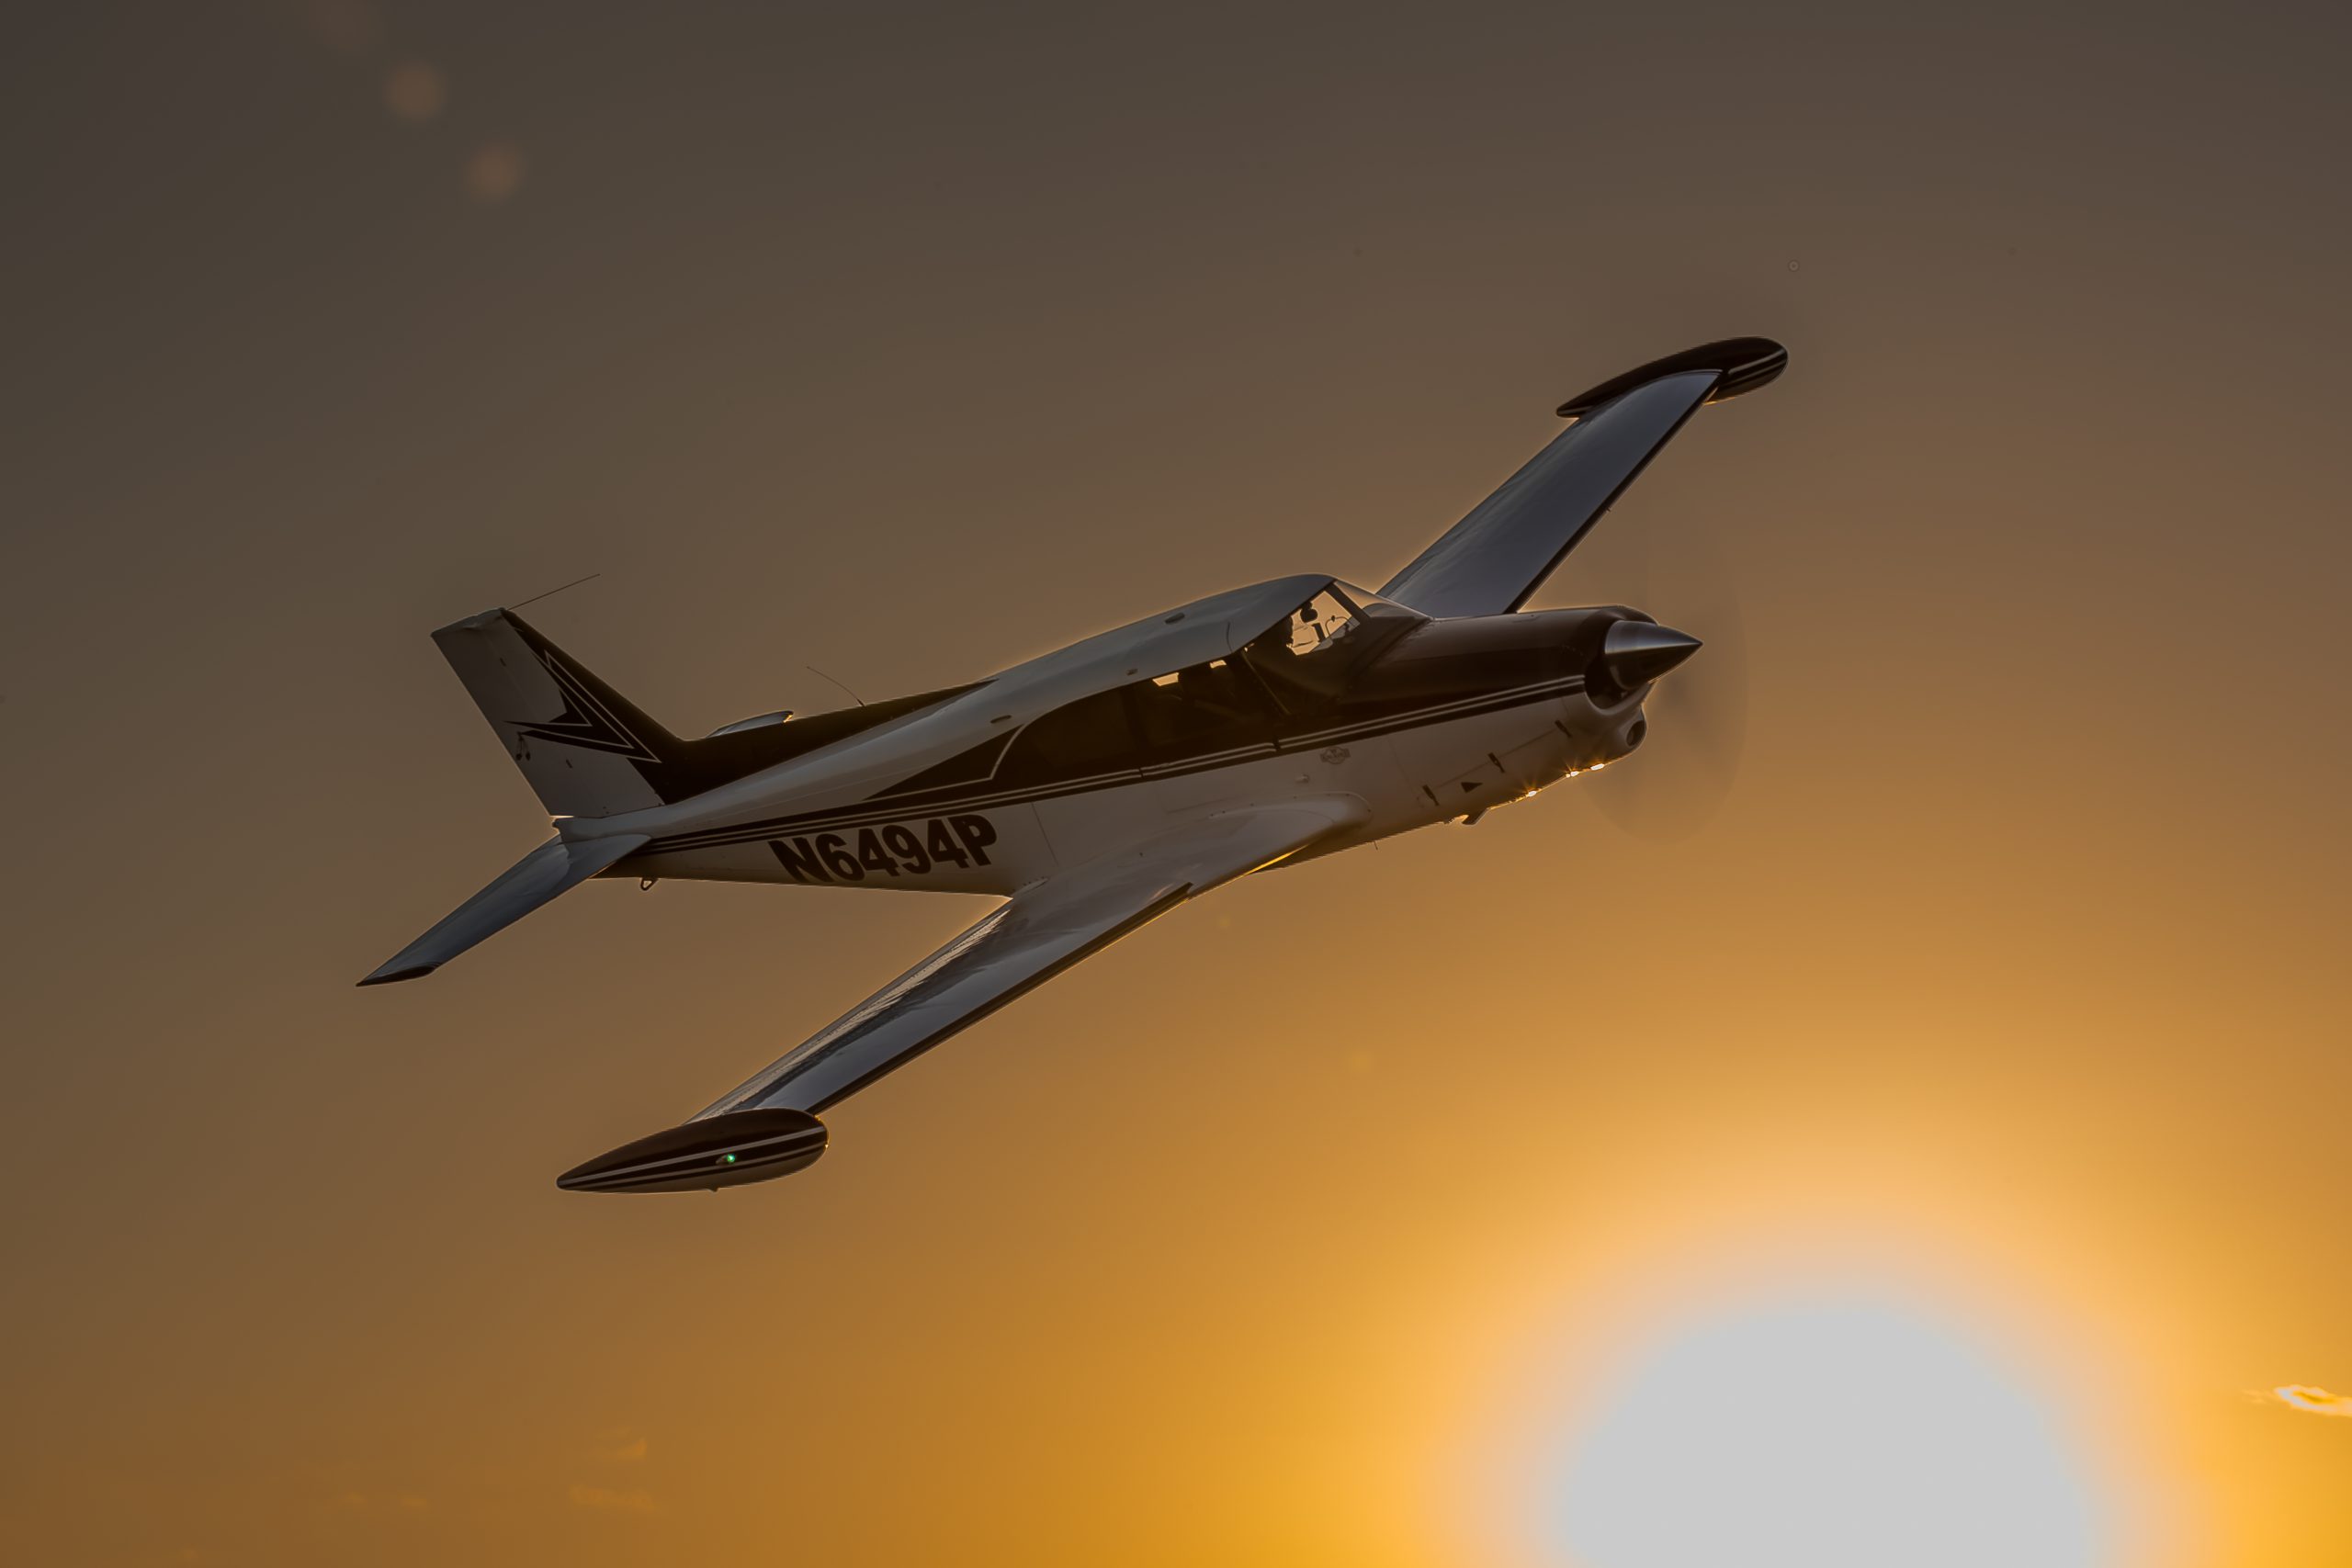
Photos of this 1959 Piper PA-24 Comanche Review by Jack Fleetwood (www.JackFleetwood.com). The plane is owned by Greg Piehl and his wife Deb. Greg was flying during this flight, with his friend Joe Cumbey co-piloting, and (not seen) dog Beau is piloting from the back seat.
At long last, this 1959 Comanche that was disassembled and trailered from Massachusetts to Florida and rebuilt piece by piece over the previous three years is ready for flight.
Our series, which started in the February issue, has chronicled the upgrade and restoration of Greg Piehl’s Comanche. We’re hoping that no matter which area of your Piper you’re working on, something in this series will help you to do it better or more affordably.
At some point in this restoration, Piehl did pretty much anything that a legacy plane owner will need to do.
This article concludes a 7-part series. Subscribe today to read the entire series, which chronicles:
- How to Disassemble and Transport a Legacy Piper
- How and Why to Strip Your Plane Yourself Before it Gets Repainted
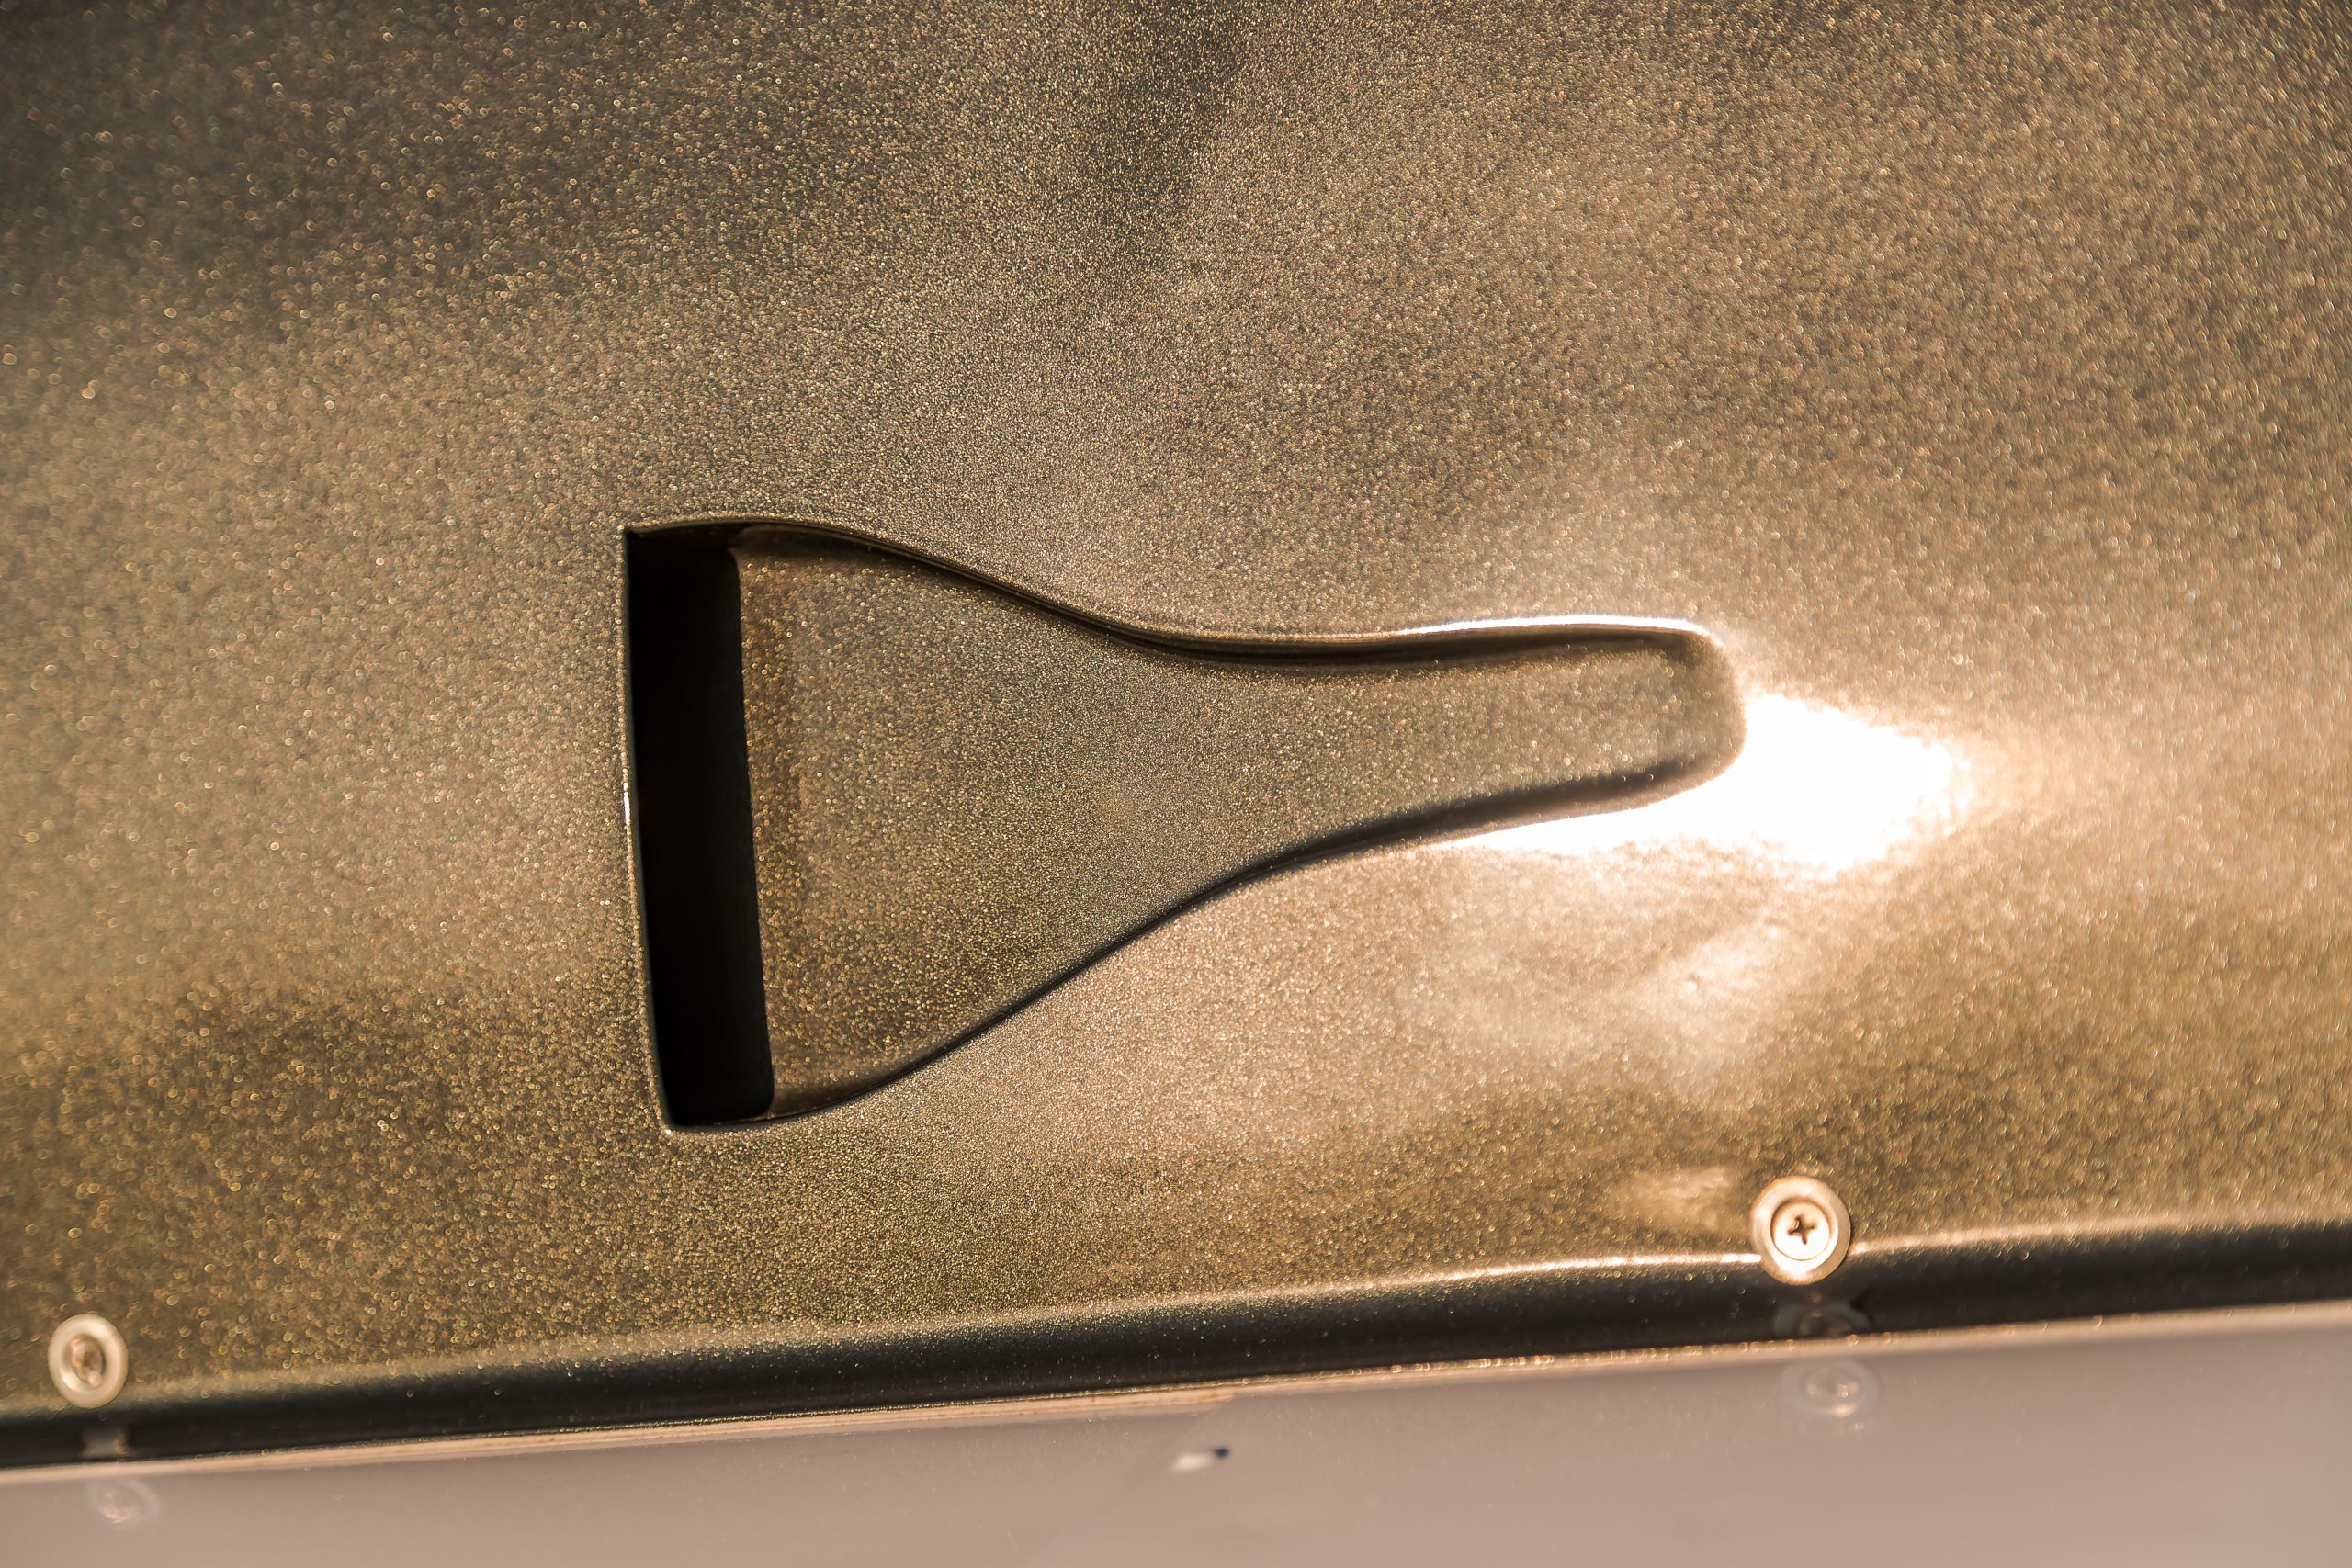
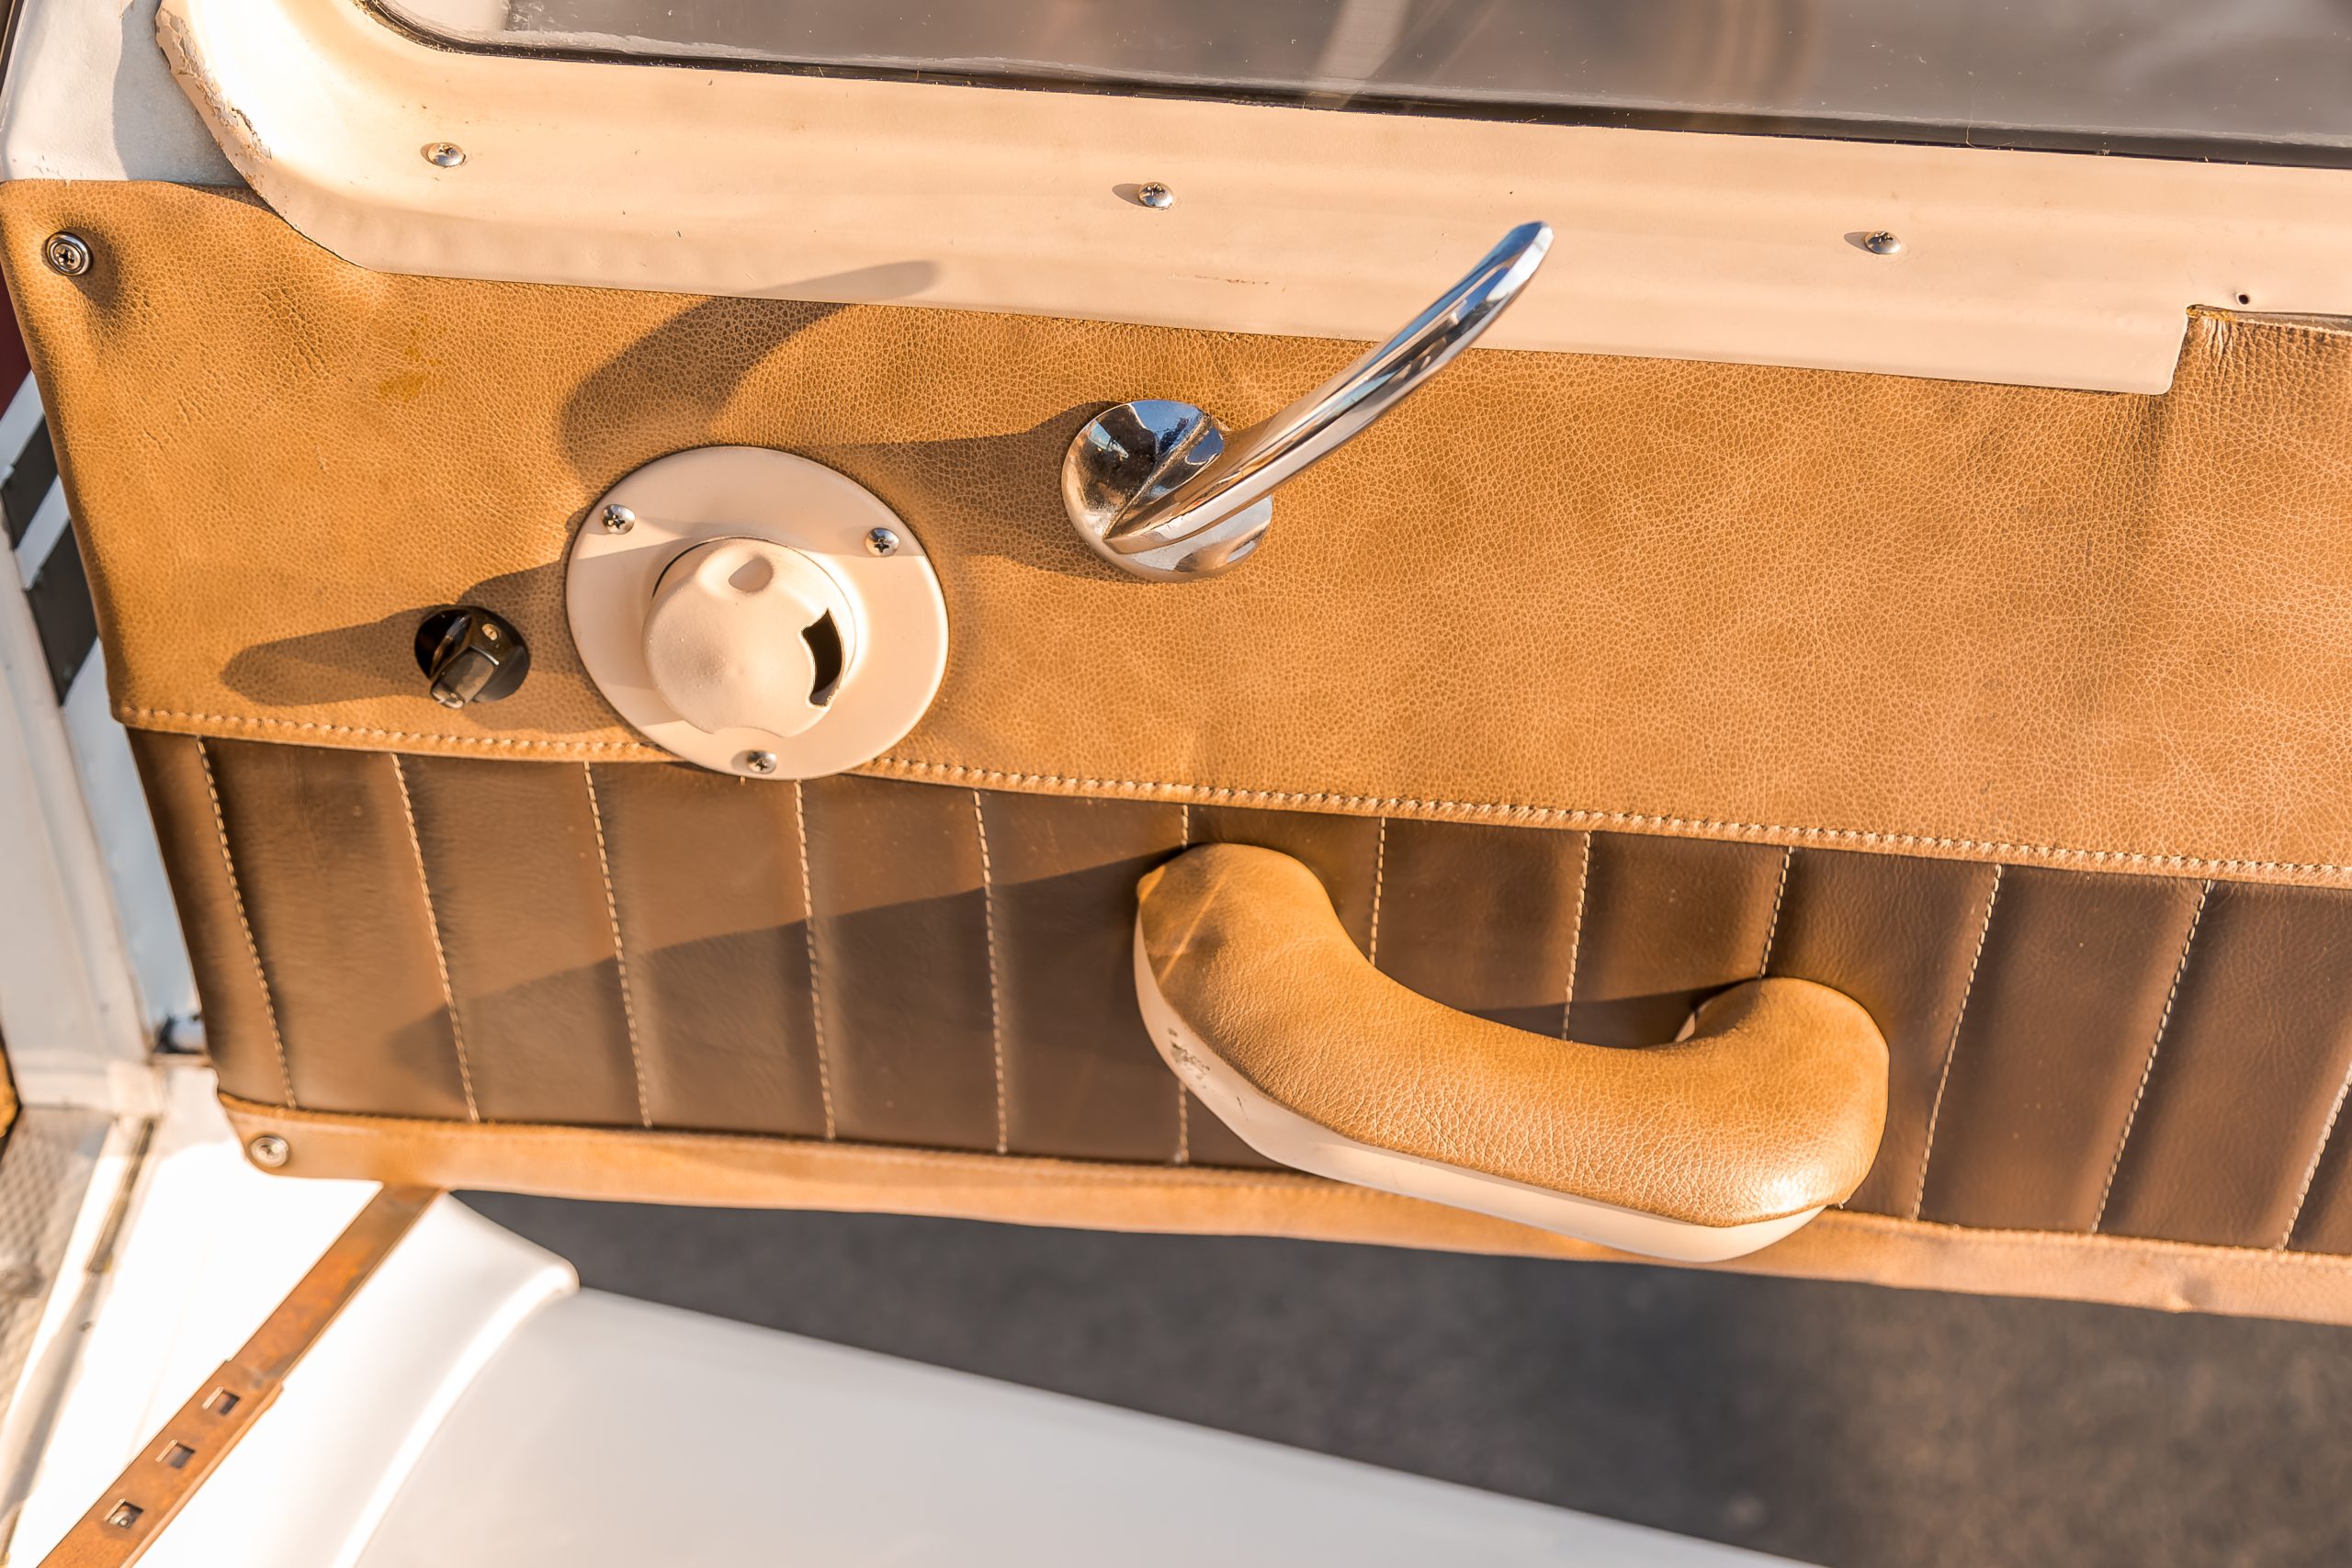
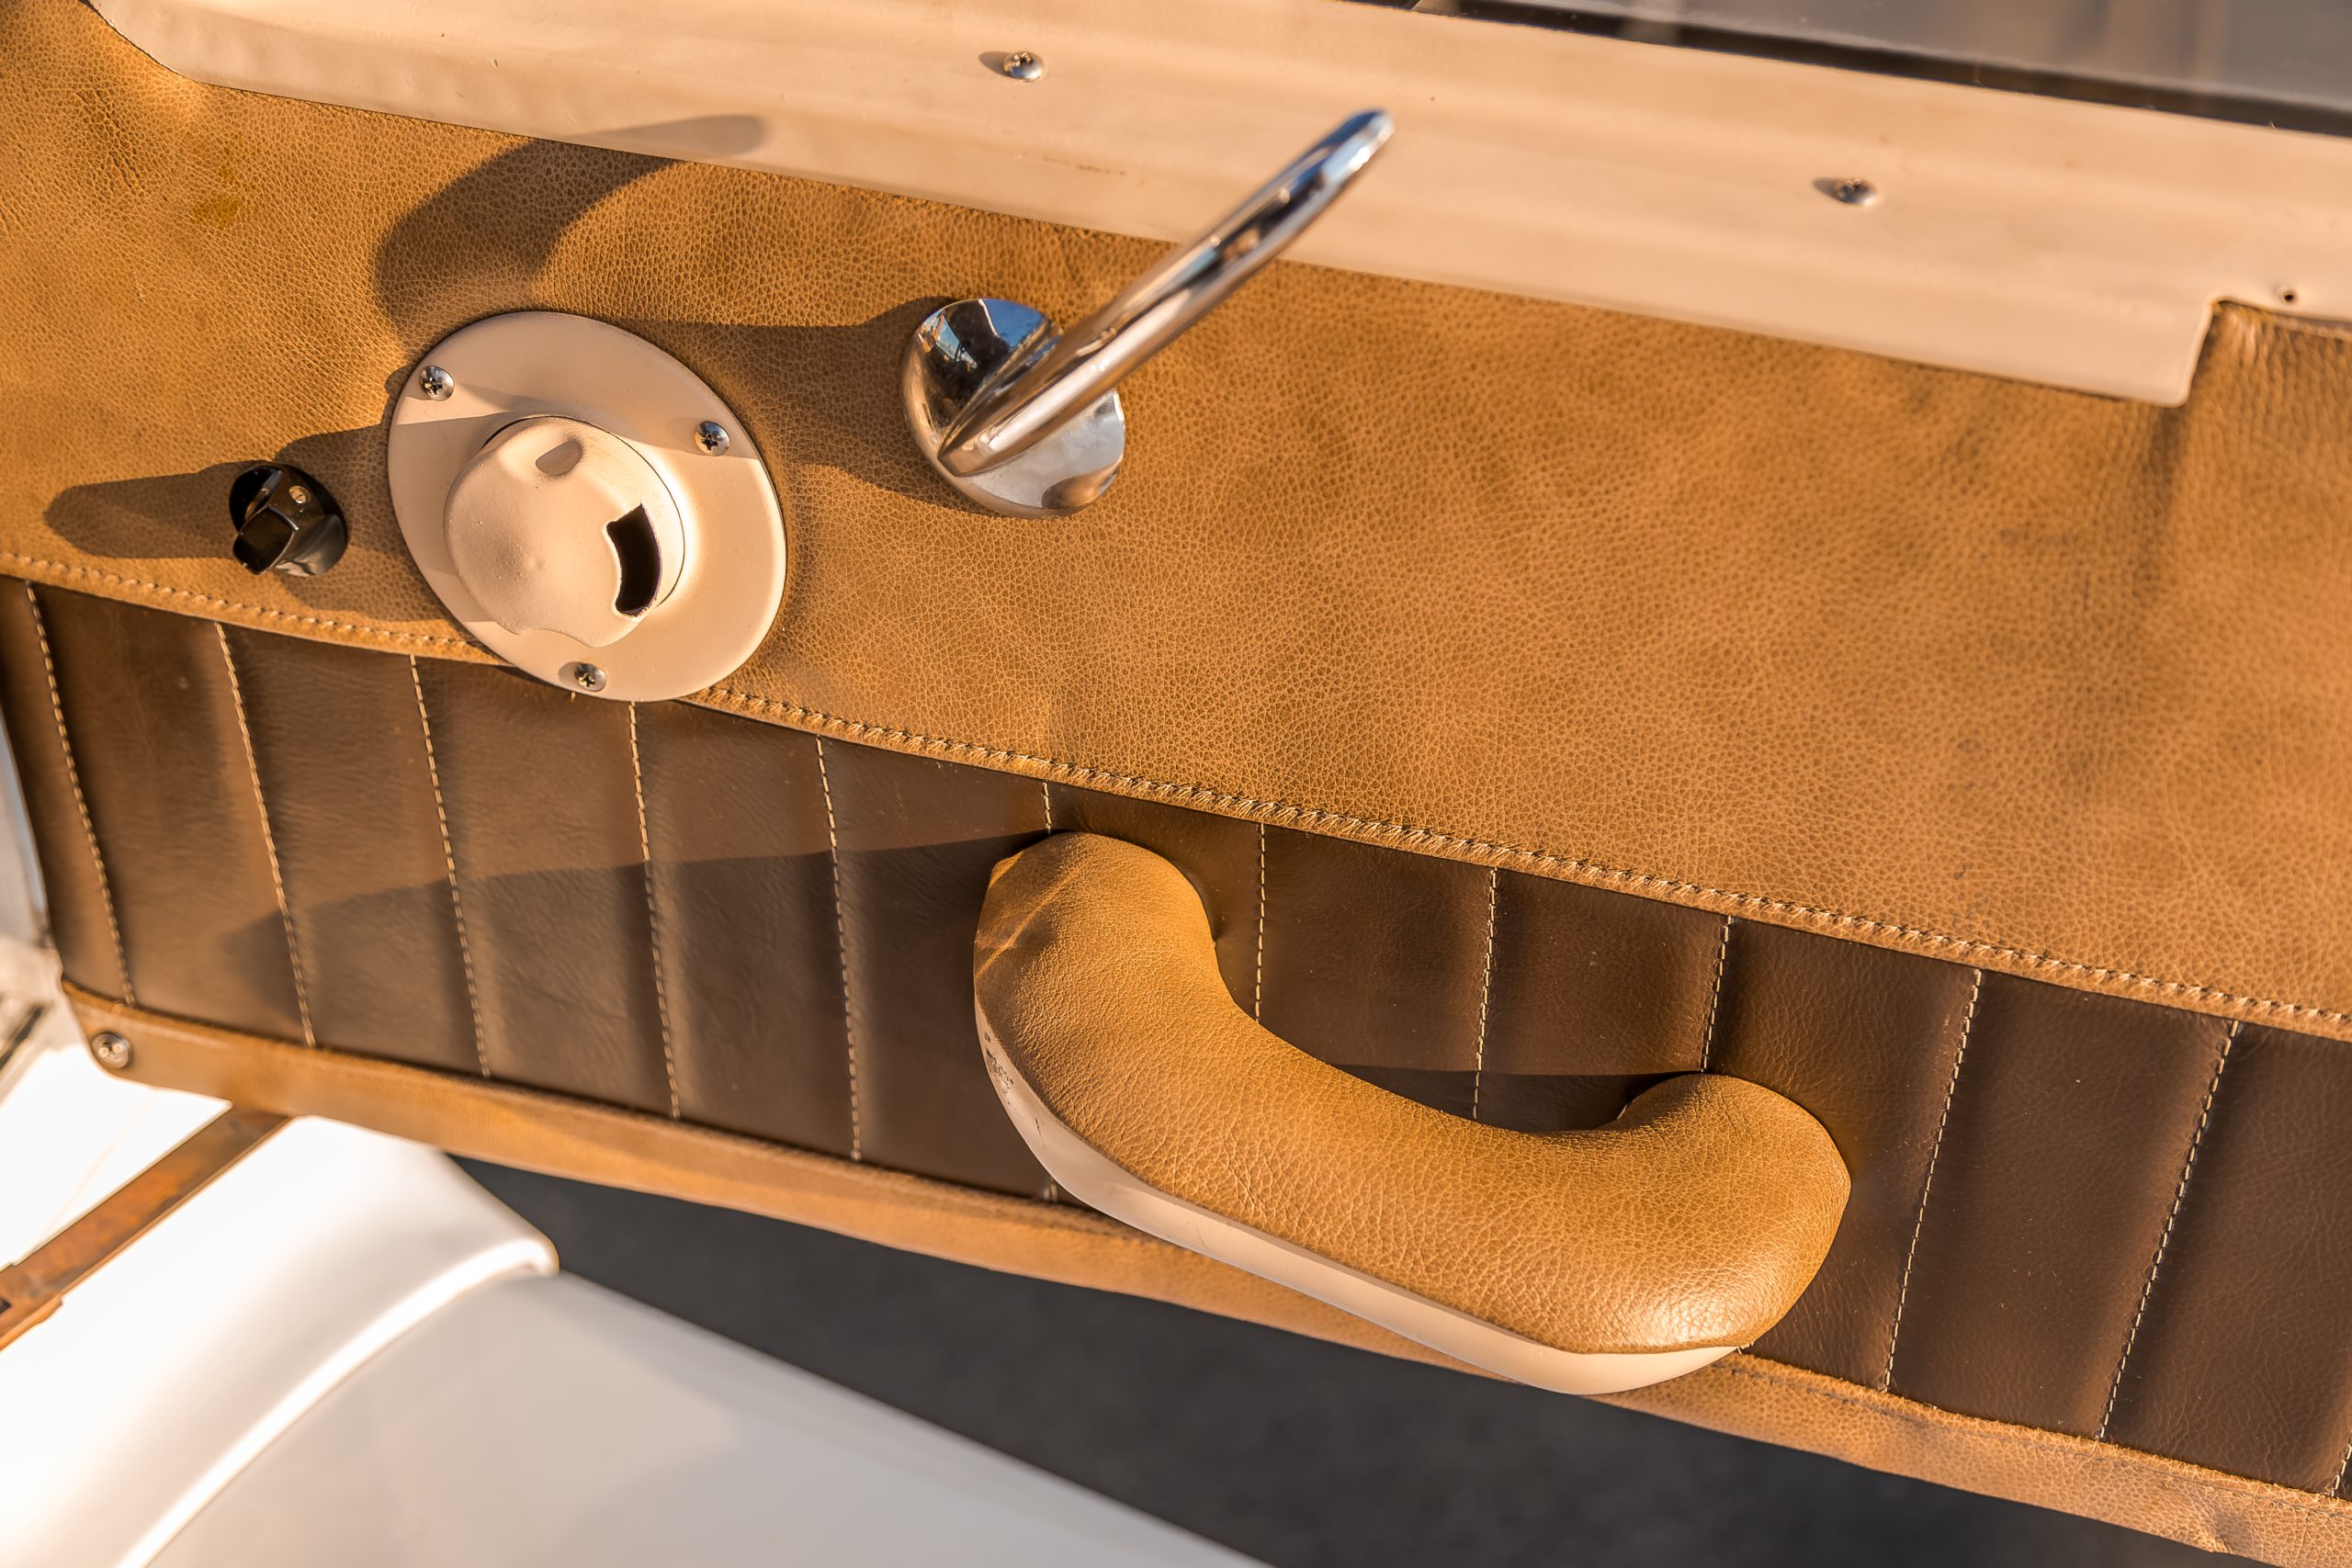
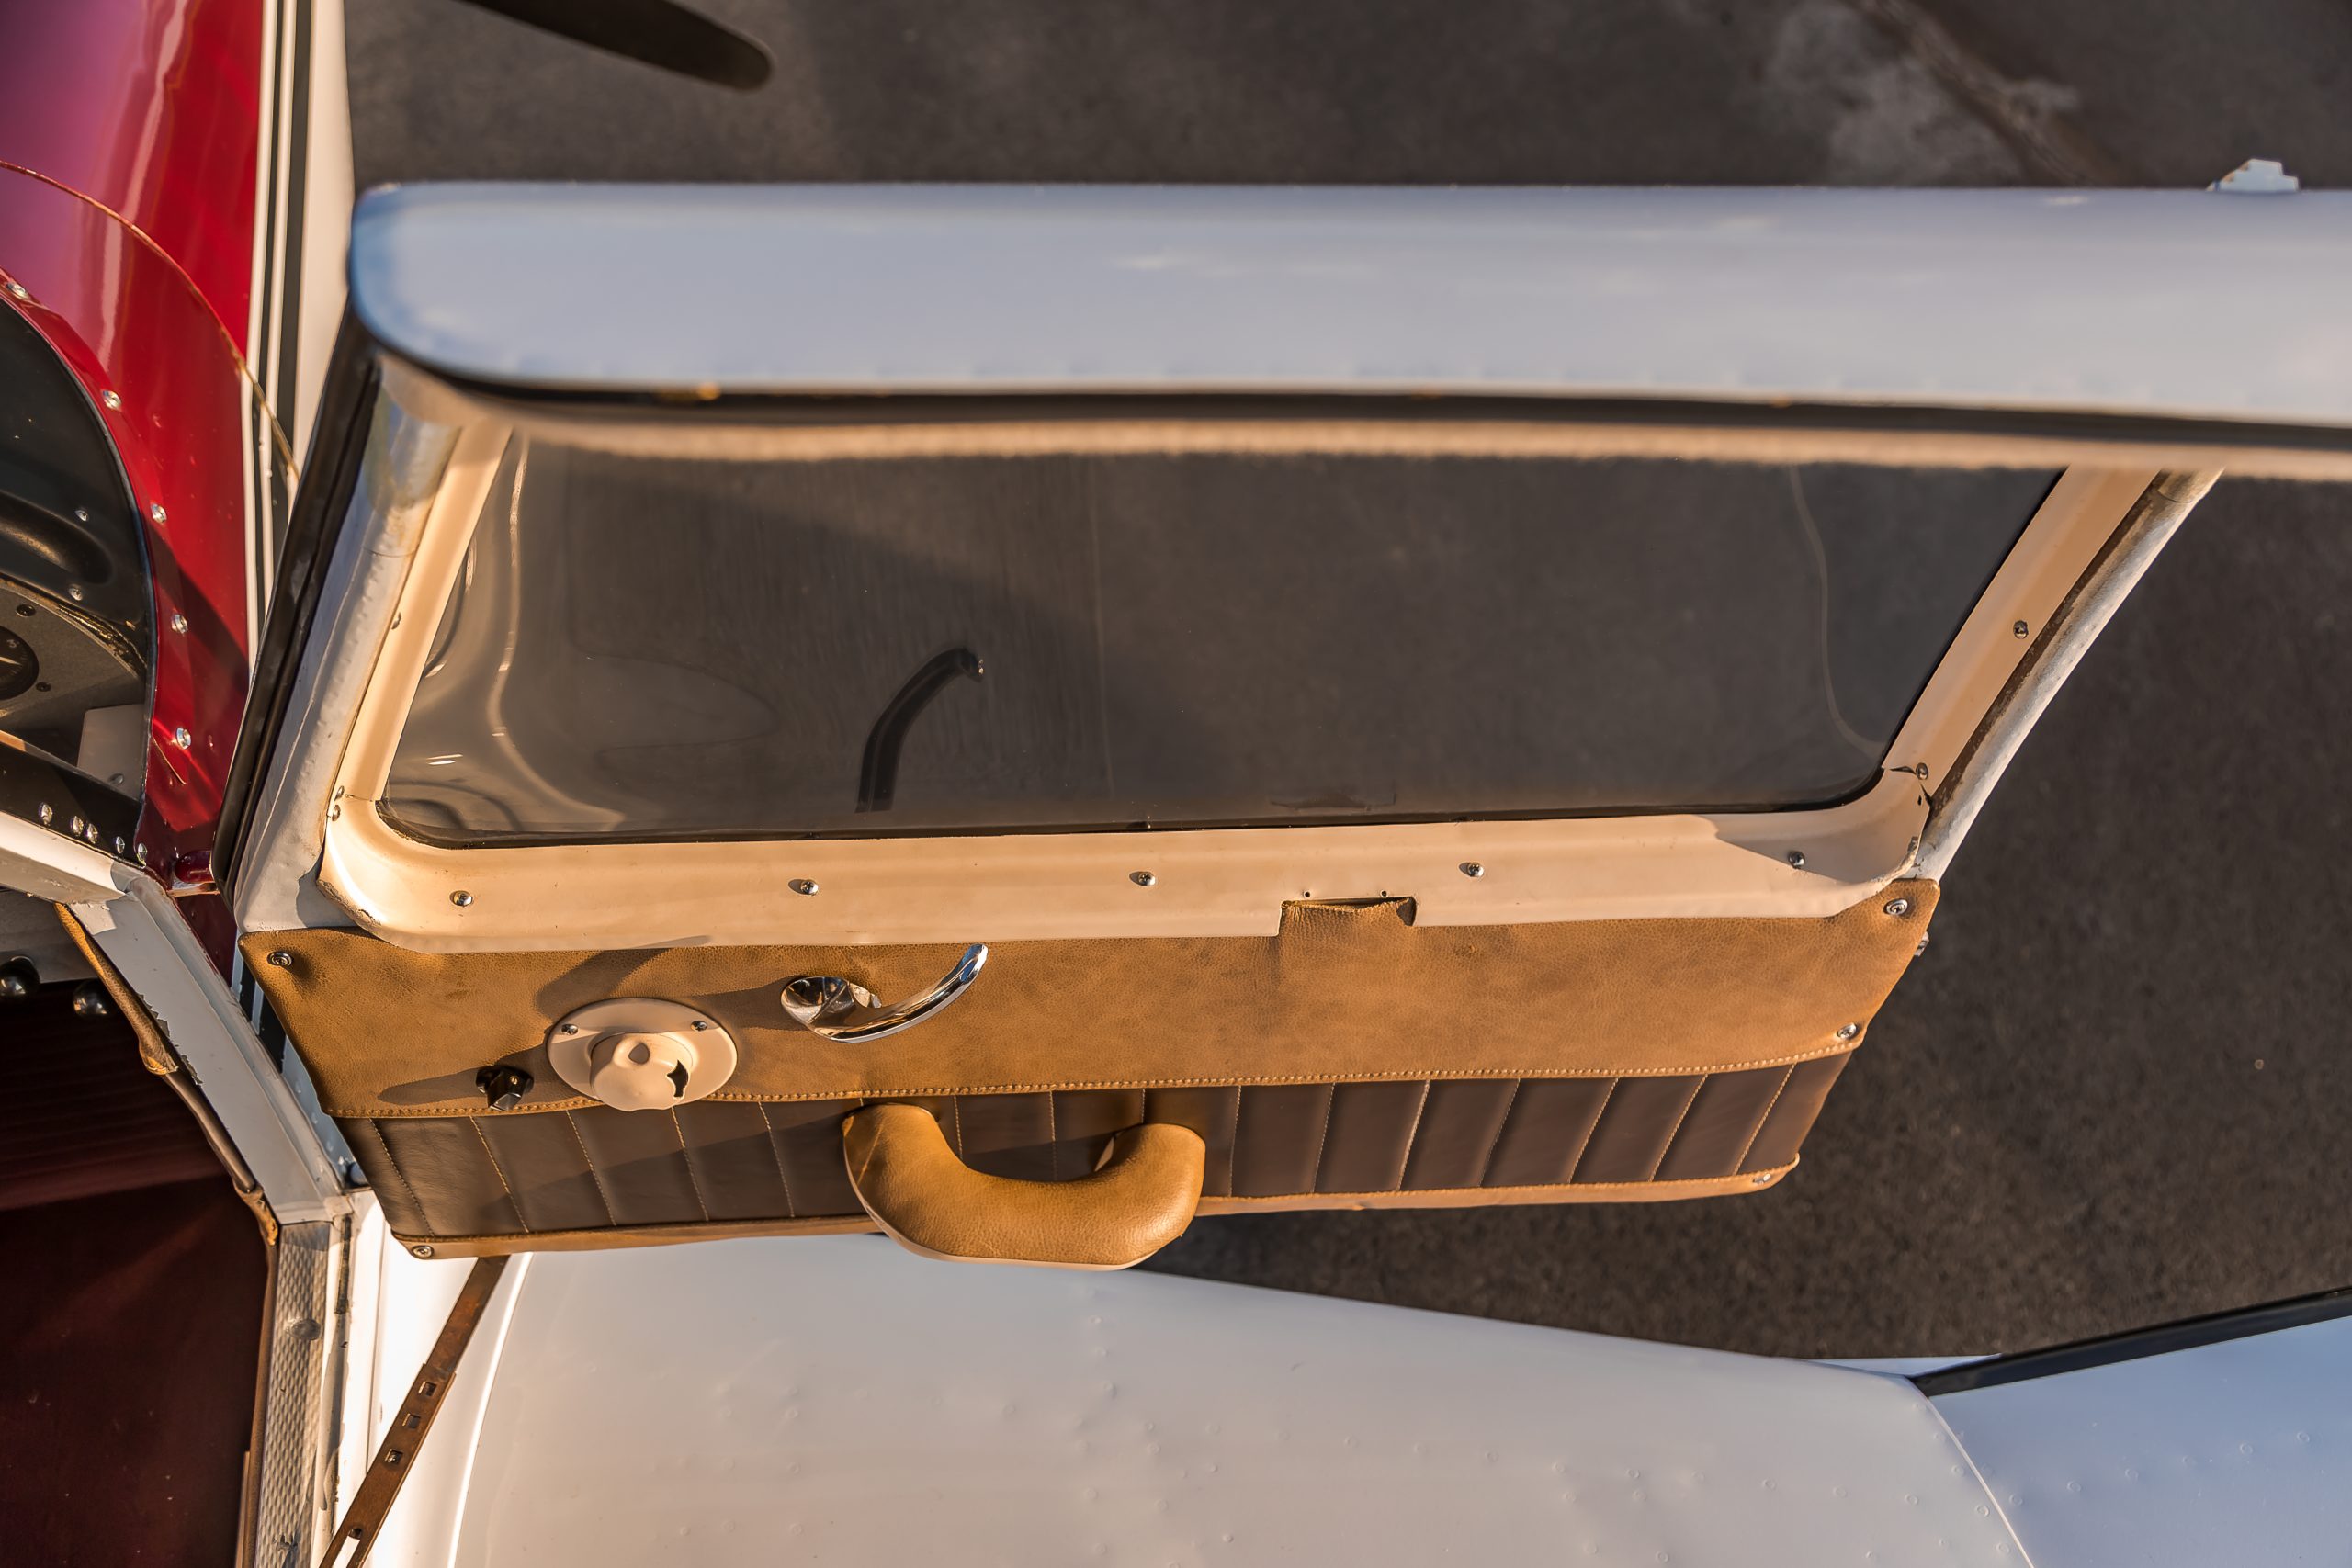
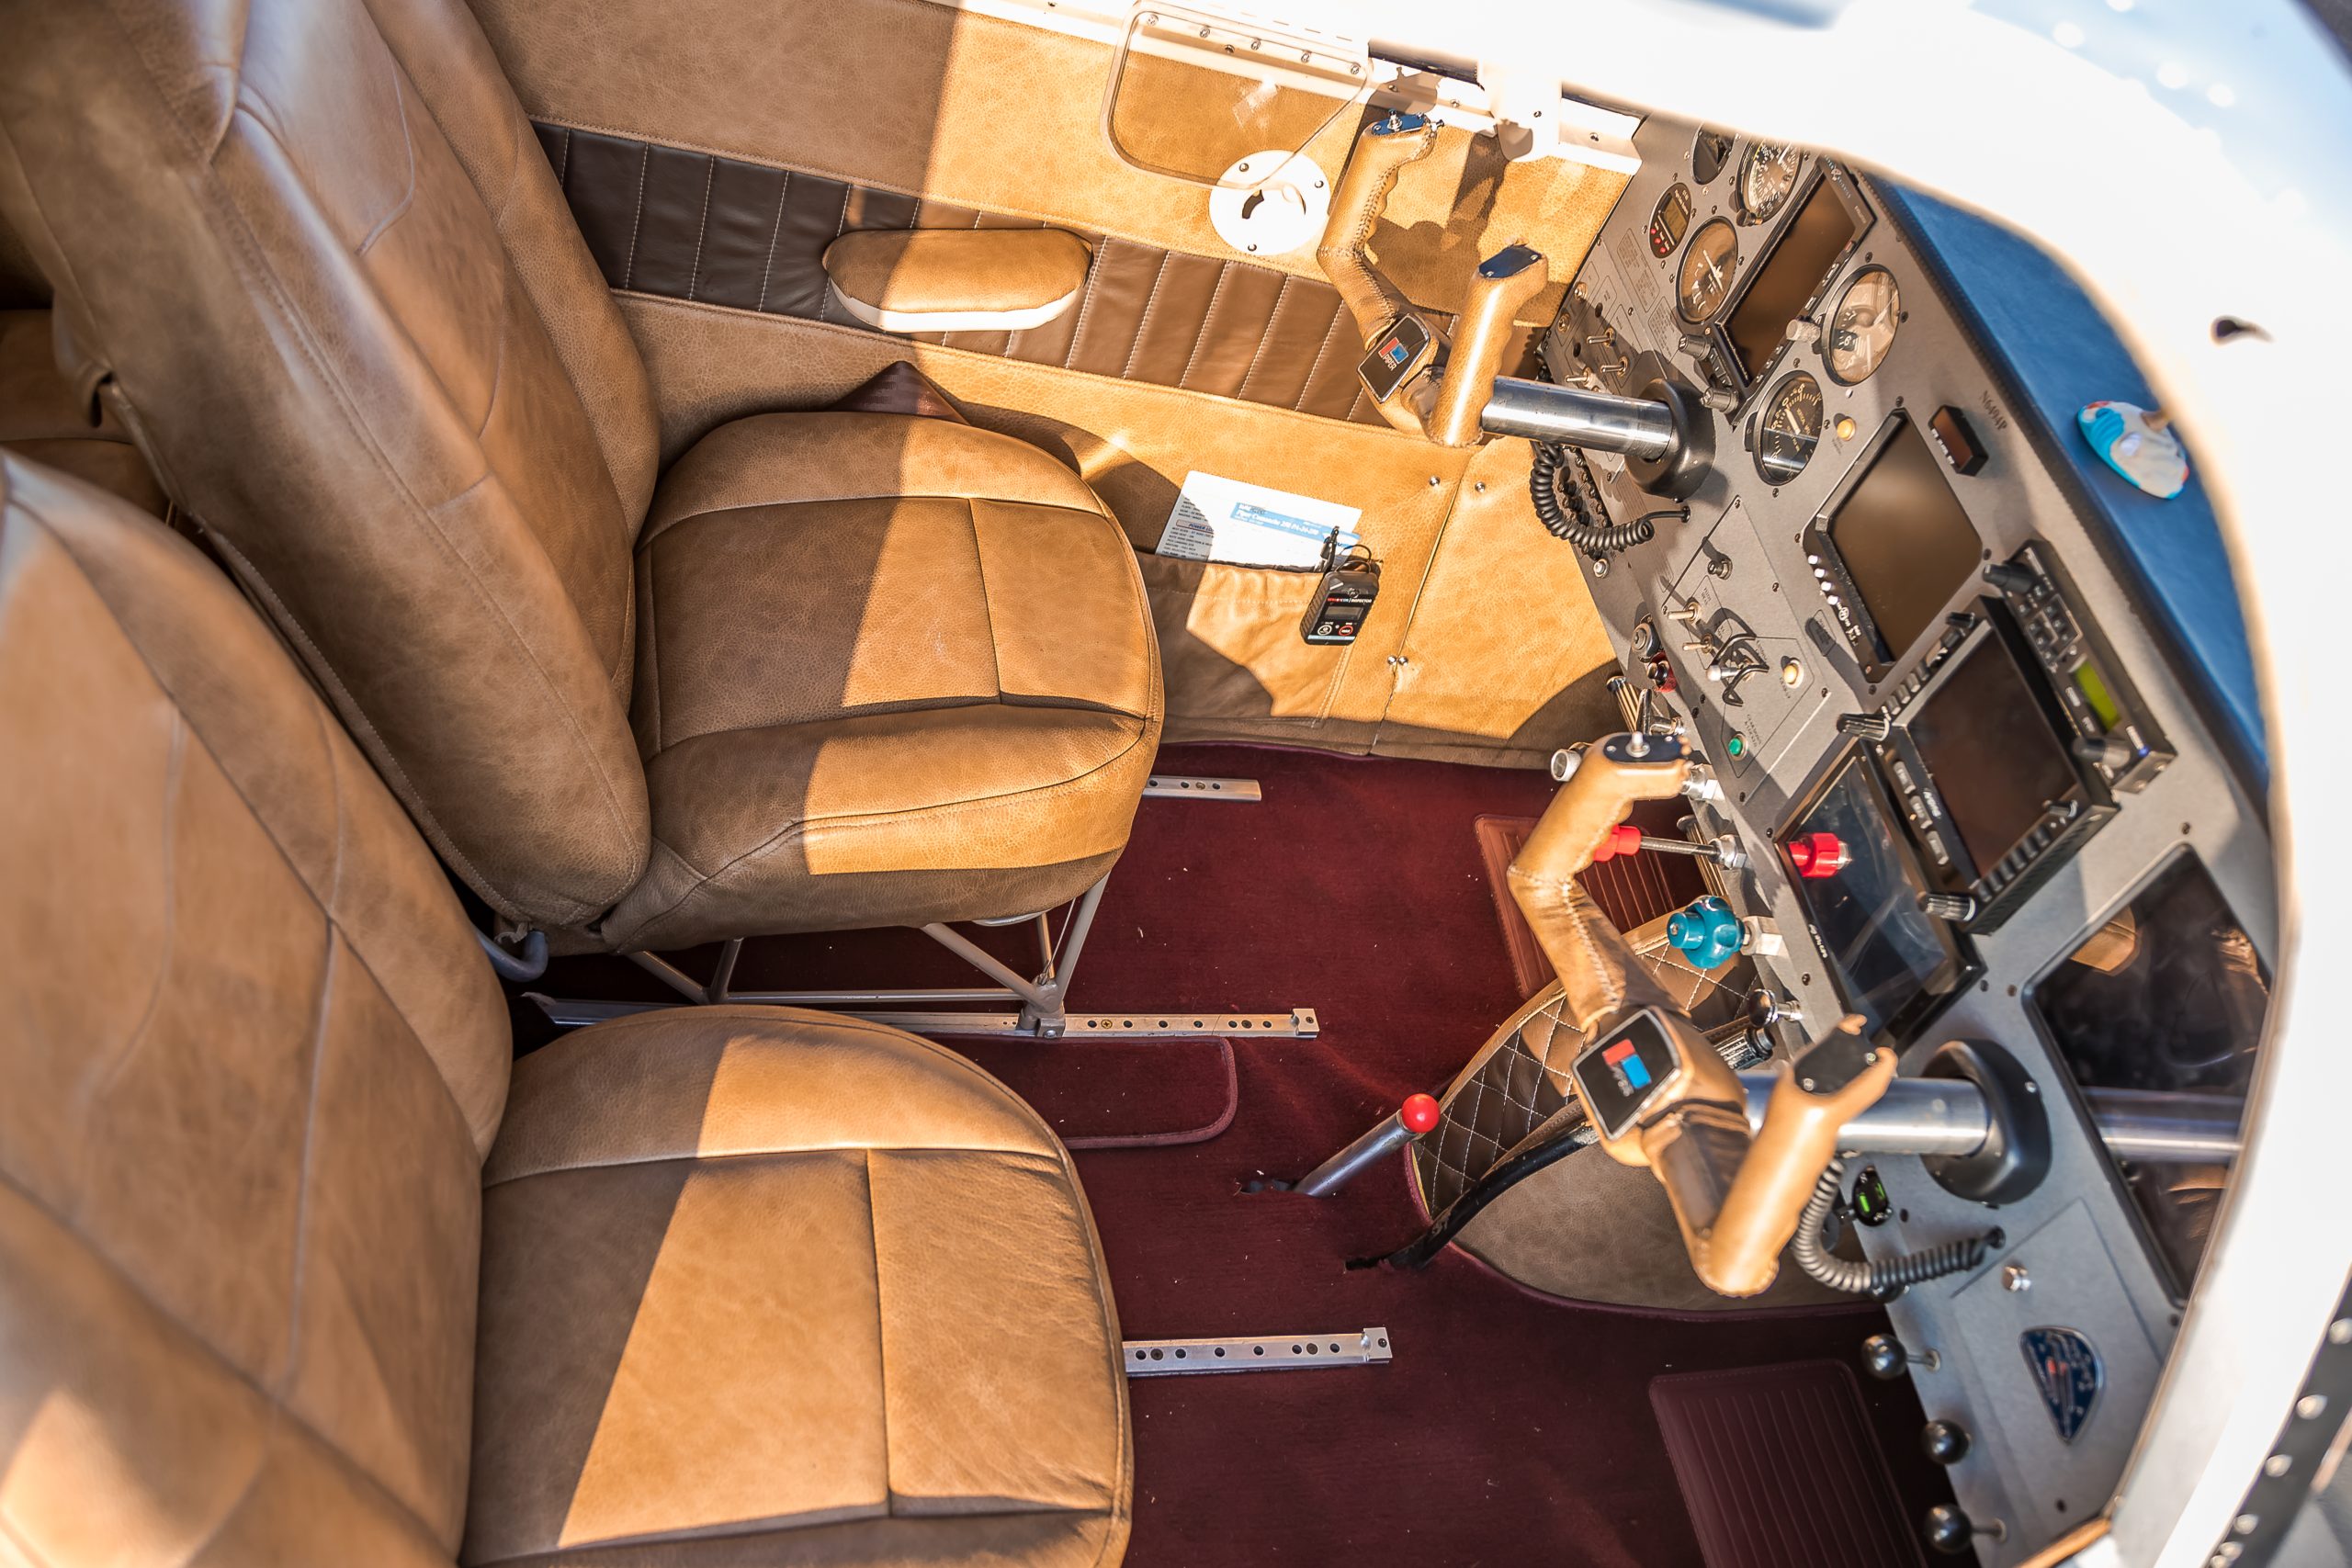
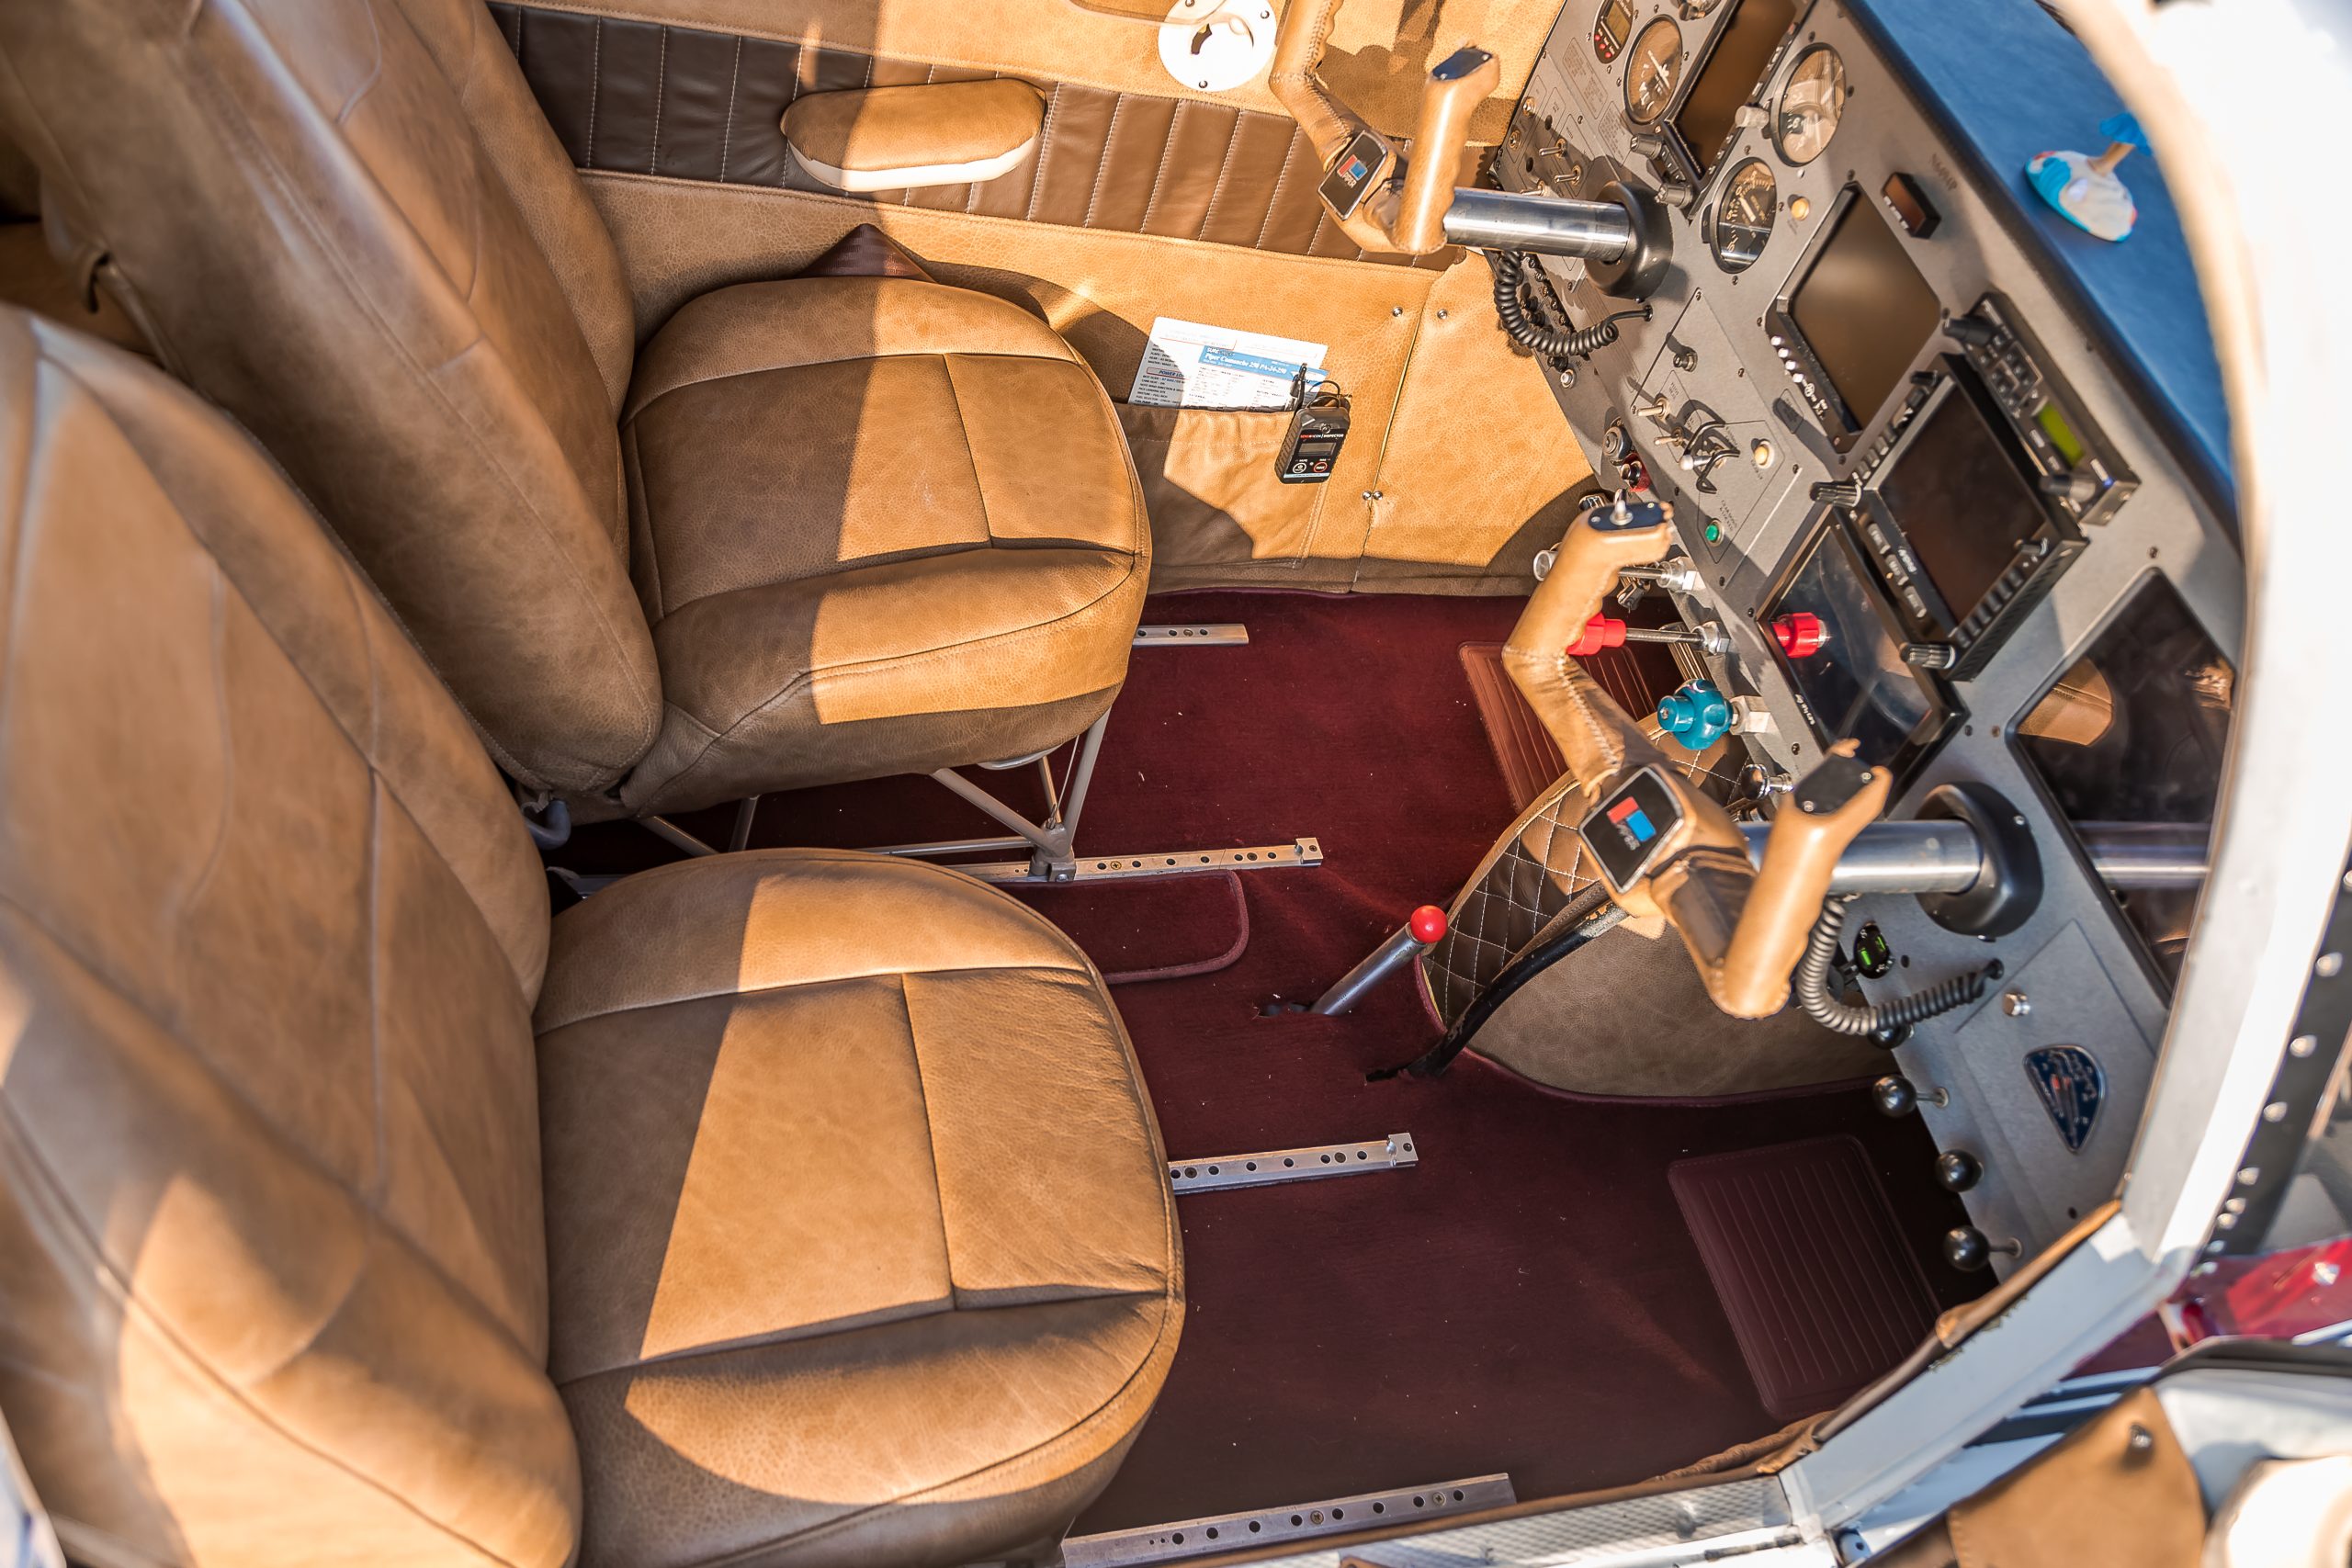
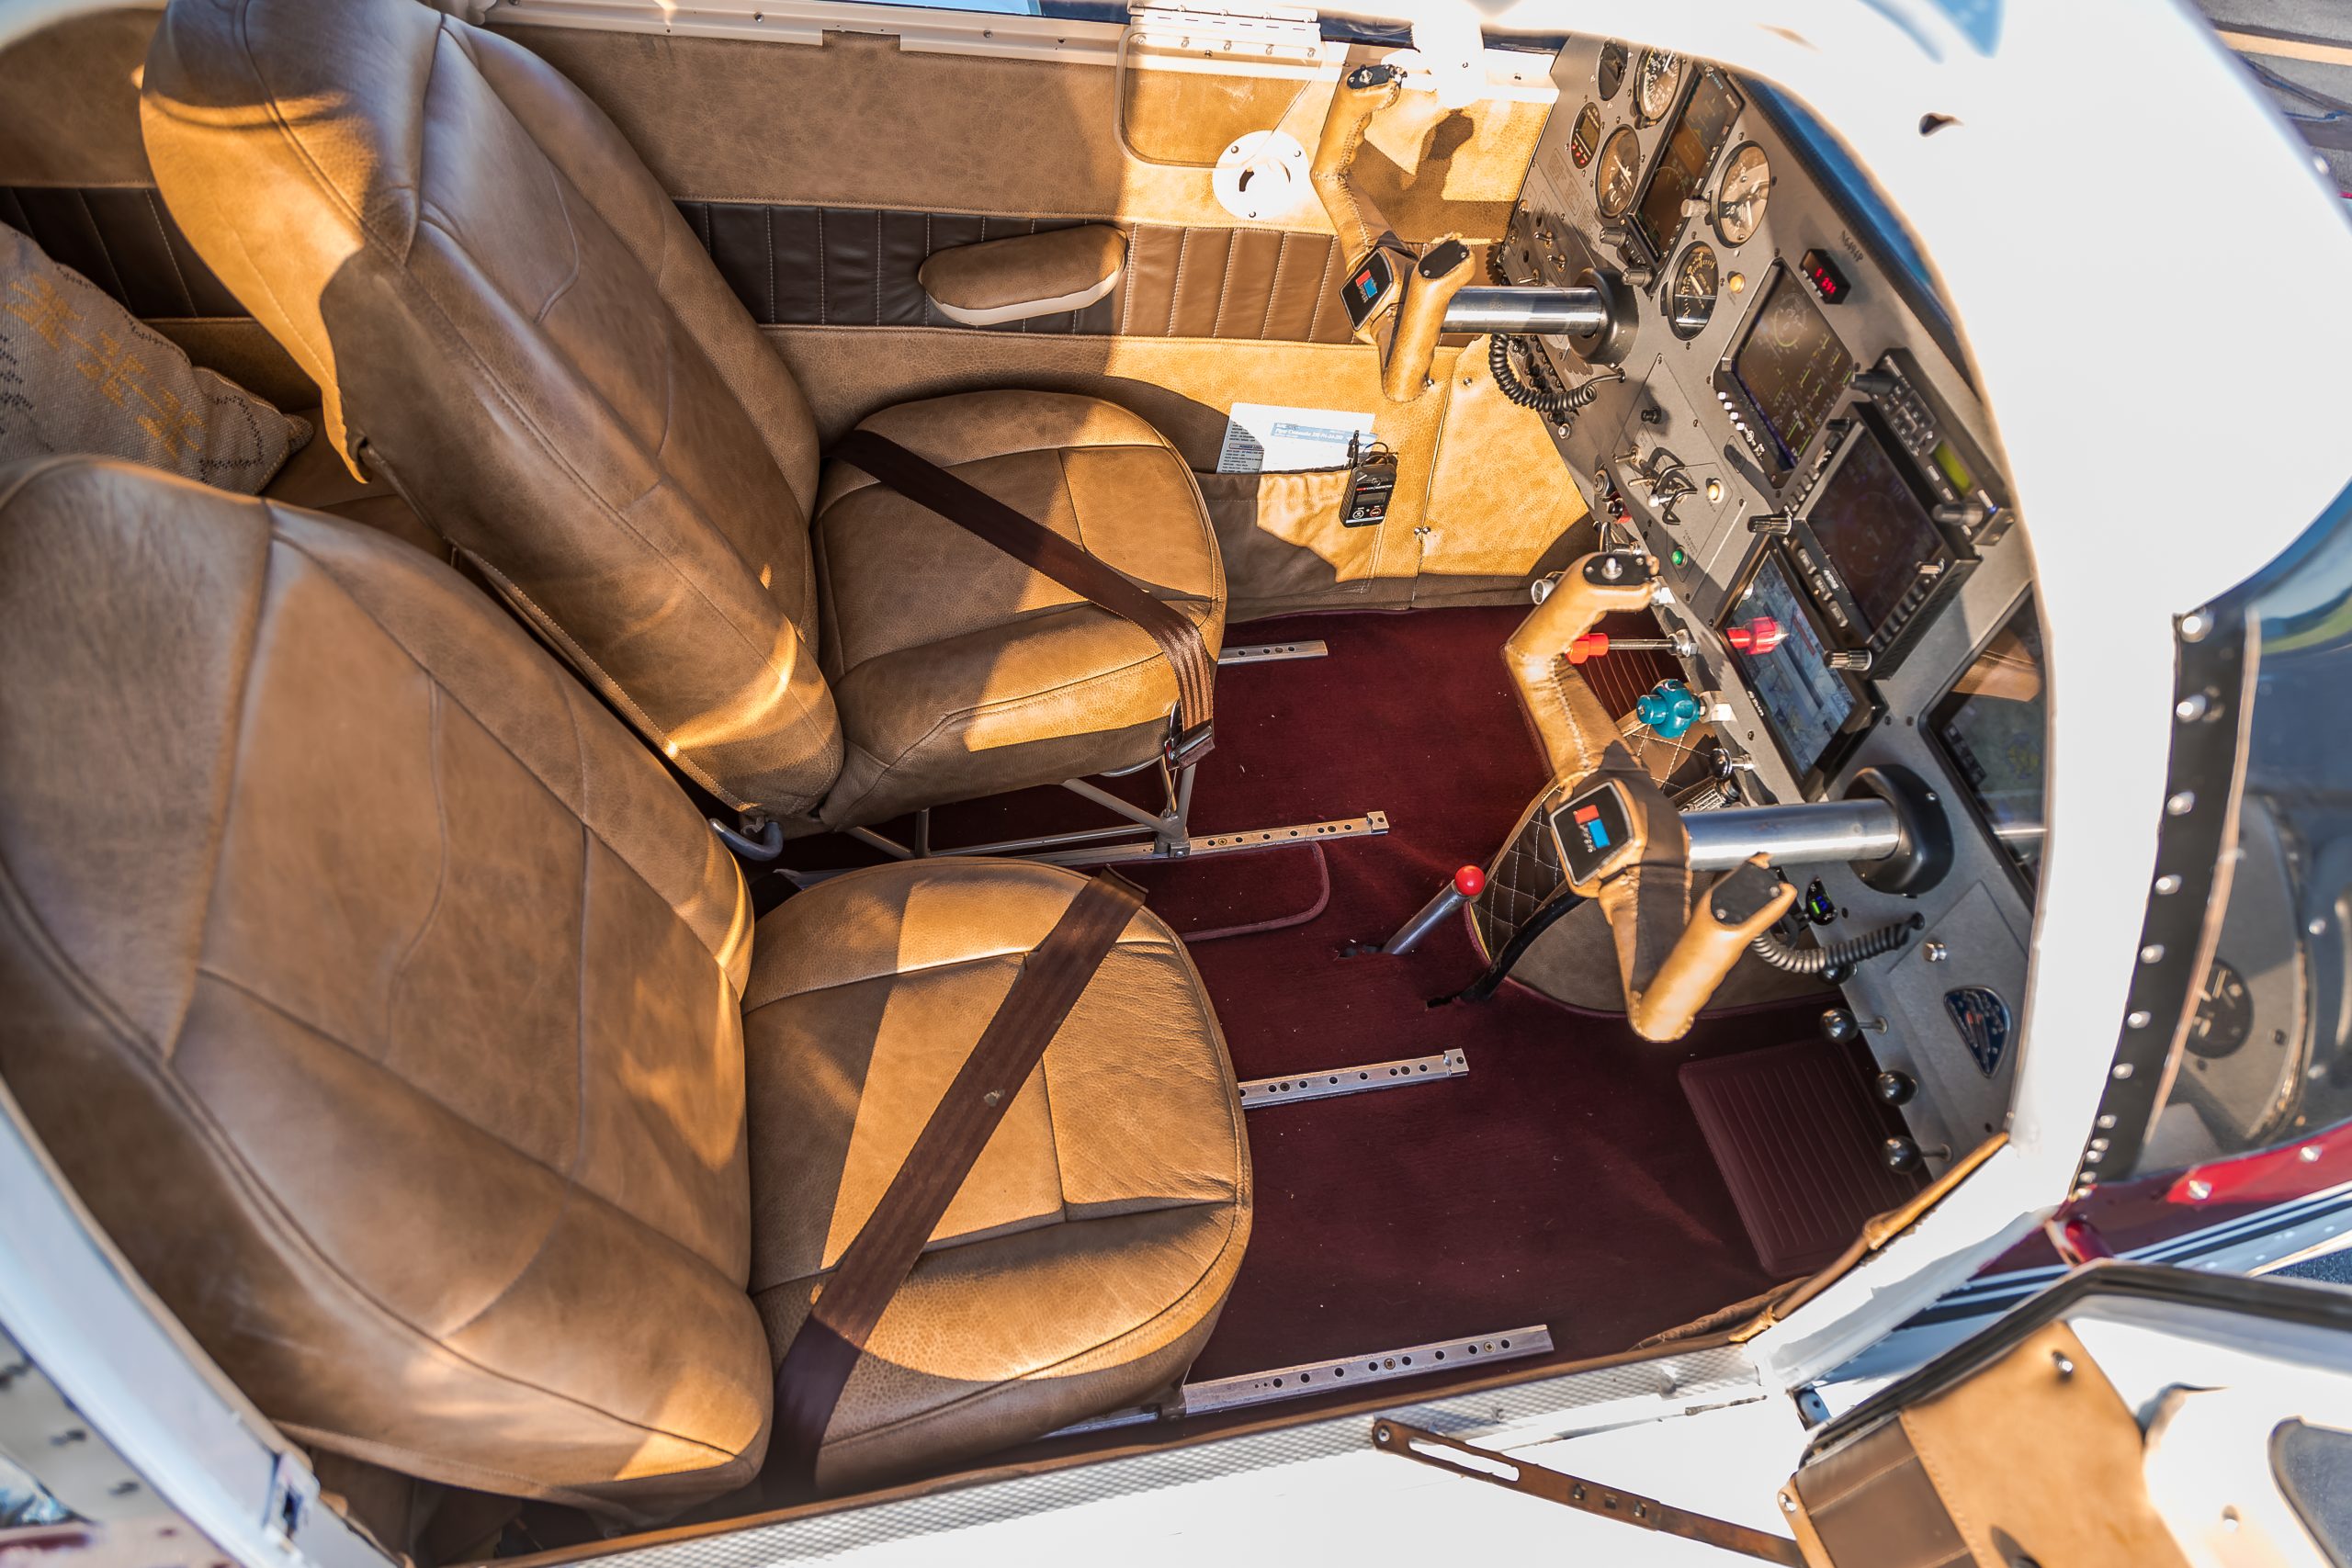
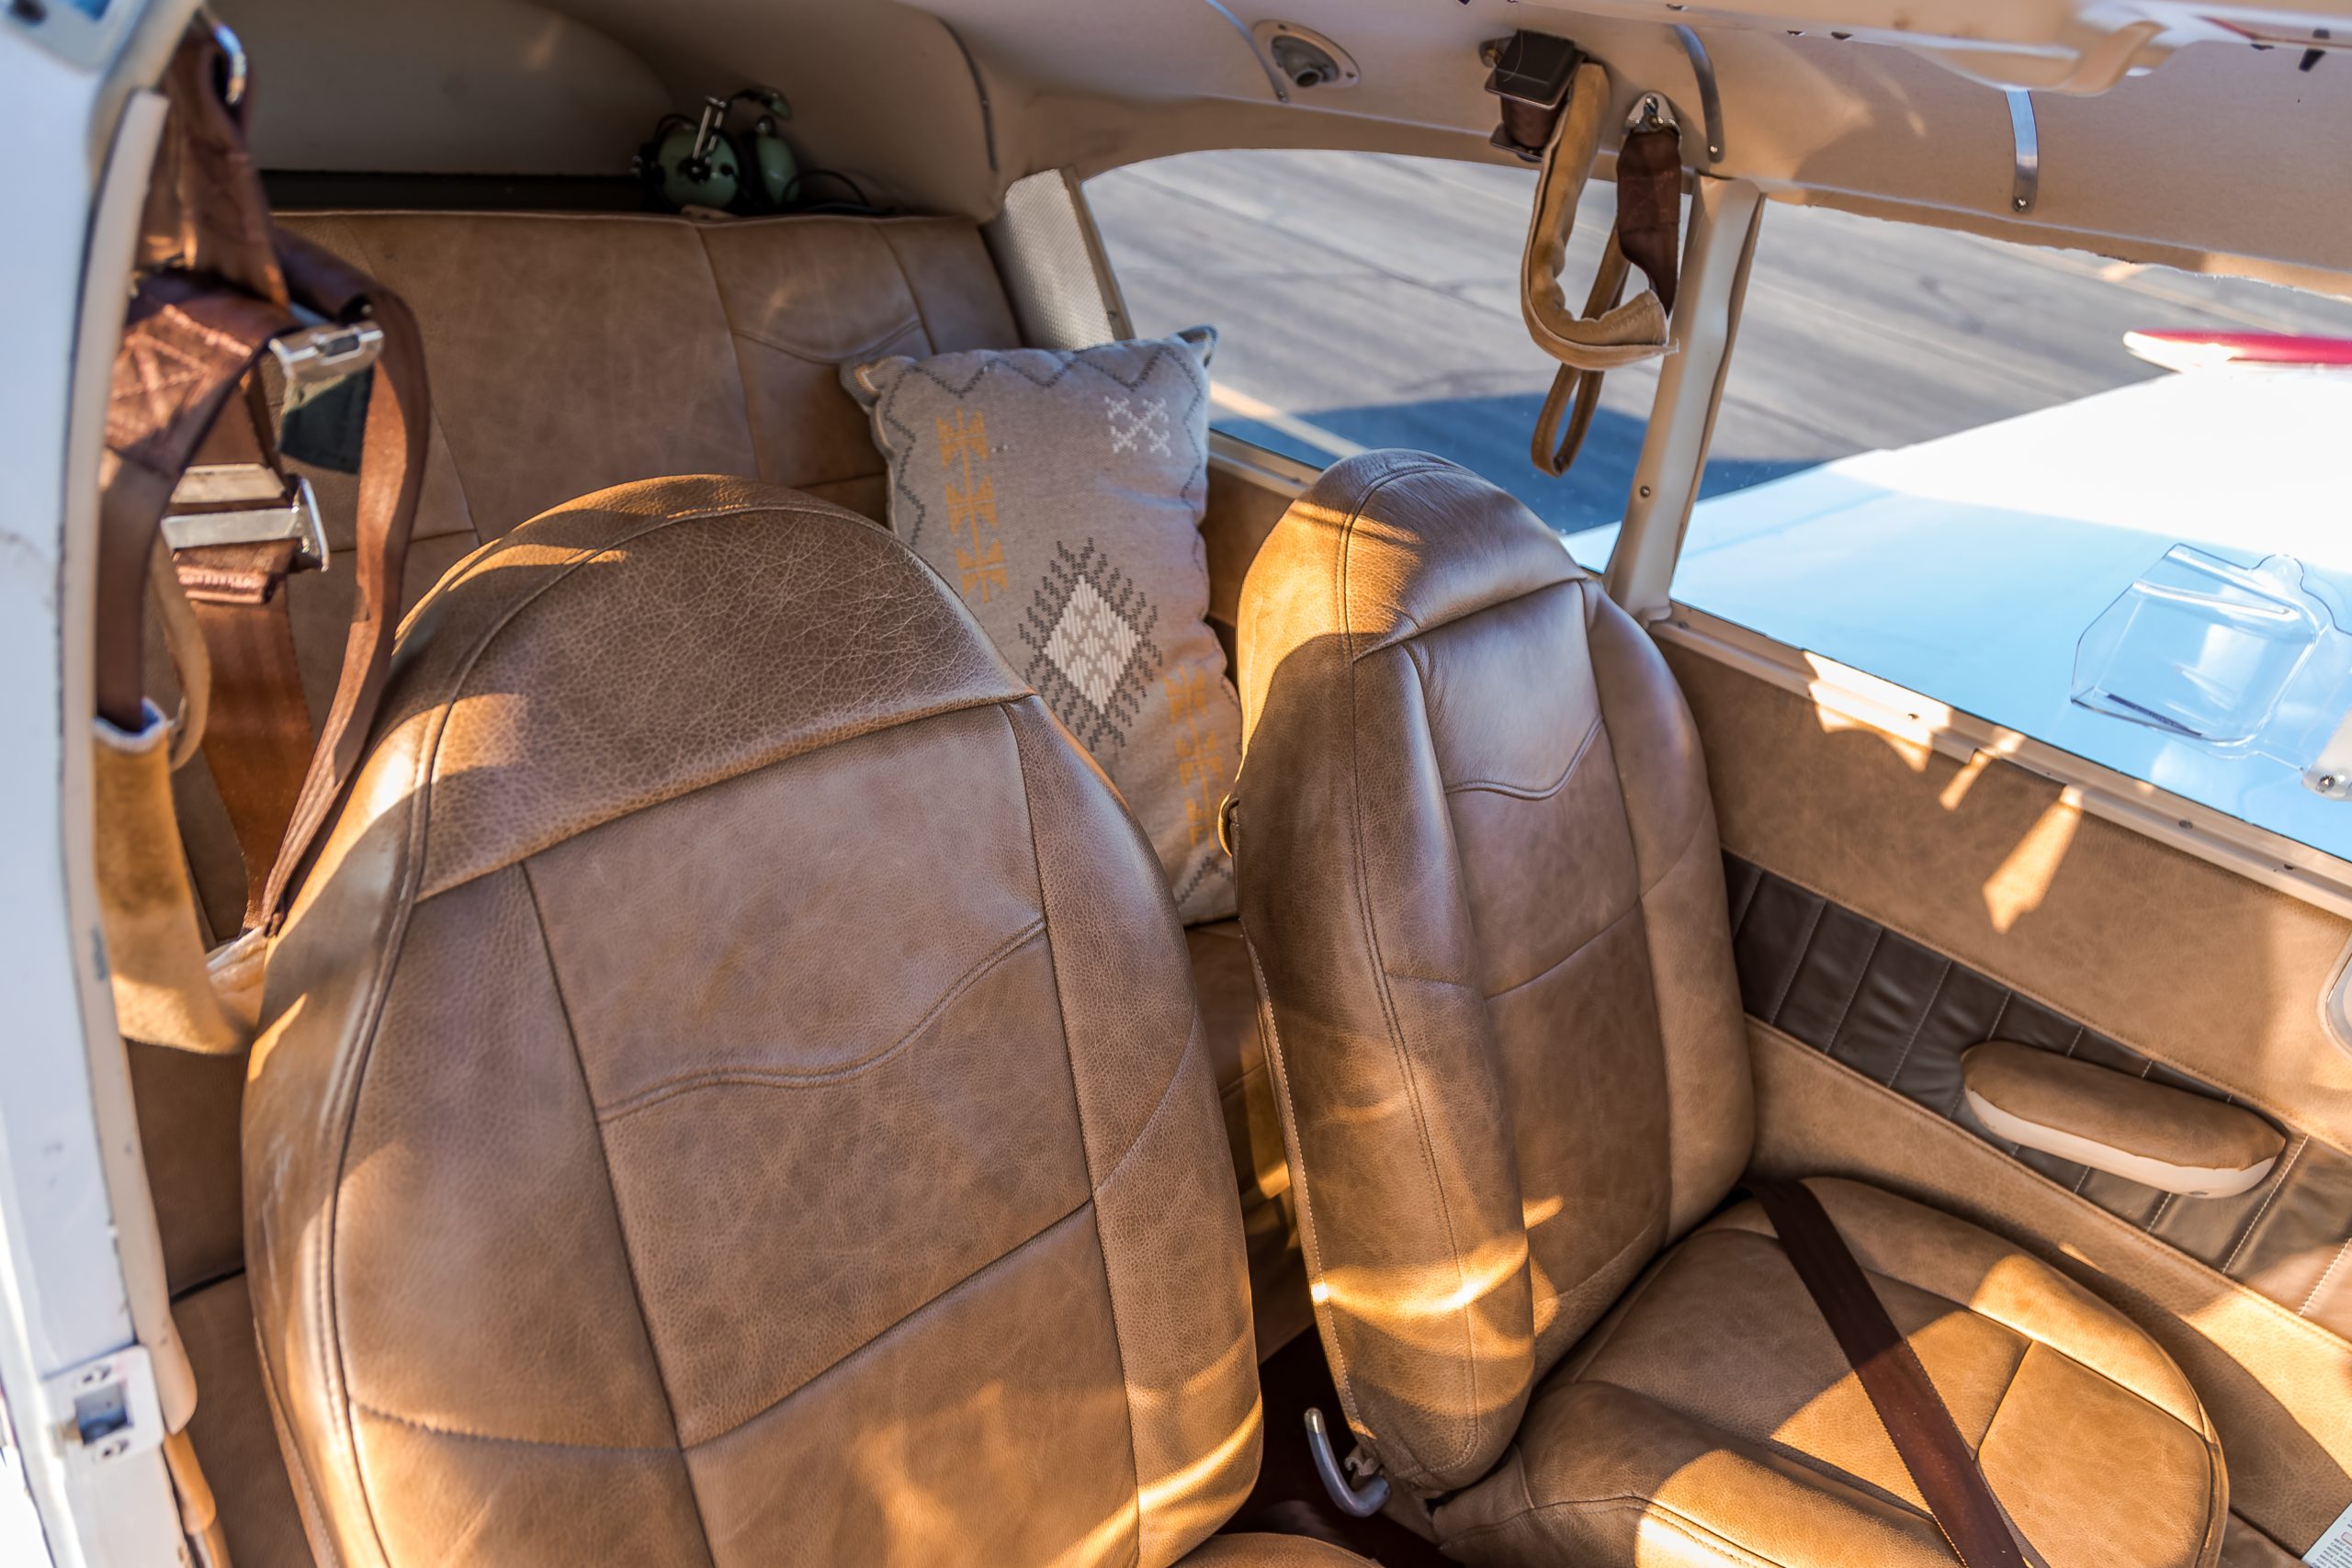
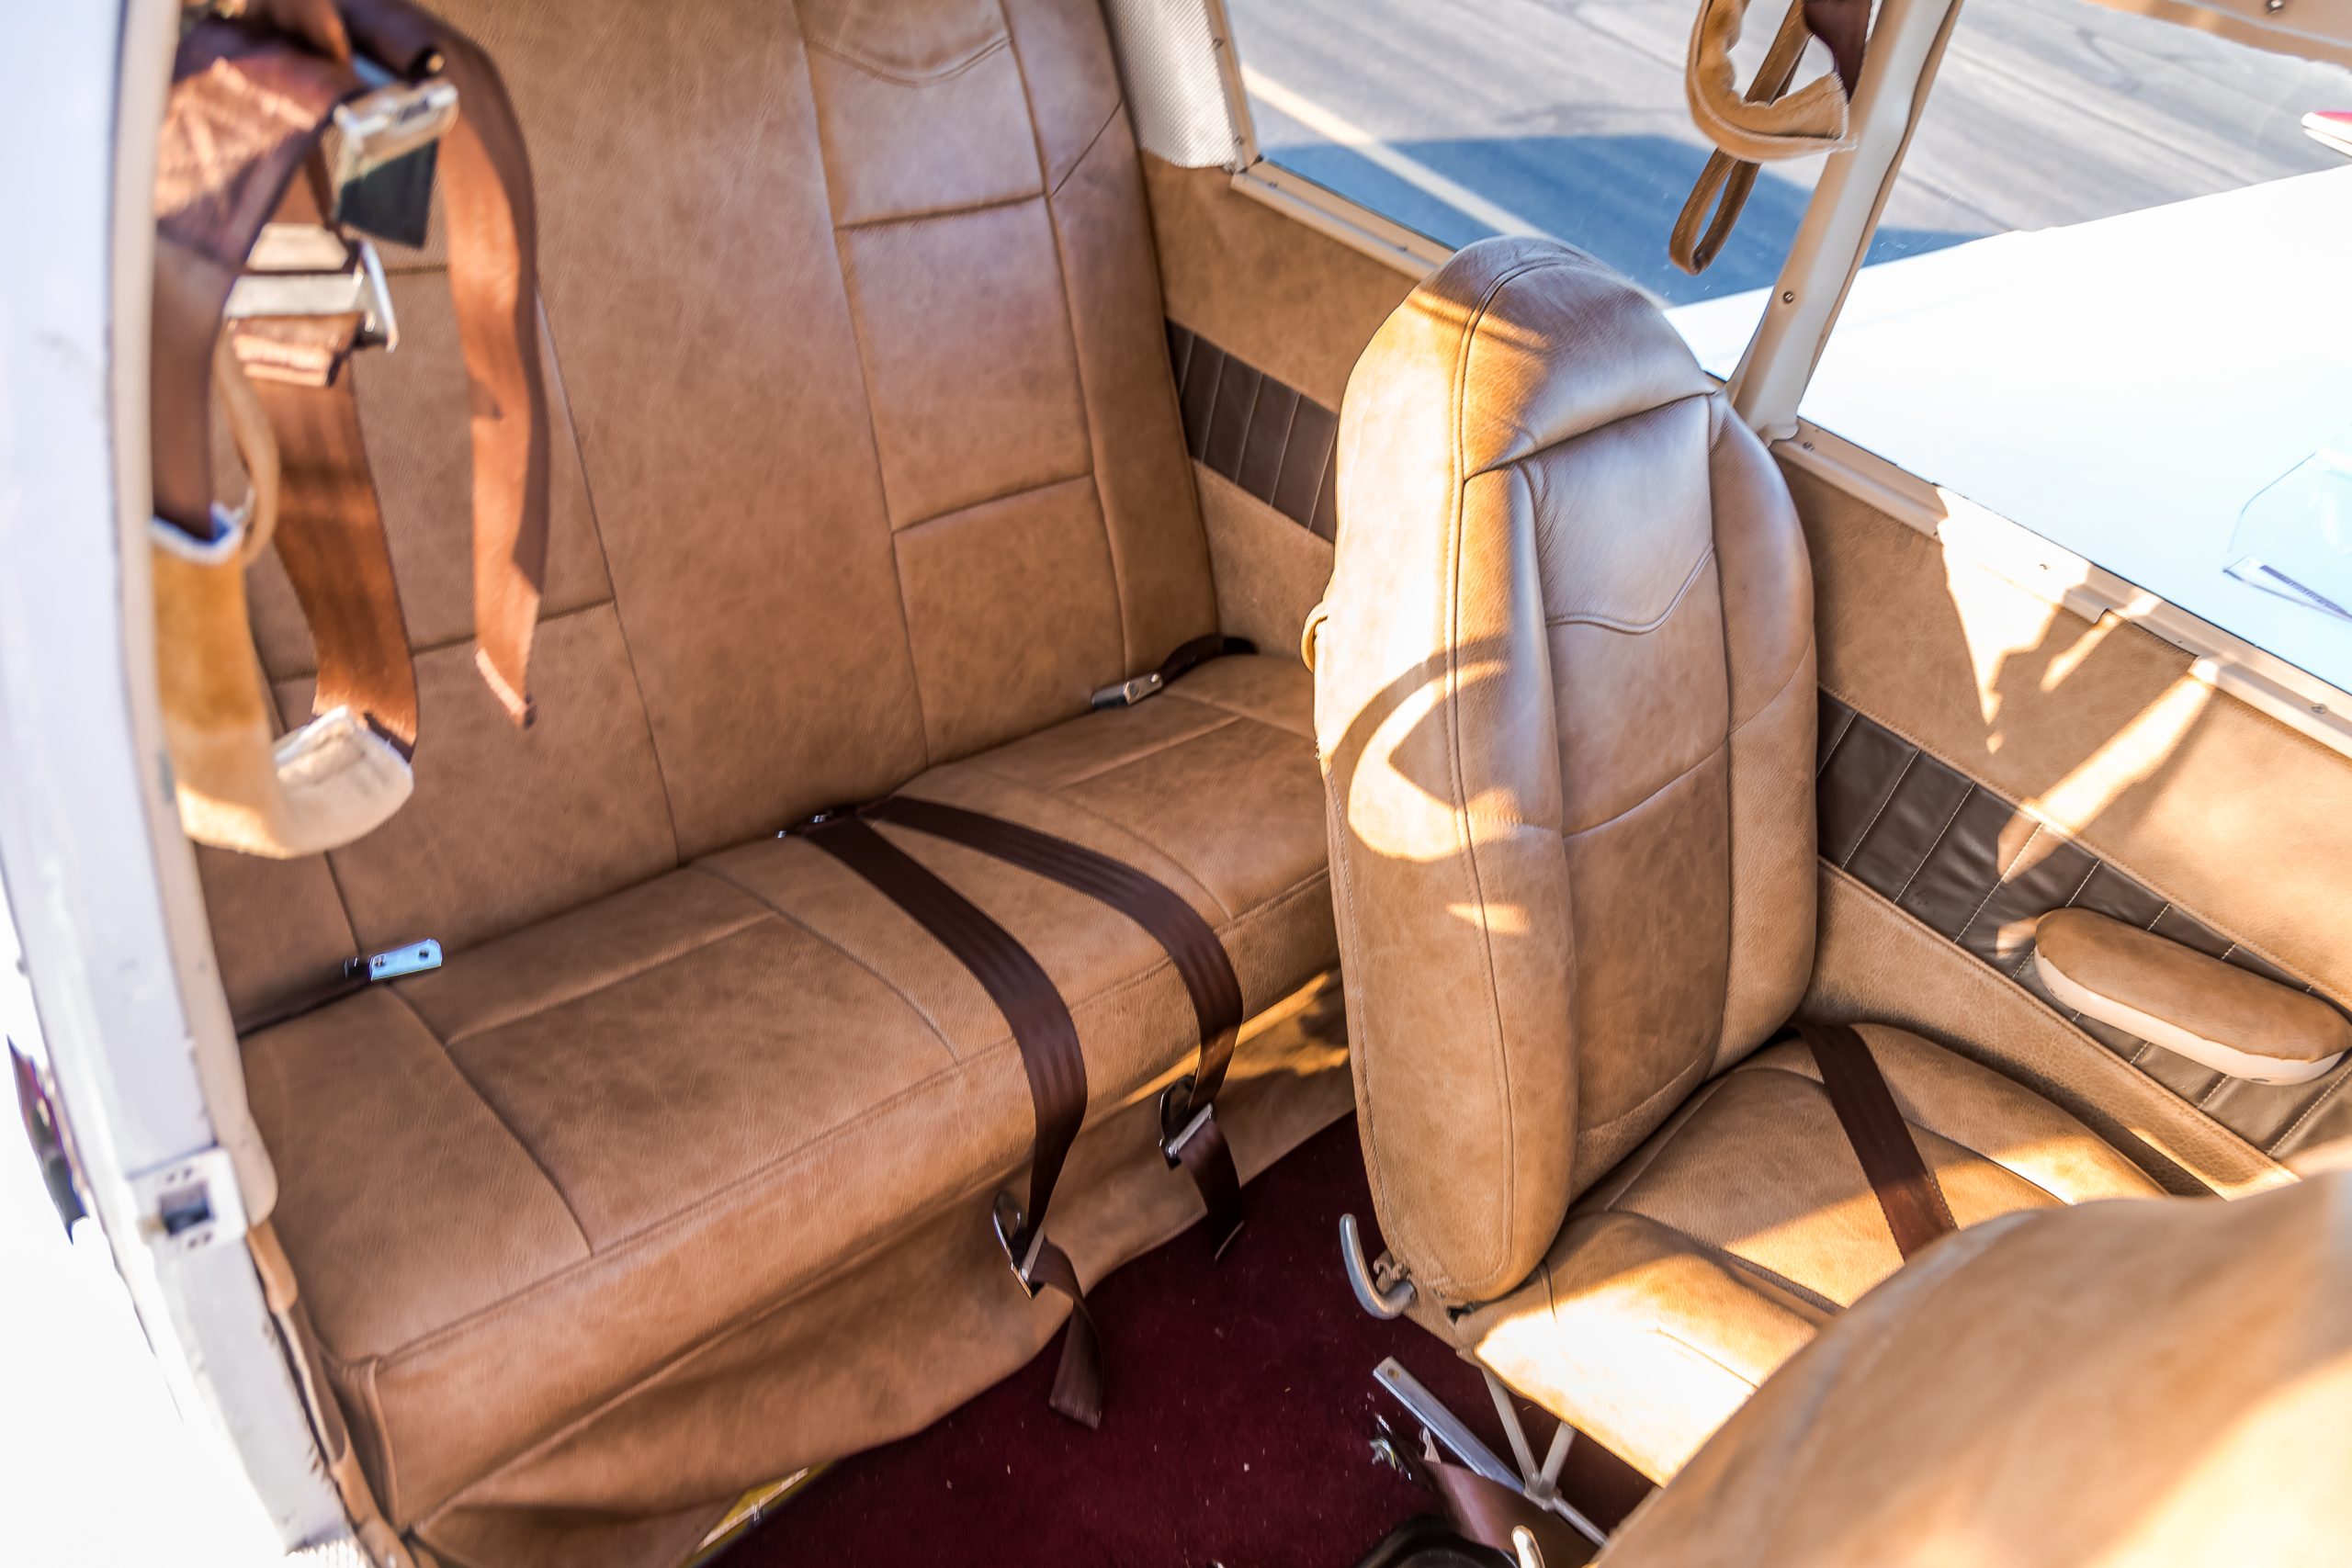
- Restoring the Interior of a Legacy Piper: How You Can Save Money
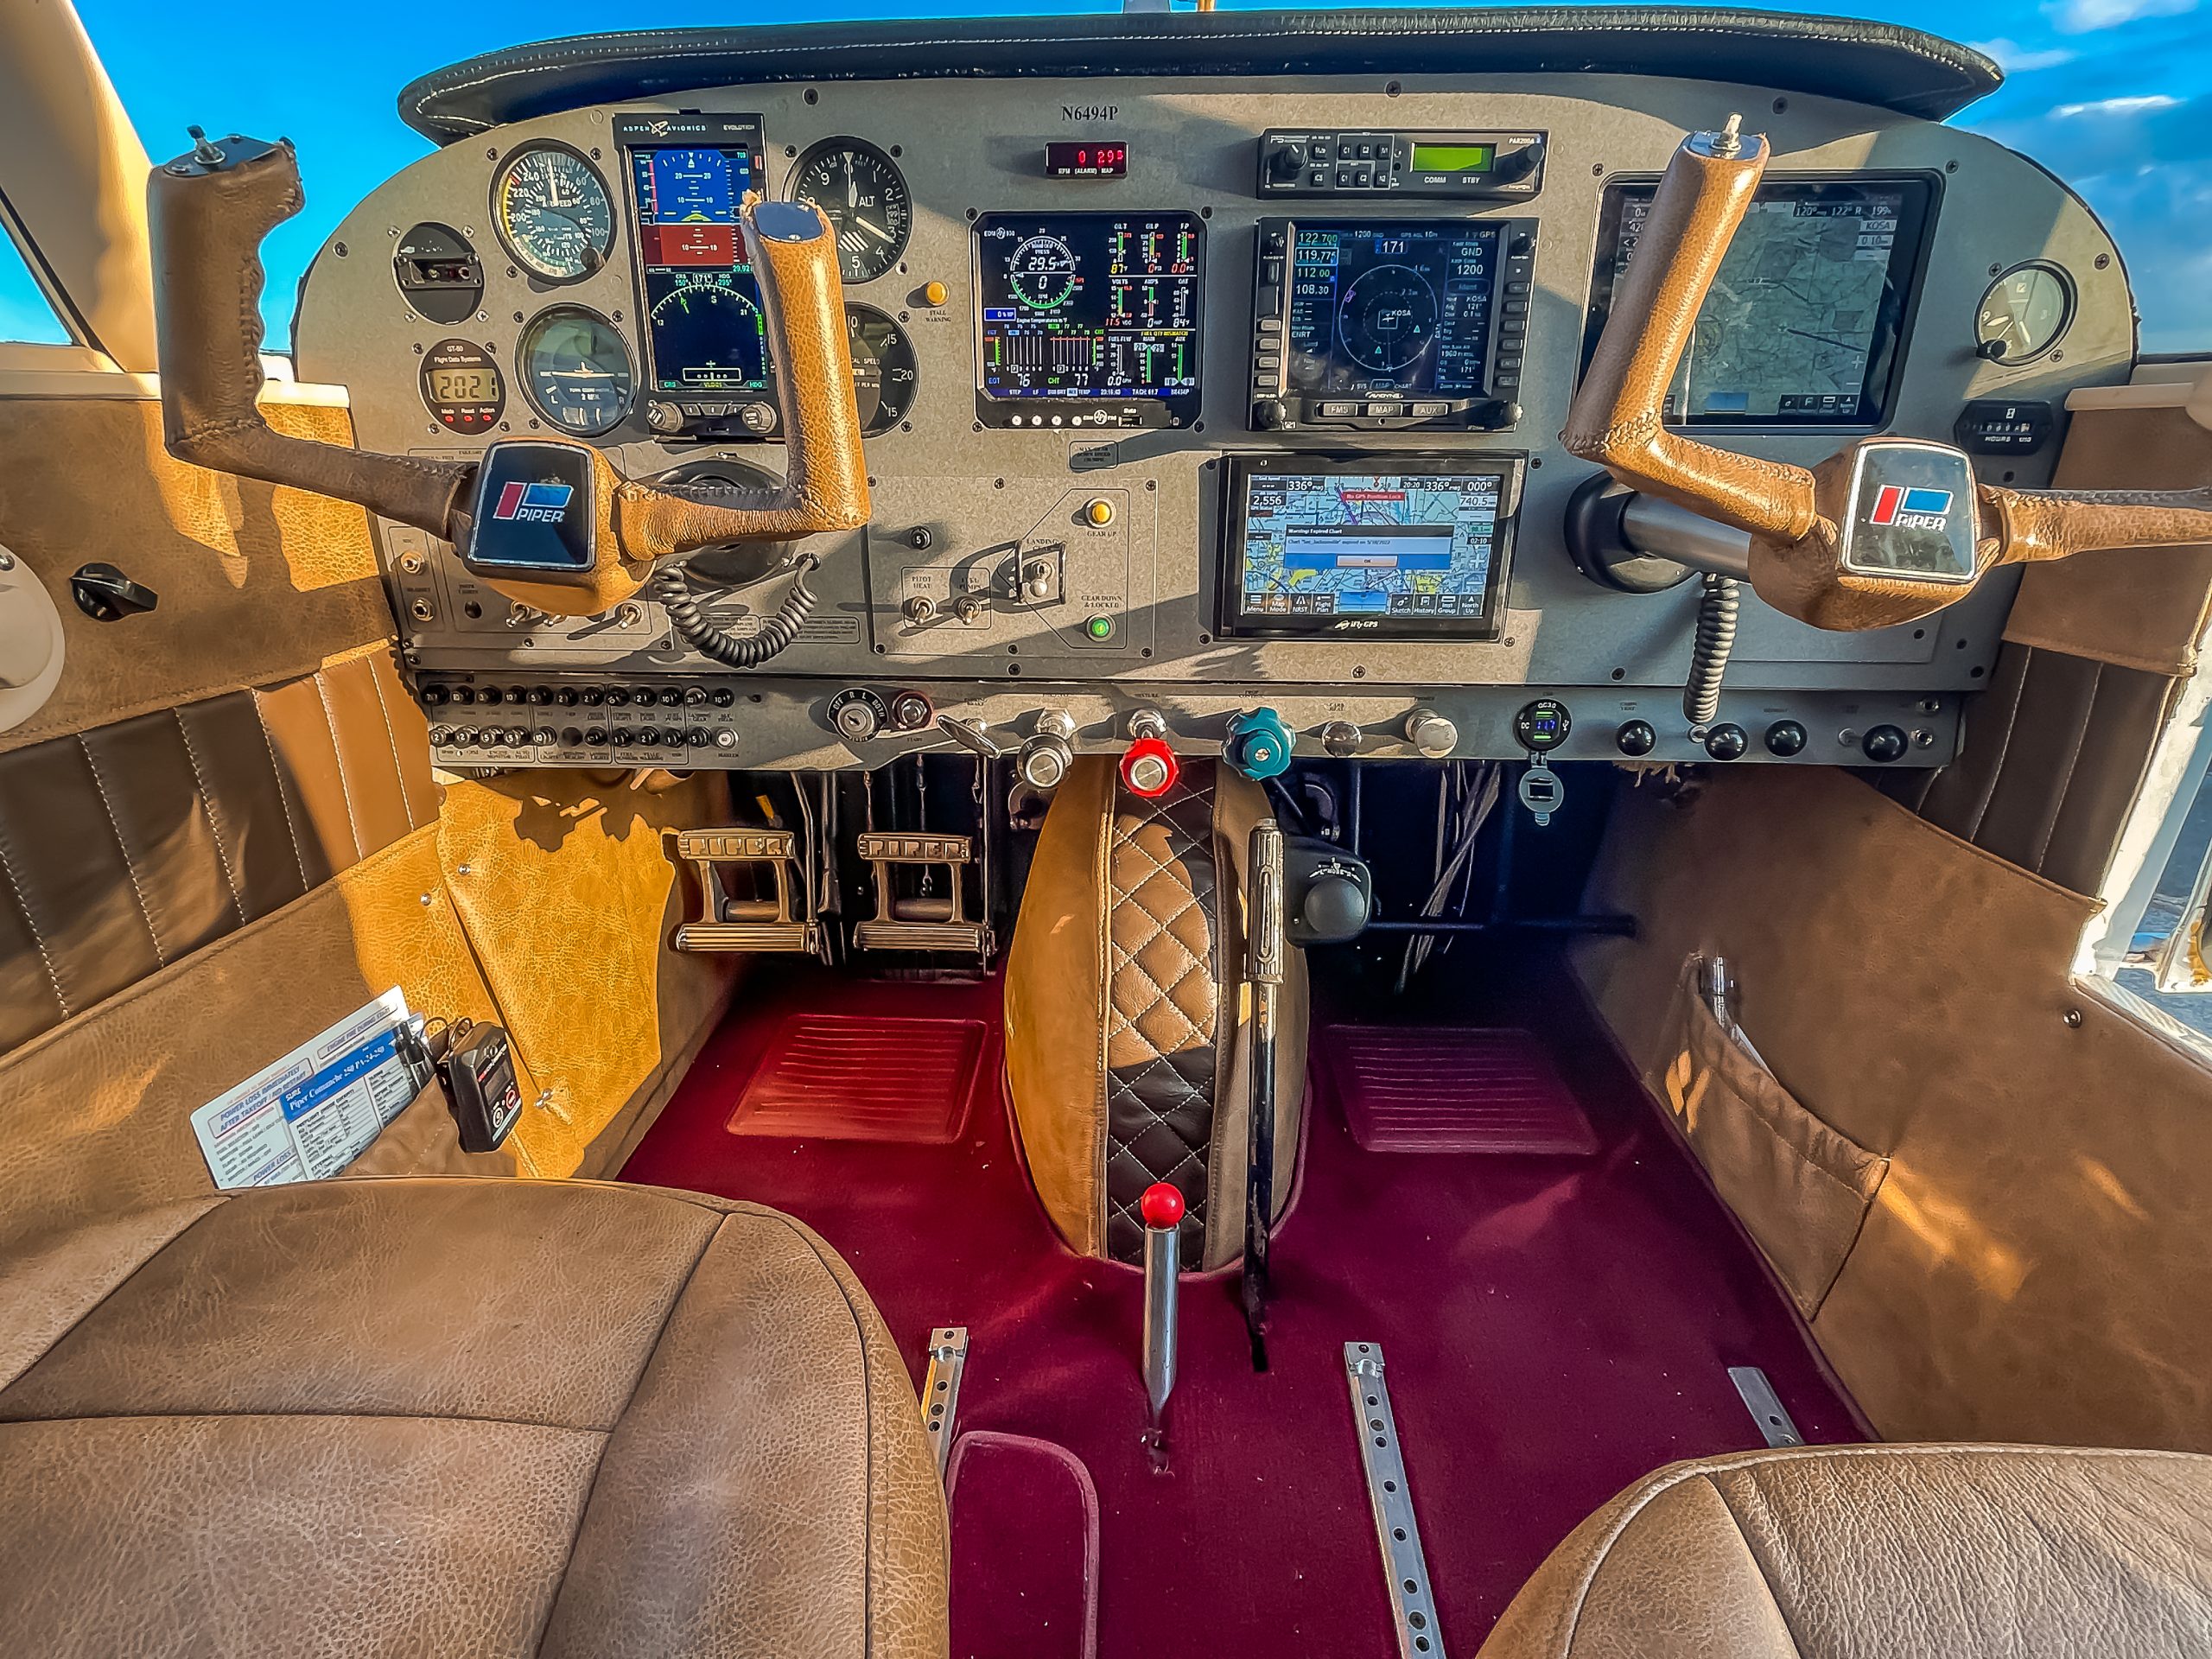
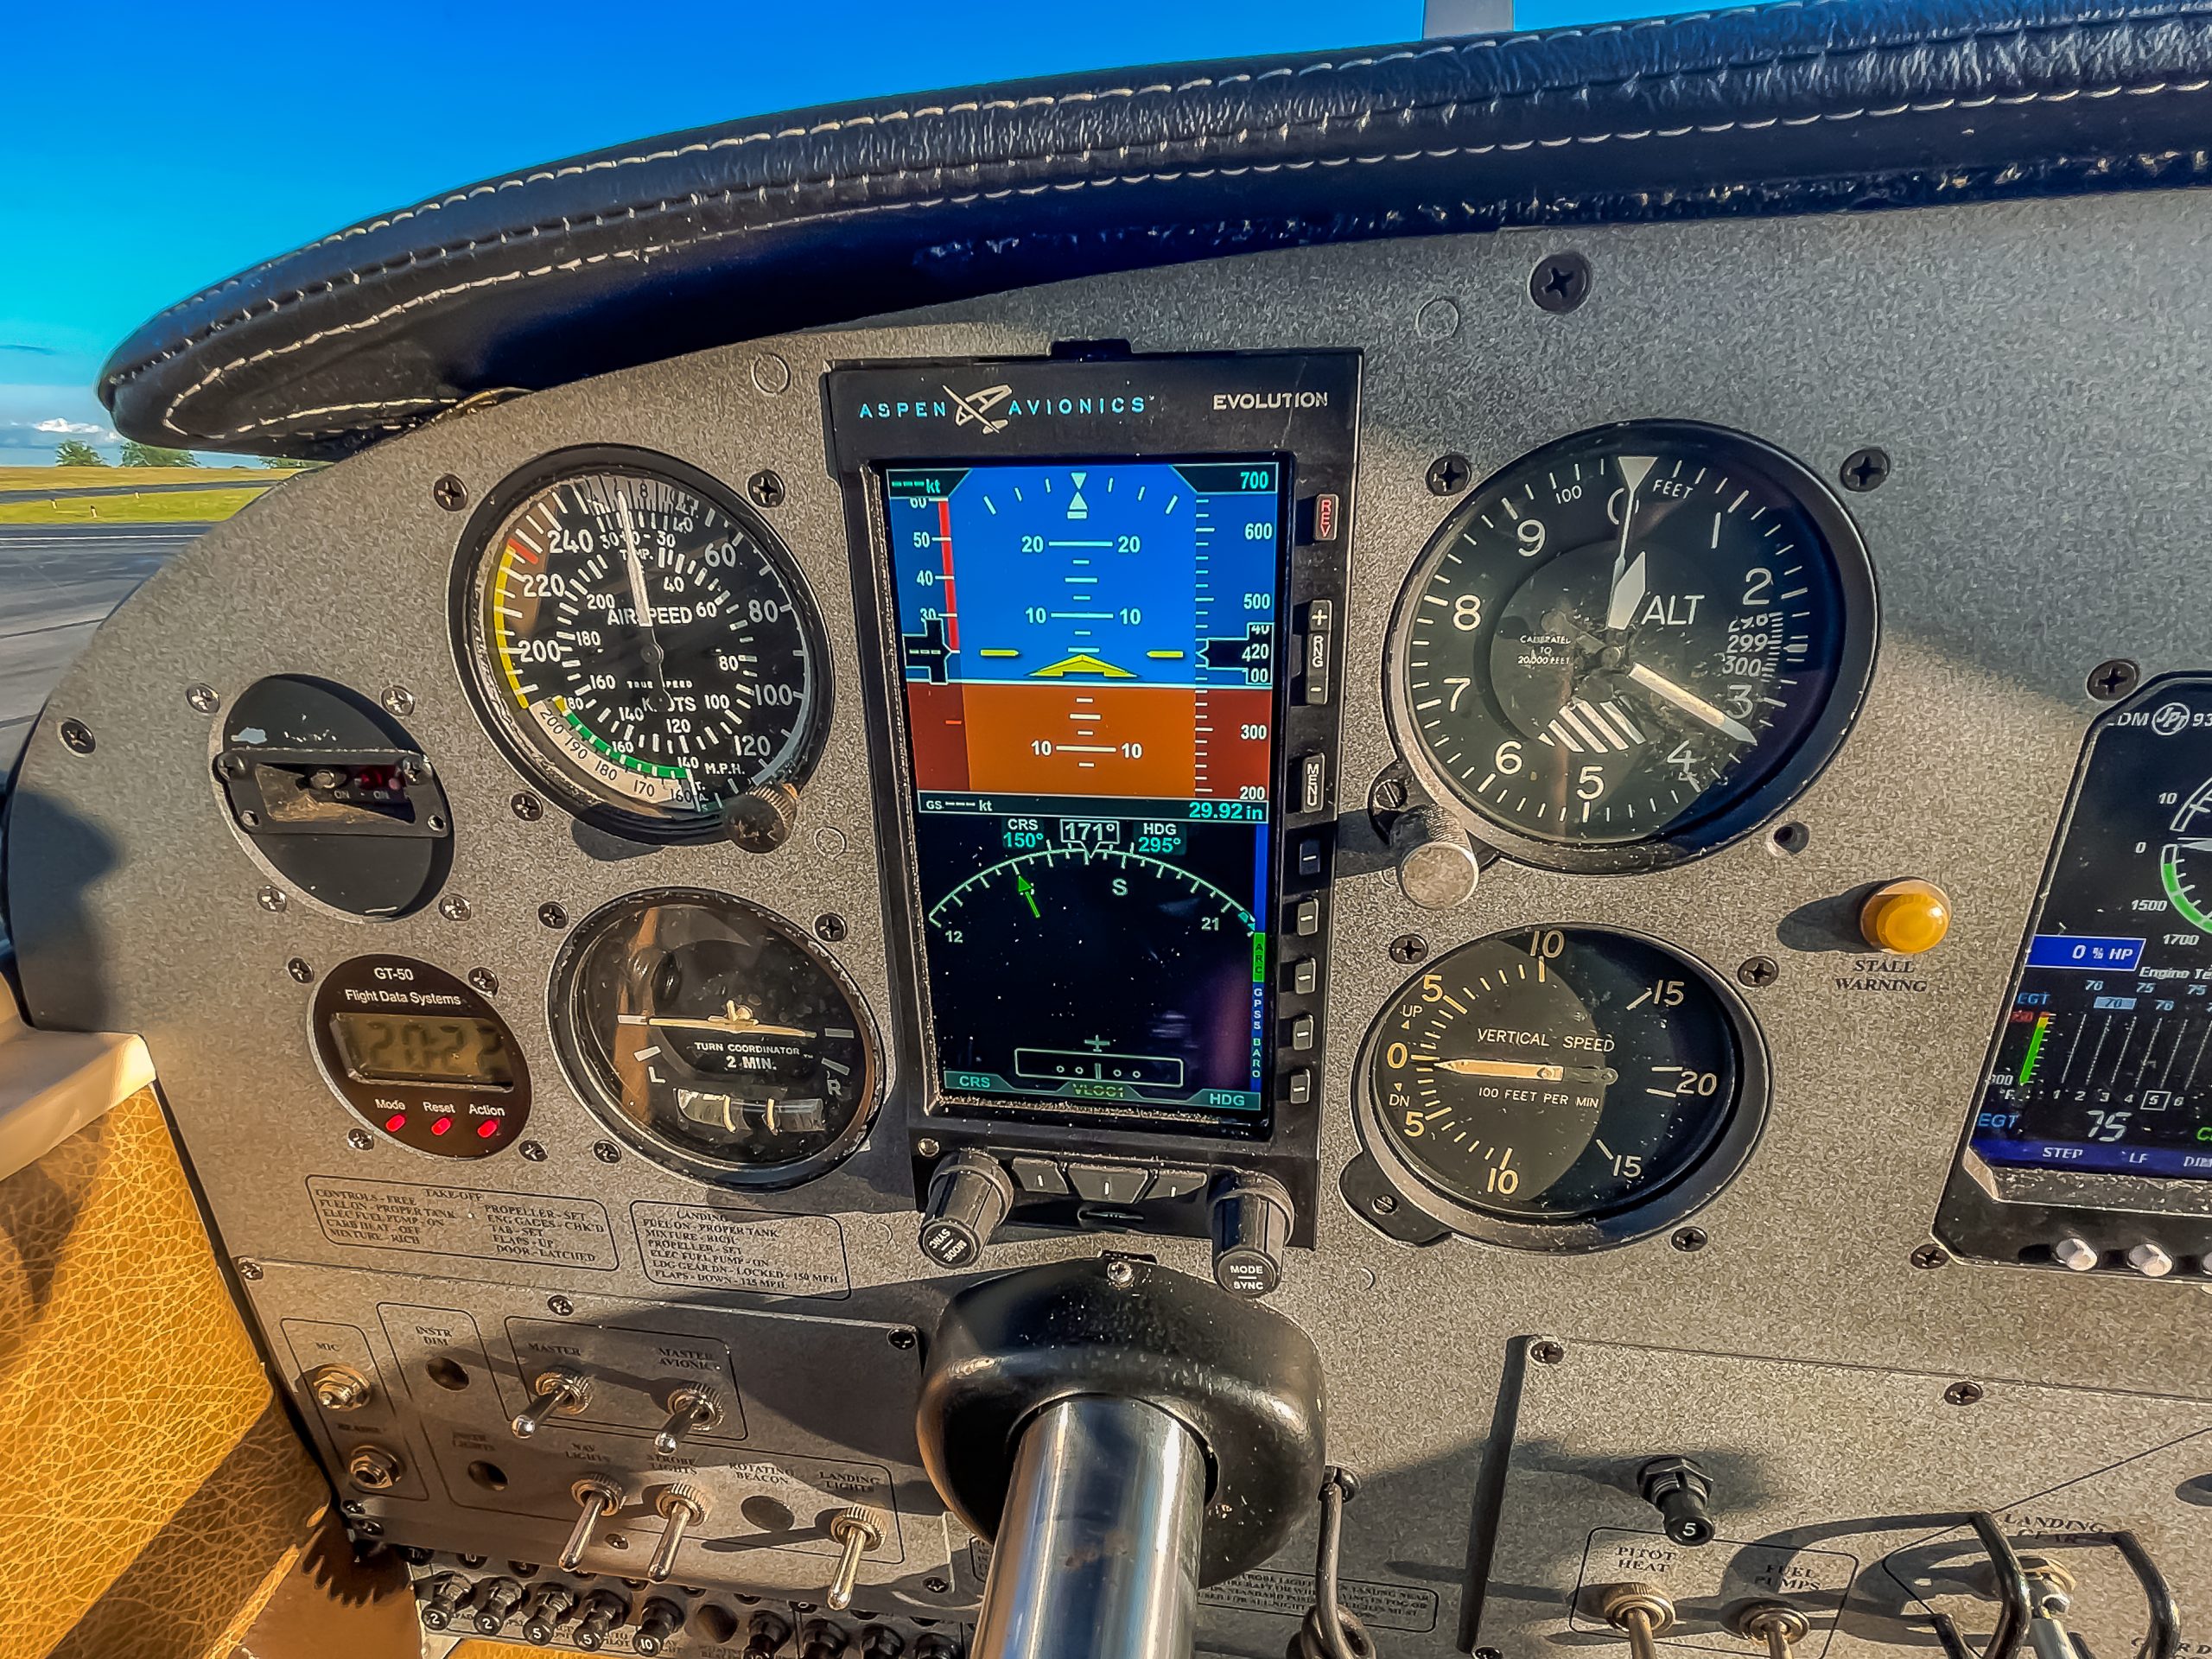
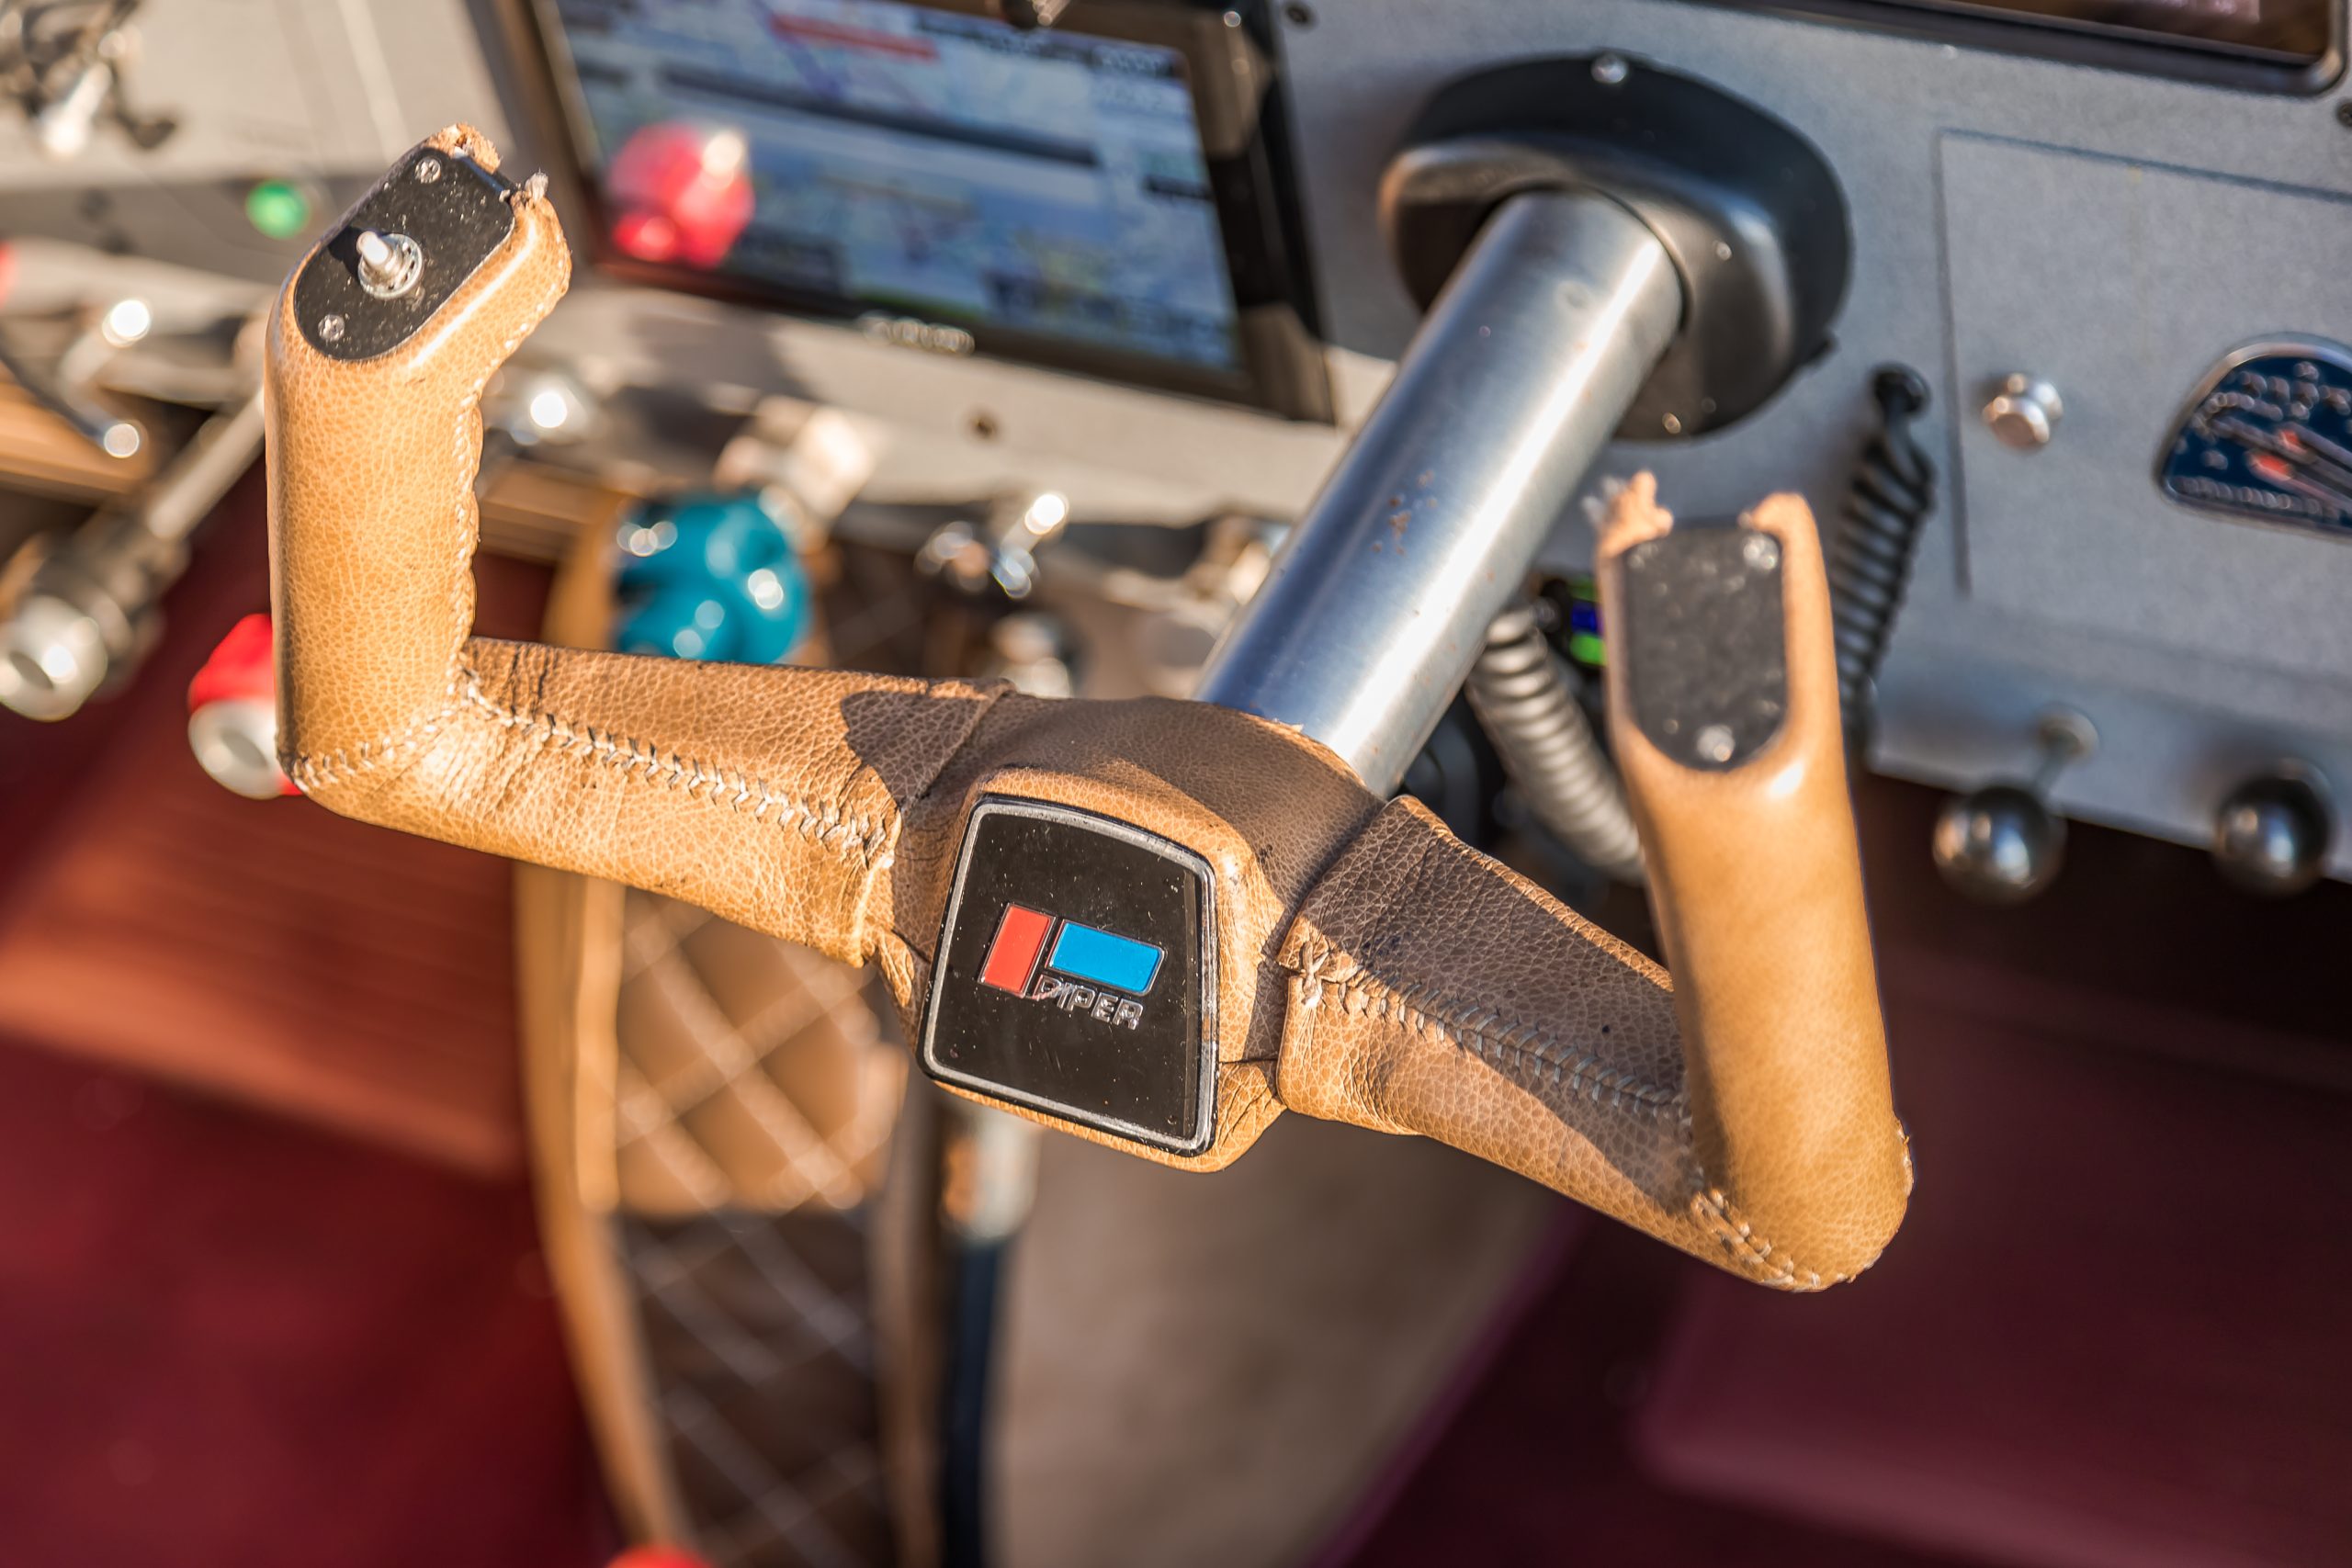
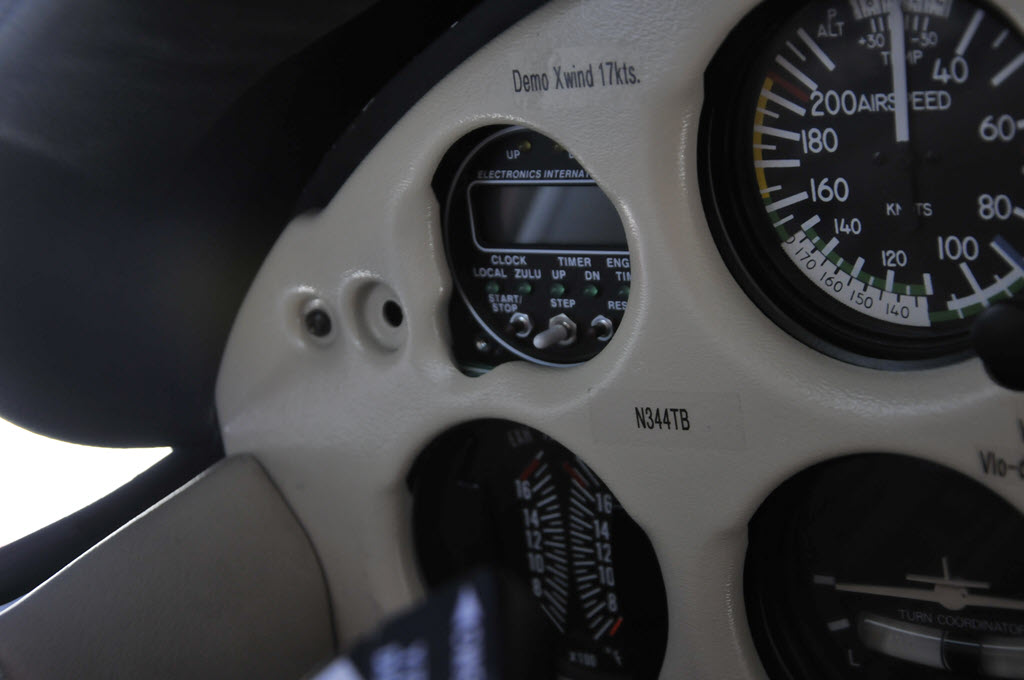
- Comanche Panel Upgrades
- Comanche Engine and Mounts: What Happens During an Upgrade
- Comanche Reassembly: What a Legacy Piper Looks Like When It’s Taken Apart
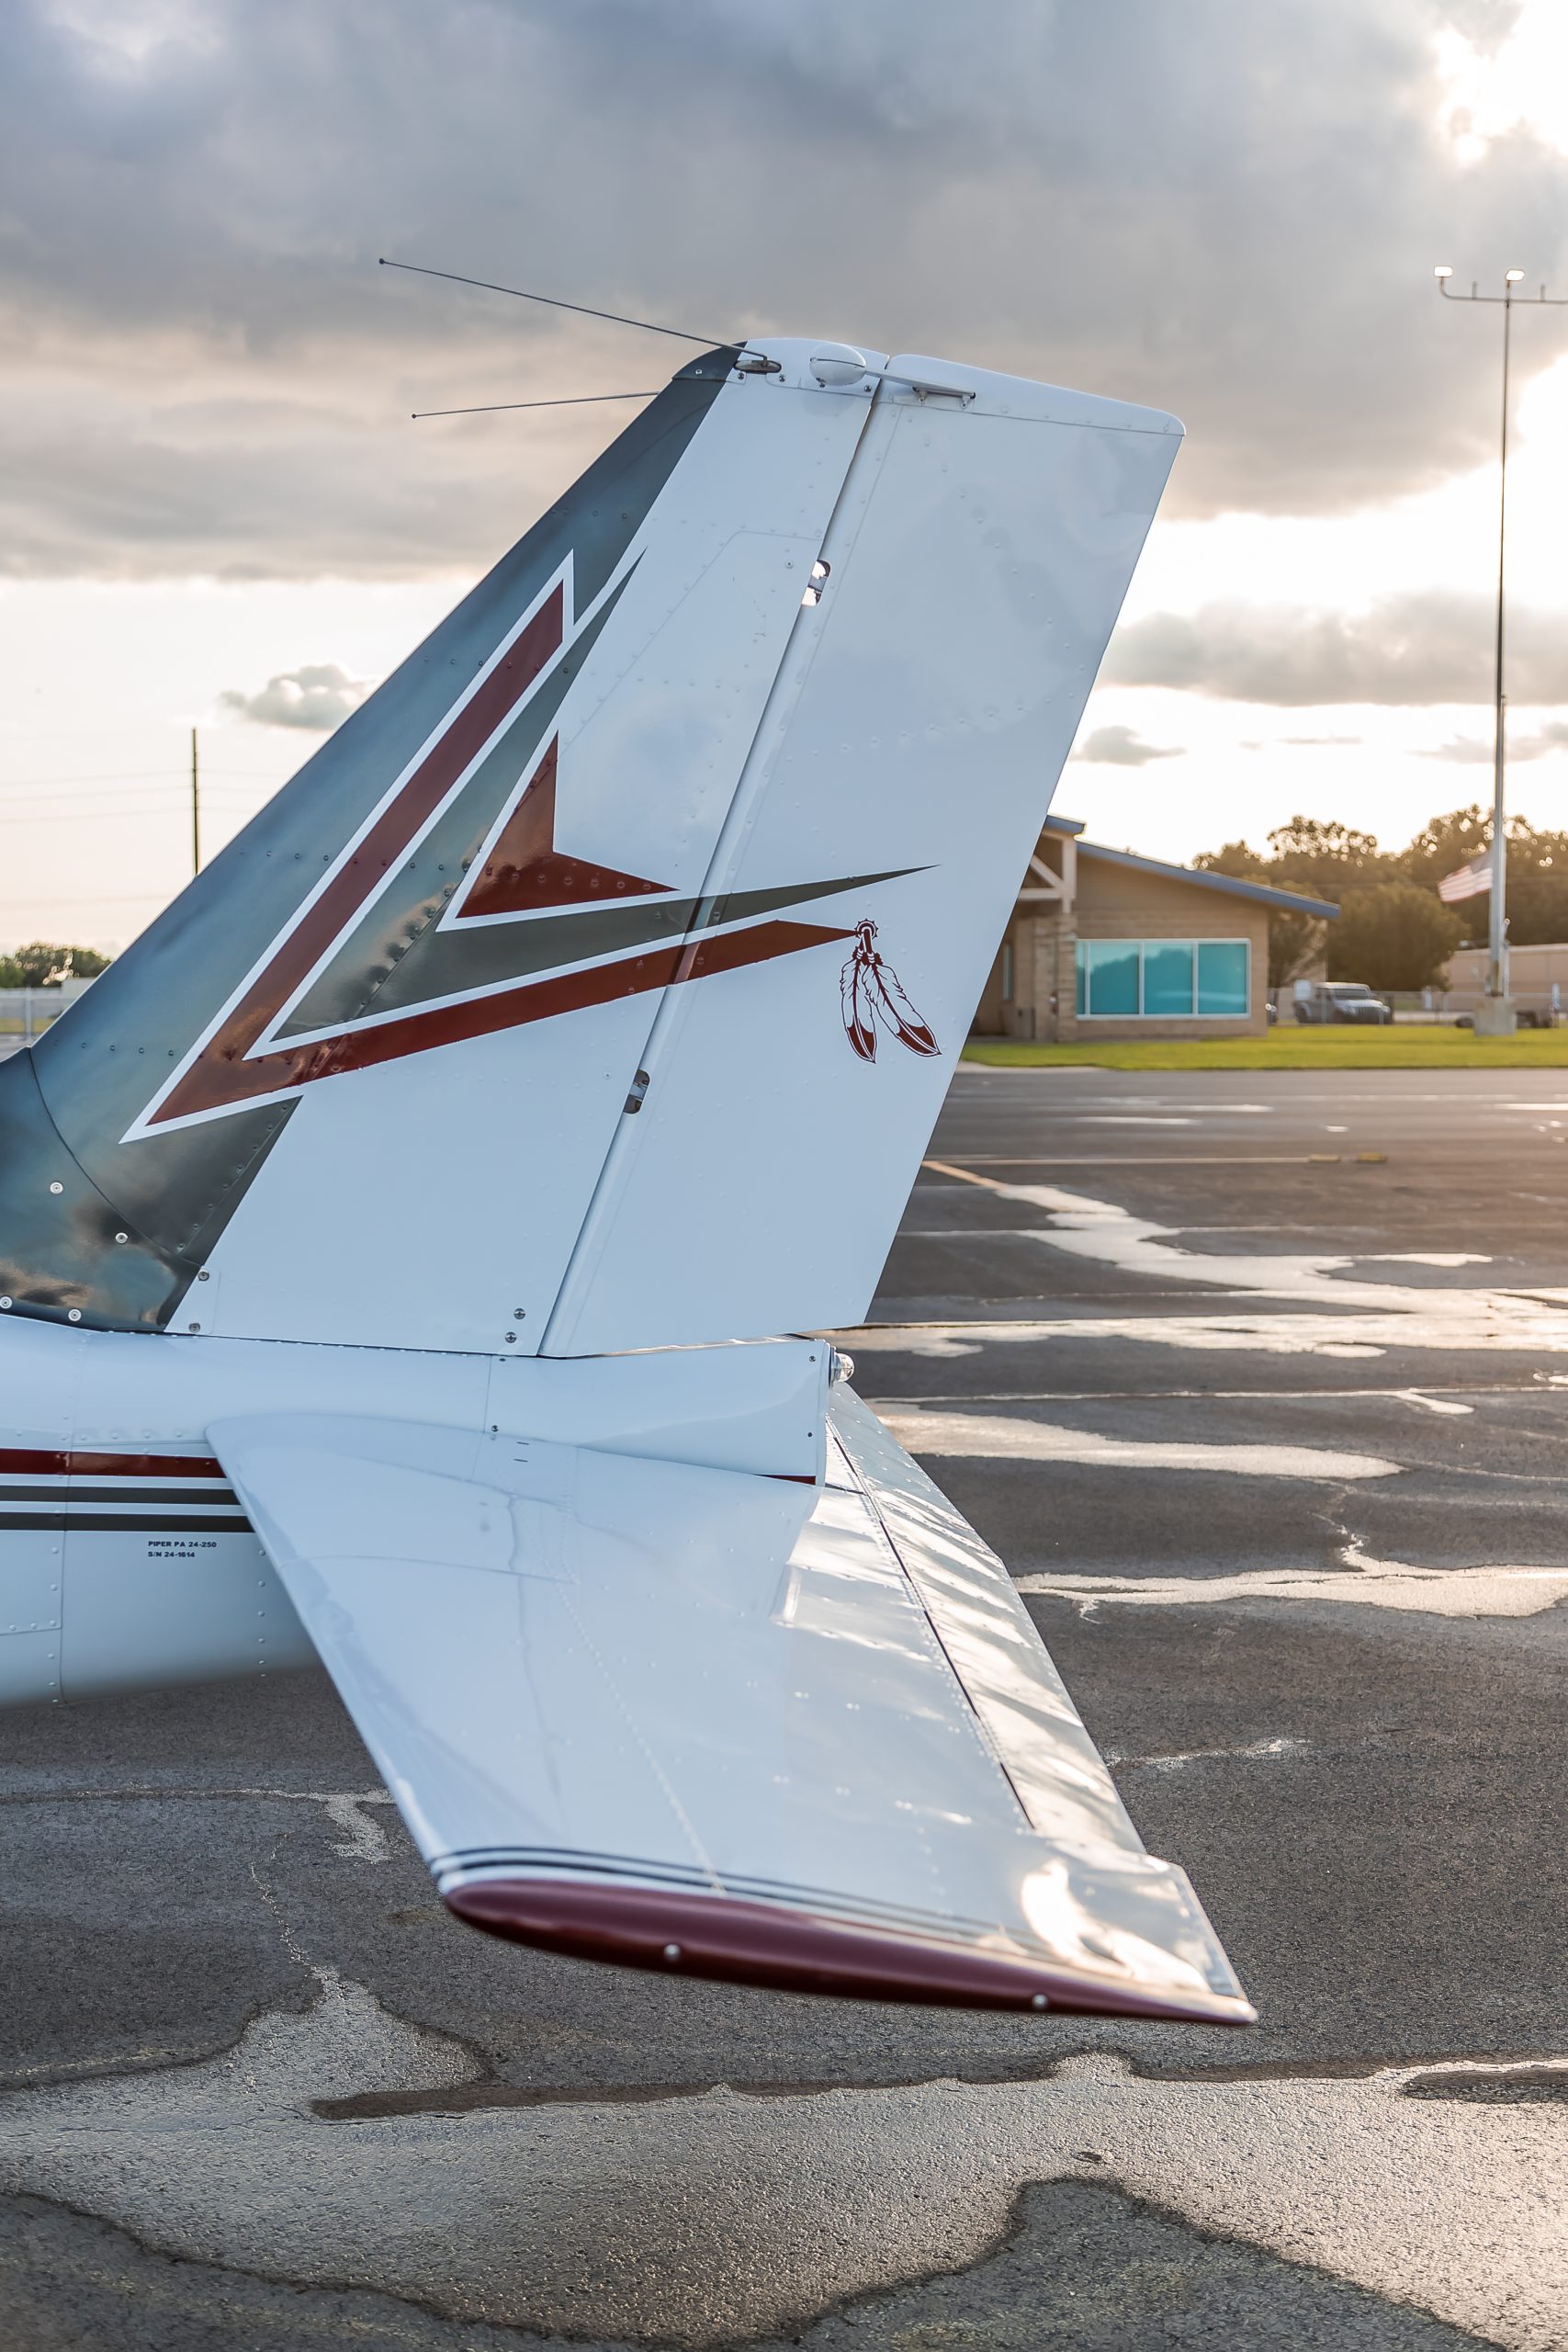
- 1959 PA-24-250 Comanche Fully Restored
- Learn more about this plane type by clicking here: Piper Comanche
Piehl estimates he put 3,500 hours into this plane’s restoration during its three-year overhaul. His first flight was July 24, 2021, the plane’s first flight in 34 years.
“I recruited a young CFI David Lyons, who works on our field to sit in the right seat and monitor the engine,” Piehl said. “I didn’t know if it was going to bank left, bank right, go up, go down, or whatever. But when we took off, it was straight and level, hands off. We flew for two hours in the morning and two hours in the afternoon. The next day, I went out myself for 45 minutes of touch and goes. The next day, I hired David again and we went higher, and again there were no squawks.”
The next day was Tuesday, and that’s when he left his home airport of Zephyrhills Airport (KZPH) in Florida on his way to Oshkosh. “The plane was basically three days old at that point,” Piehl said.
Piehl visited the Piper Owner Society booth, which resulted in this article, and the rest is now history in the form of a seven-part magazine series. “There are so many aspects of the restoration, from paint to engine to instrument panel,” he said. “I think what most satisfied me was three days after I first flew the plane, I’m in one of the vendor hangars in Oshkosh and I meet [the PIPERS magazine staff]. These articles have been the most satisfying part. This plane is being recognized by so many people who want to learn from what I’ve done.”
Piper PA-24 Comanche Review Lessons Learned
There are a few things that Piehl hopes other pilots, even those who aren’t about to take on a major years-long restoration, can learn from his experience, besides the specific advice throughout this series.
1) There is always something you can do yourself.
“Everybody knows their strengths and weaknesses,” Piehl said. “Everybody has the hands-on ability to do something related to the restoration of an airplane, whether it be stripping and priming, wiring up a panel, putting in lights, it can be anything.
“In addition to that, I’ve learned that there are a lot of people in our close-knit, small community of airplane owners and enthusiasts that are willing to either lend a hand or work for a decent wage.”
2) If you can’t afford to do it right, delay until you can.
Upgrading a plane on the cheap only costs more in the long run. That is one lesson that Piehl has for people, as he stated numerous times during this series. If you are not wealthy, be prepared to take your time and do the restoration right, because your goal is to assemble only one time.
“Don’t skimp on anything, anything at all,” Piehl said. “This isn’t a car or a boat, where you can pull over. This is an airplane.”
And besides the obvious safety concerns, it’s cheaper in the long run to do it once, properly. “If you don’t have the time to do it right in the first place, when are you going to find the time to rework it?” Piehl said.
3) Take pictures and label everything.
One of the reasons that Piehl’s restoration worked in the magazine is because he had taken thousands of pictures. You wouldn’t take pictures for the purpose of getting published, of course, but you can’t have too many photos when you’re about to start reinstalling things.
“When I installed the wiring for the instrument panel, I knew that down the road I was going to be installing an autopilot, and that I was going to be installing ADS-B In, so I had wired those and left those wires terminated and labeled. So, when I installed the instrument head for the Trio autopilot two weeks ago, all I did was pull out those pigtails, and there were the wires, labeled and ready for me to connect them.”
4) Patience is a virtue, and so is a great spouse.
It was a long and arduous journey, and patience was the key. “People would ask ‘when is she going to be done?’” Piehl said. “I said, ‘When she’s done, not before.’”
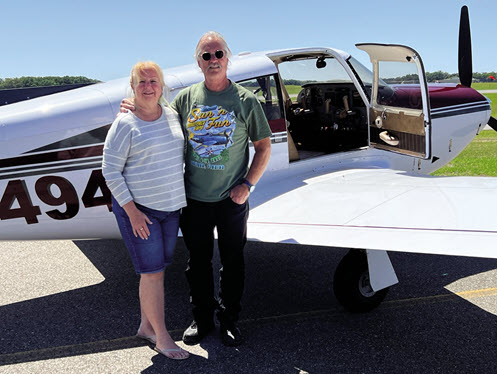
It was especially important that Piehl’s wife, Deb, let him take his time. He’ll be forever grateful because the plane wouldn’t have turned out like it did if she hadn’t.
“Deb was very supportive and very patient with the restoration,” he said. “I was without a plane for two years. Recently our daughter had our first grandson, and we like to fly there because it is a 55-minute flight or a 3-hour 45-minute drive, so we’ve been using the plane for things like that.
“But she was very patient during those many hours. After work every day, and all day Saturdays. Thanks to Debbie for the time she gave me and the cooperation she gave me in this restoration.”
Piper PA-24 Comanche Photo Gallery
There are 60+ photos in this Piper Comanche Photo Gallery. Photos by Jack Fleetwood, www.JackFleetwood.com.
Click on a photo for a popup slideshow photo gallery.


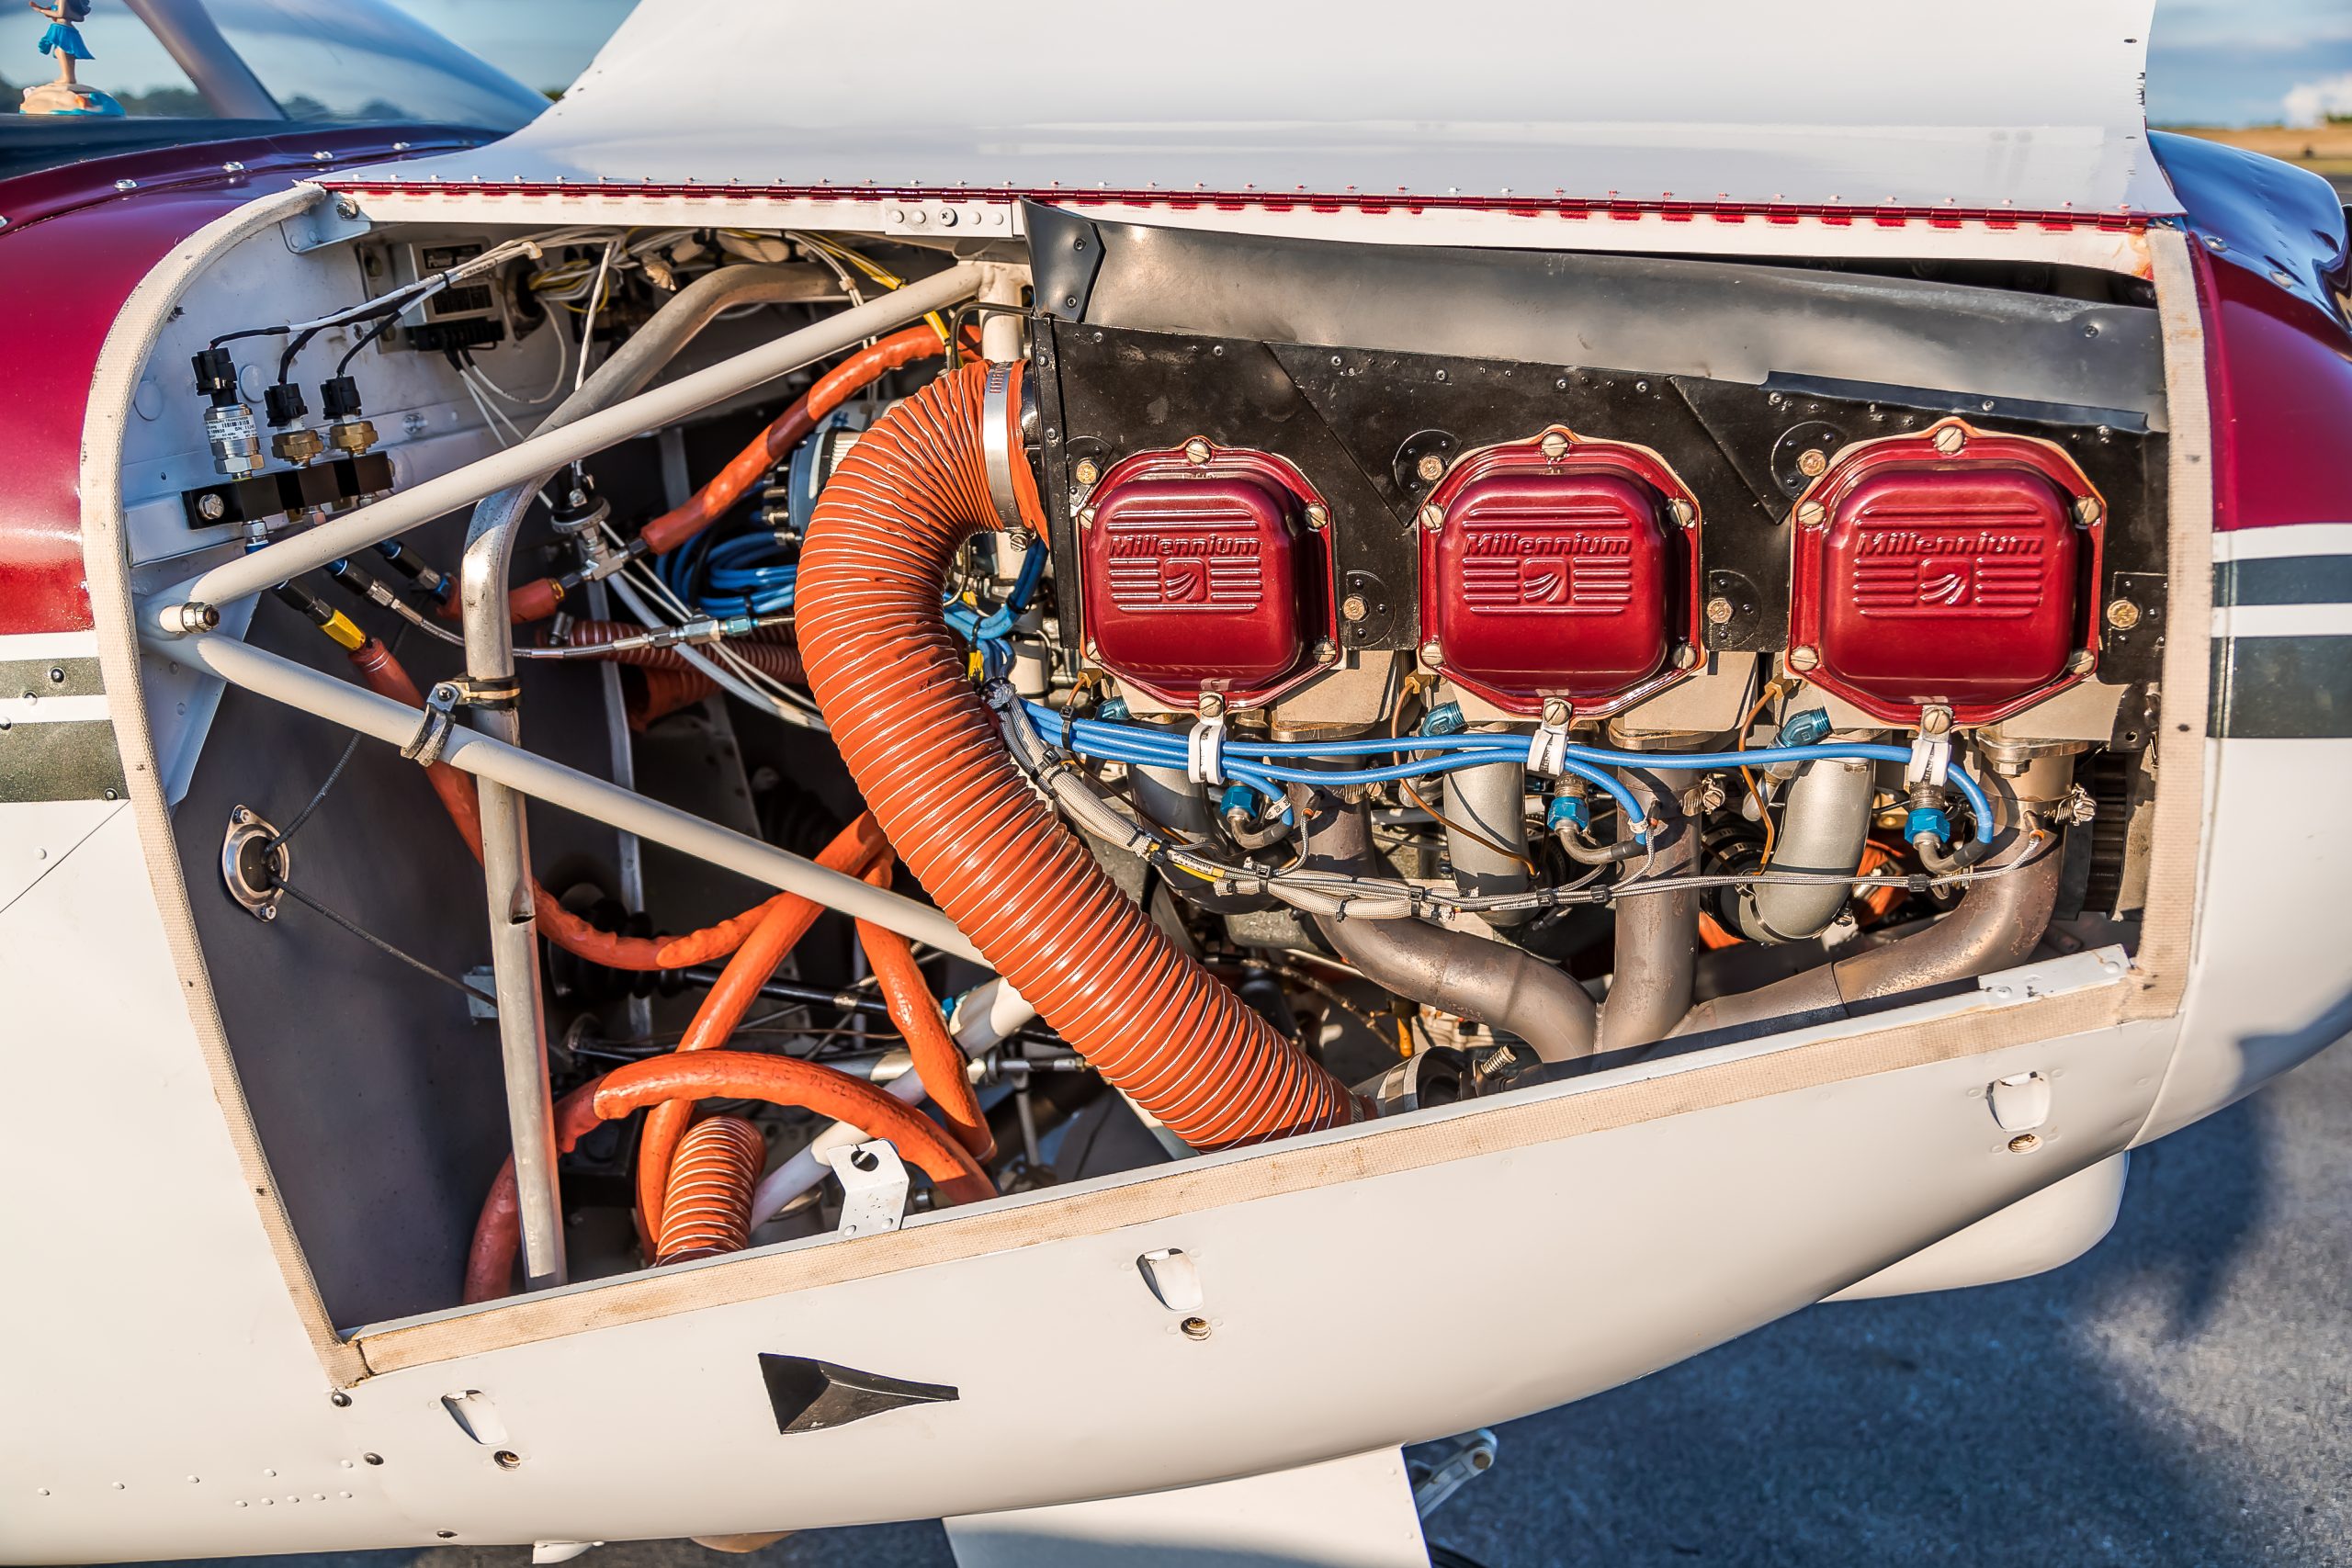
“New baffling has been installed on the top. All-new fuel and oil hoses have been replaced. There is a Plane Power alternator/regulator up on the firewall, and you can kind of see the Surefly electronic ignition, with the blue wires coming off it.”

How to Fly a Comanche
By Greg Piehl
Takeoff
The P factor is substantial with 250-horsepower, so it is going to push you to the left, but not excessively. It’s very controllable once you’ve done it. Trim for takeoff is important. As soon as you lift off, you’ll notice either a really heavy yoke in or out, so you have to find the ideal trim for takeoff and have it marked.
Climb Out
You can climb out at 1,300 or 1,400 feet per minute very easily. As you climb out, you want to reduce manifold pressure, then prop speed, and, eventually, mixture. Flying a Comanche in cruise is unlike any other plane that I’ve ever flown. It’s stable, it’s easy to trim, it’s a hands-off airplane once it’s trimmed.
Descent
You can either reduce power to descend, or you can leave power on, but 10 miles out, you better not let the plane get ahead of you, because you will be coming in fast. So, 10 miles out, you’re in approach mode.
Landing
The Comanche is one of the harder planes to land properly. You can’t land with power out, you have to have power on to maintain airspeed. The approach is 100 mph, 90 mph over the fence, and 80 mph at landing, and since the plane sits with a nose-high attitude anyway, you really don’t need to flare, but you certainly don’t want to hit the nose wheel first. And when you hit stall speed, it will drop to the ground. The gear is very stout, so it is very forgiving. But it is not an easy plane to land for a beginner.
For that reason, if you’re going to own and/or fly a Comanche, you should get training from a Comanche specialized CFI. It’s extremely important that you recruit one of those if you’re not familiar with the Comanche.


More Comanche 250 Research
Piper Comanche 250 (main page)
Piper Comanche 250 Specs
Piper Comanche 250 Reviews
Piper Comanche 250 ADs
Piper Comanche 250 Restoration Series

