On the Piper forum where I spend much of my day, certain topics come up often. One of those topics is interior restoration, as members discuss how their carpets, side panels, headliners, and seats look worn and need replacement. Our members fly aging aircraft and try hard to keep them safe and enjoyable to fly, so it’s important to invest in improvements. But some of the major improvements are big ticket items, such as the engine, glass panel avionics, paint, and prop. Those things combined could total $120,000 on an airplane worth $35,000 to $60,000. While the value of our planes would increase dramatically after such an investment, we would never recoup all of that during a sale. And who has $120,000 to drop in a 1960s or 1970s airplane?
By comparison, interior upgrades, such as windows, window molding, and interior upholstery provide more return on investment. I have already written multiple articles on windows and window molding upgrades that I’ve done in my Seneca and Arrow that are available to members in our online article archives. I’ve done reupholstery articles on both of those airplanes, too, but the topic keeps coming up, so I’m going to touch on it in this article.
Airtex Interiors DIY Kits
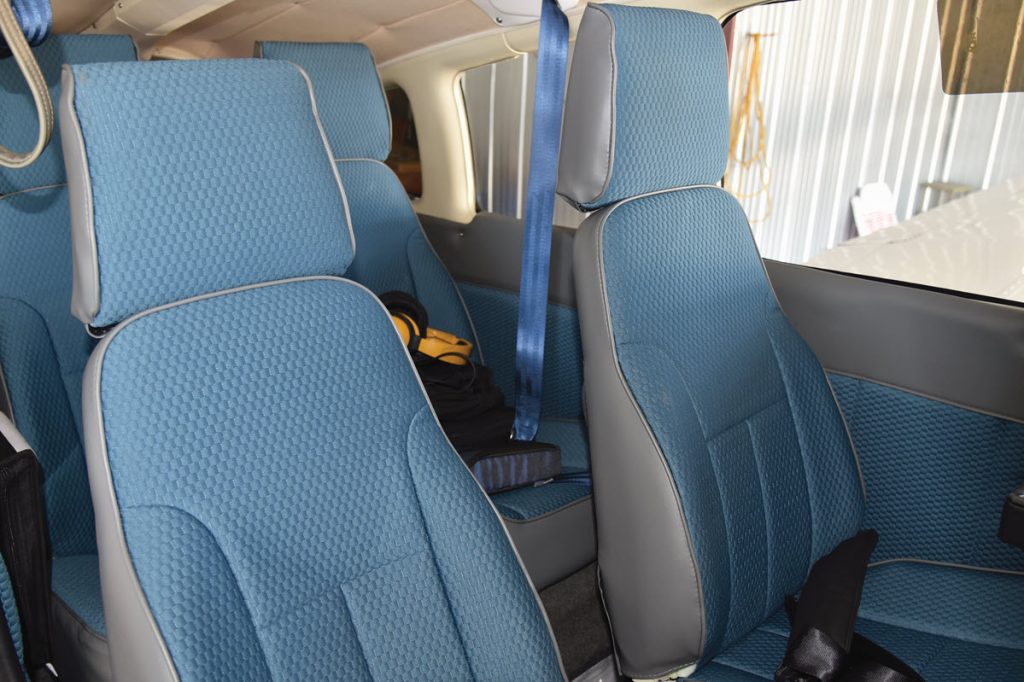
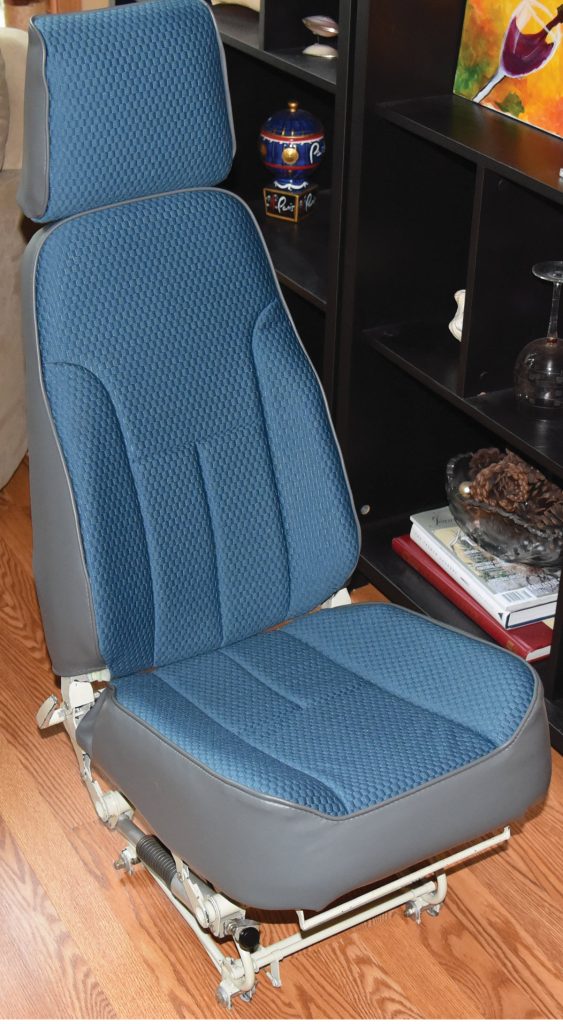
There’s a company that I’ve been dealing with for around 40 years. That company is Airtex Interiors, founded by Don Stretch and taken over by his son Dodd. Airtex is known for high-quality do-it-yourself (DIY) interior kits. I have done five over the years, and they are an A+ company producing an A+ product with A+ customer support. That’s my personal opinion. I put an Airtex kit in my Seneca in 2004, and it still looks new. I put another Airtex kit in my Arrow, and my Arrow looks brand new. I get compliments frequently from people who think it’s a new airplane.
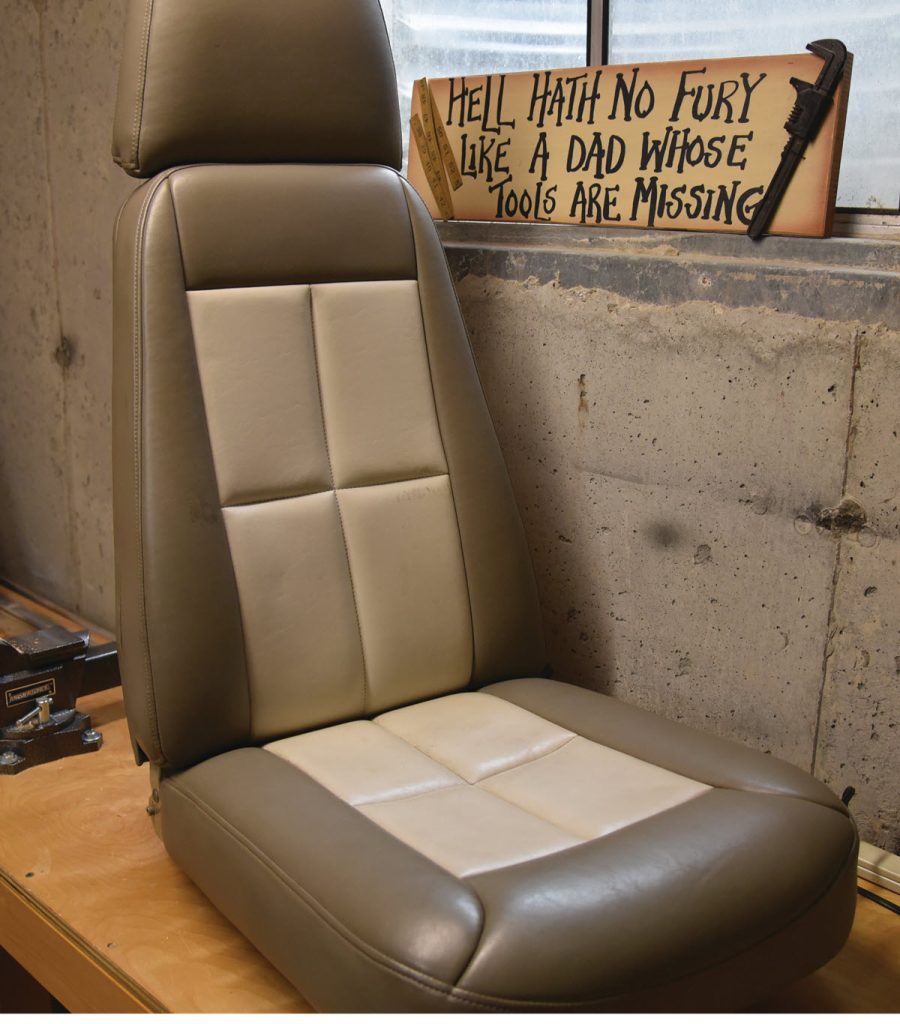
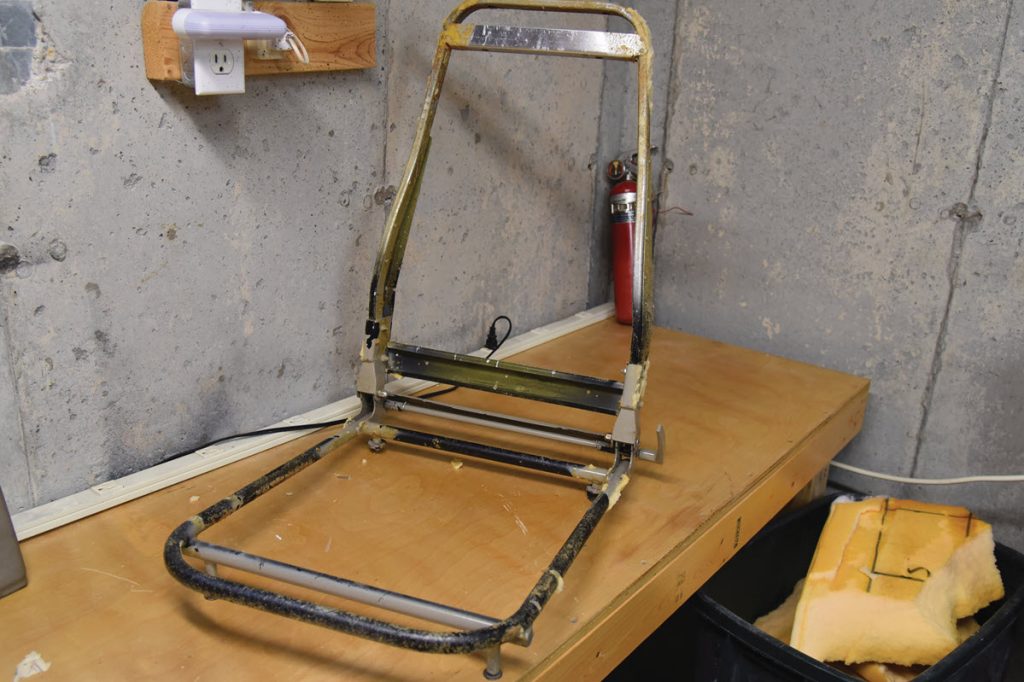
There are many excellent attributes associated with Airtex kits. One, you can do the interior in one shot if you’d like. I did my Seneca over two months one winter back in 2004. I did my Arrow in two projects during two COVID winters, with headliner, windows, and window molding one winter and the carpet, side panels, and seats the next. You can break it up as you see fit, and you don’t need to do the entire interior. Is your carpet worn out? Just replace the carpet!
Kit Costs
Here are basic prices for a typical PA-28. For specific prices for your plane, visit airtexinteriors.com.
- Seat Covers: $1,757
- Wall Panels: $1,200-$1,848
- Headliners: $225-$330
- Carpet: $399
- Aft Bulkhead Panel: $235
- Door Seal Welt: $56
- Headrest Covers: $90
- Foam Soundproofing: $55 per sheet
Labor Cost
If you make this a DIY project, there won’t be any labor cost. While Airtex and others will charge for installation if you choose to have them do the work, you can do it yourself and save that expense. At $100 an hour for labor, that would be a huge savings. My Arrow took me 120 hours. That’s a $12,000 savings! If you’re younger than me, you can do an interior in three weeks, working full-time. If your body aches after a few hours in the bottom of your plane like mine does, you can do two to four hours per day in the evenings after work. At that pace, you can finish in two months. And if you plan it right, you can remove only what you’re going to replace immediately and still be able to fly while you’re doing the interior.
The cost, not counting miscellaneous supplies, tax, and shipping, is approximately $4,500. Think about that for a moment. Here’s a project you can do yourself that will make your plane look like a million bucks for less than $5,000, and will last well over 20 years looking like new.
Skills Required
A DIY interior is neither complex nor difficult. If you watch YouTube videos and take lots of “before” pictures, you can do it. The only tools you really need are screwdrivers, X-Acto knives, and a few other basic tools. Nothing exotic or fancy is needed. And when you need help and guidance, we’re available on the Piper forum to help you, as is Dodd Stretch, the owner of Airtex.

