
Add Beauty, Protection, and Easy Clean-Up
By Mike Jones
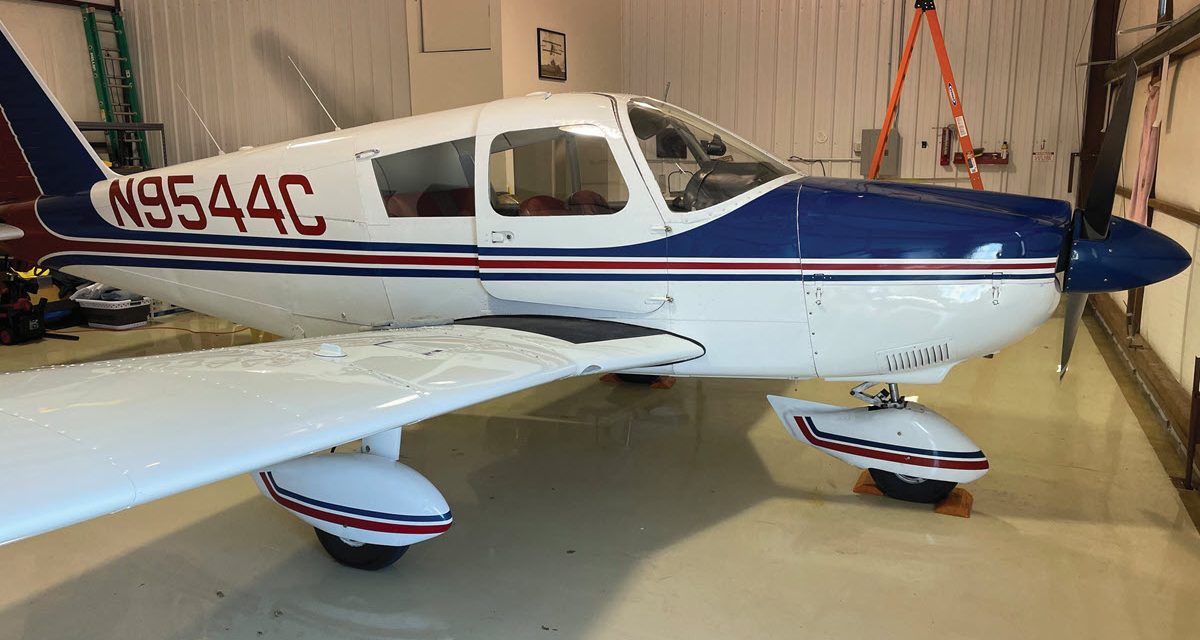
What a great flying day! I could tell by the number of bugs smashed on the leading edge of the wings, cowl, and wheel pants! Out comes the bucket of soapy water and a scrubby. As I work hard at removing the goo and crust of dead insects, my mind drifts to all the tribal wisdom of how to better do this — like pineapple chunks! Somehow, pineapple chunks are a good scrubby and enzymes in the juice are supposed to dissolve this mess. As I wipe and wipe, I also notice how my paint, especially the colors, are looking a bit dull. I should do something about that, I thought.
Fast forward to AirVenture Oshkosh. A seminar on the benefits of ceramic coatings caught my attention. I grabbed my notepad and headed that way.
What Is a Ceramic Coating?
Unlike a traditional wax job, ceramic coatings bond nanoceramic particles to the surface and create a hard, slick, longer-lasting finish that repels water, oils, and dirt; provides UV protection; resists the elements; and makes your aircraft easier to clean because almost nothing sticks to it! I listened intently to the seminar and took copious notes, as this sounded like it would fix both my bug problem and my aging paint! I watched a demo of applying the ceramic coating to a borrowed section of warbird. While it looked labor-intensive, the results were impressive. I purchased a complete kit of materials being offered by the seminar sponsor, Johns 360° Coatings (johns360coatings.com).
John is a real person, John Mosely, owner of the company. John’s ceramic coating does not create an artificial glossy finish, unless the paint itself is already glossy, so you can also use it over a matte finish. After coating, you will still have a matte finish, but it will be super smooth and totally protected. I have no affiliation with the company other than being a very satisfied customer and will describe the process using their products, with which I am now very familiar.
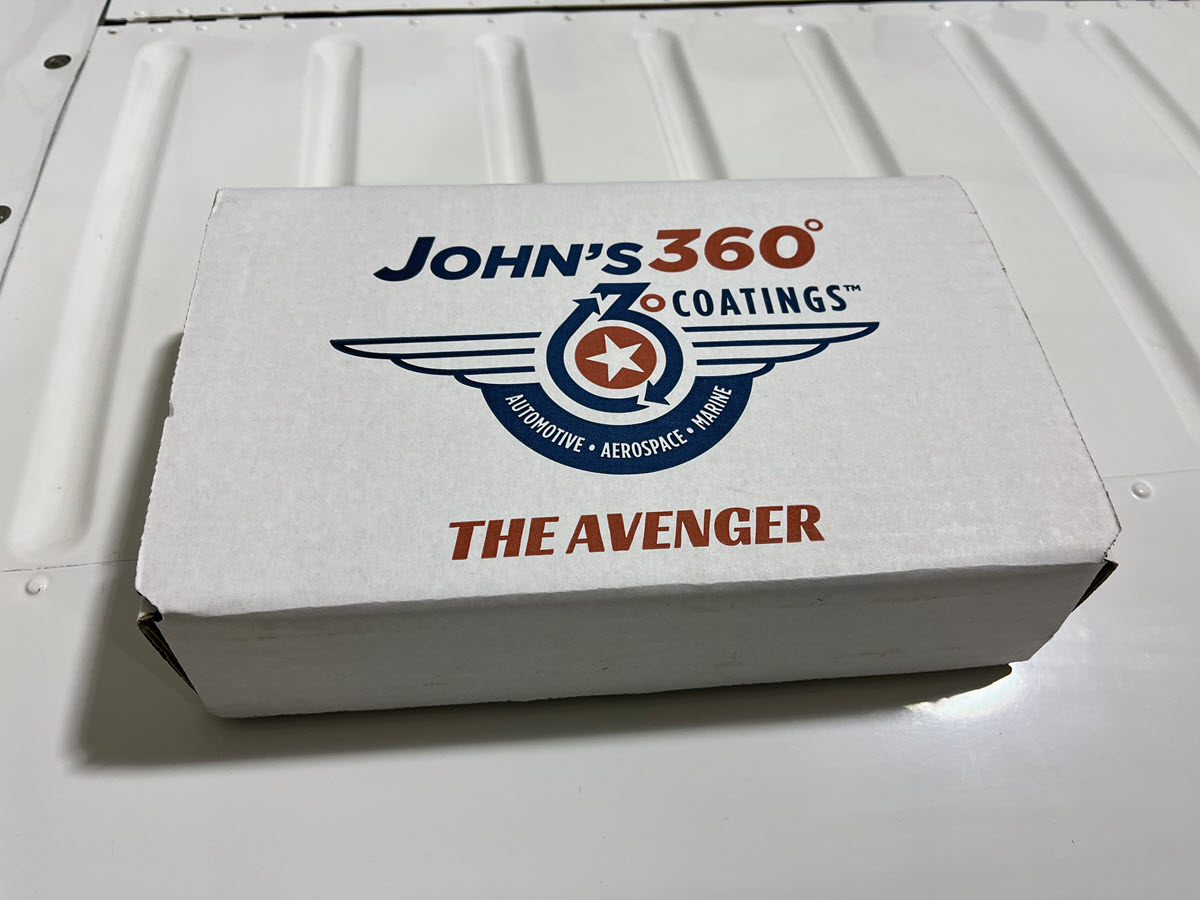
Enter the Avenger
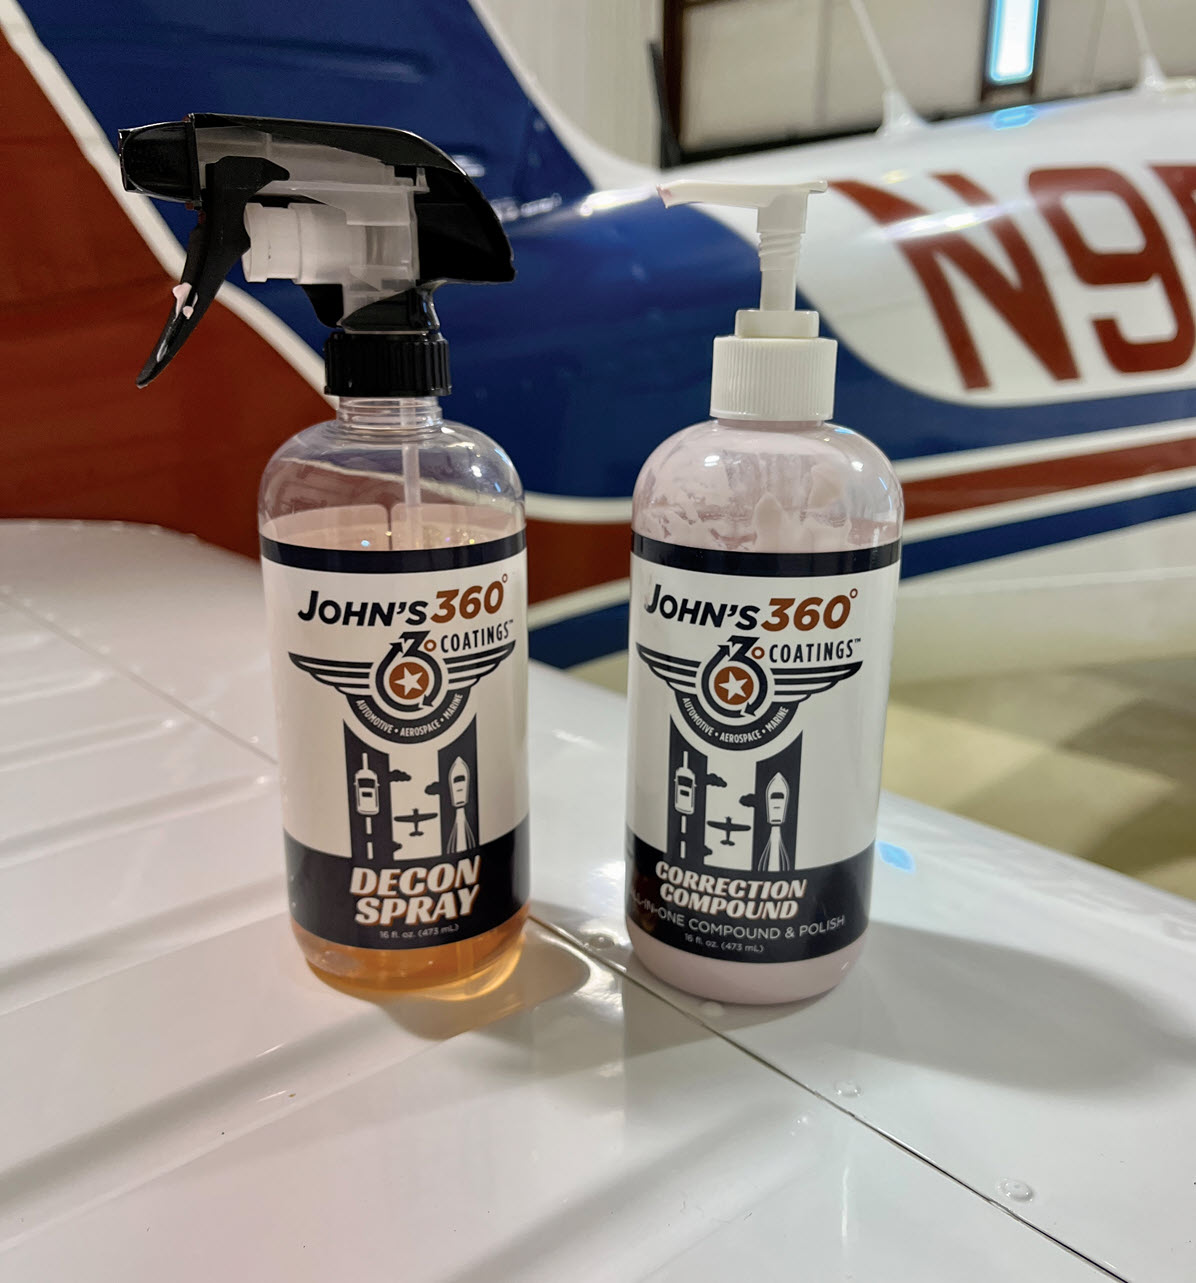
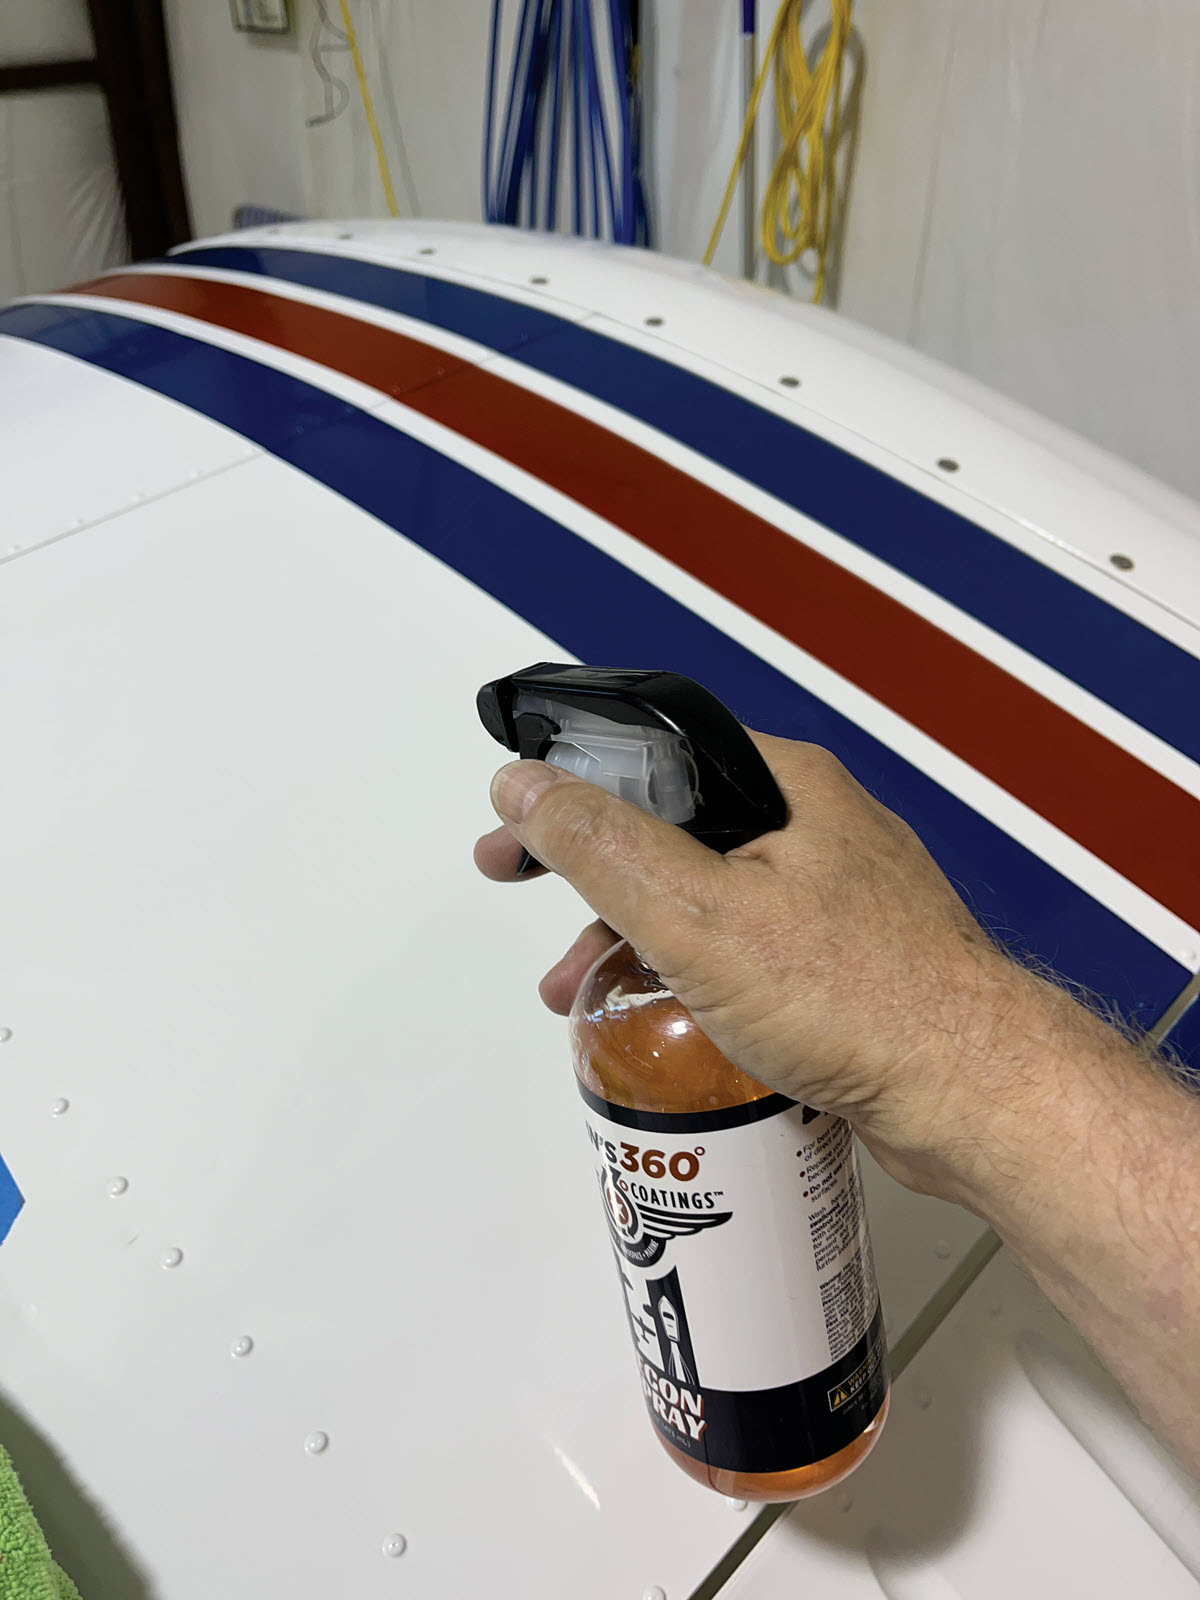
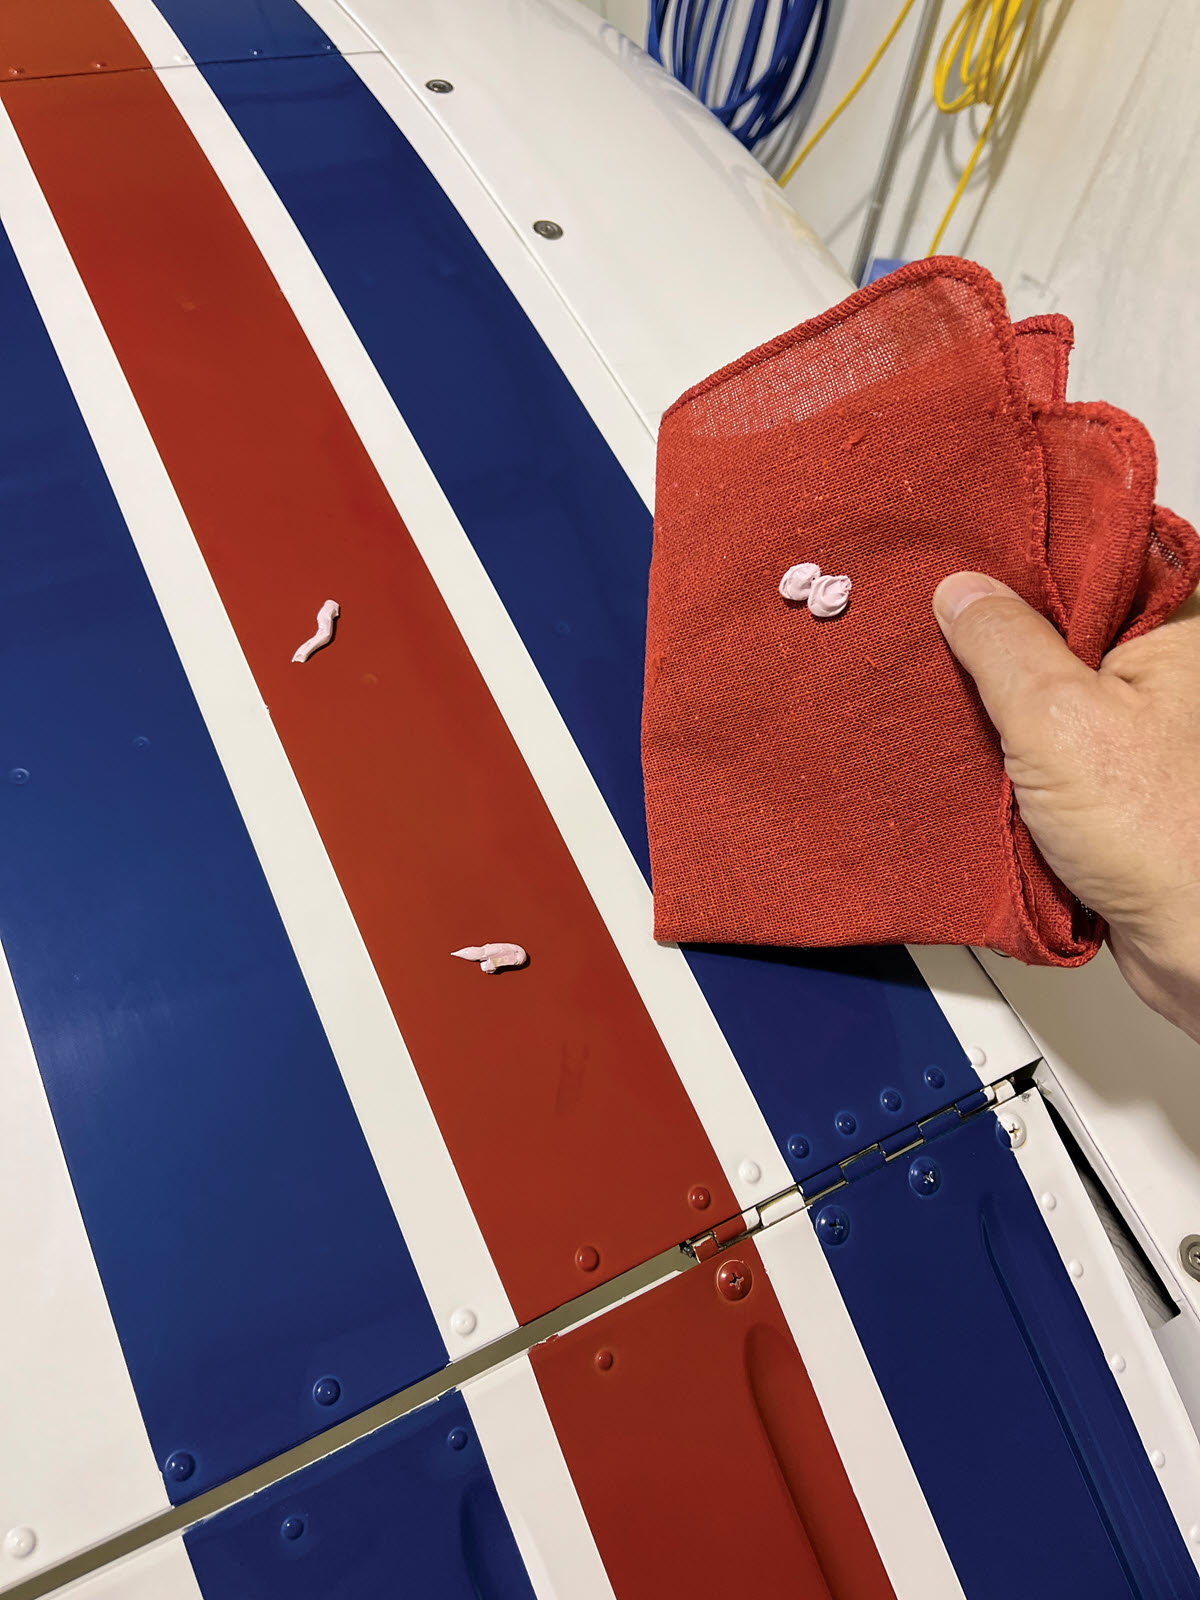
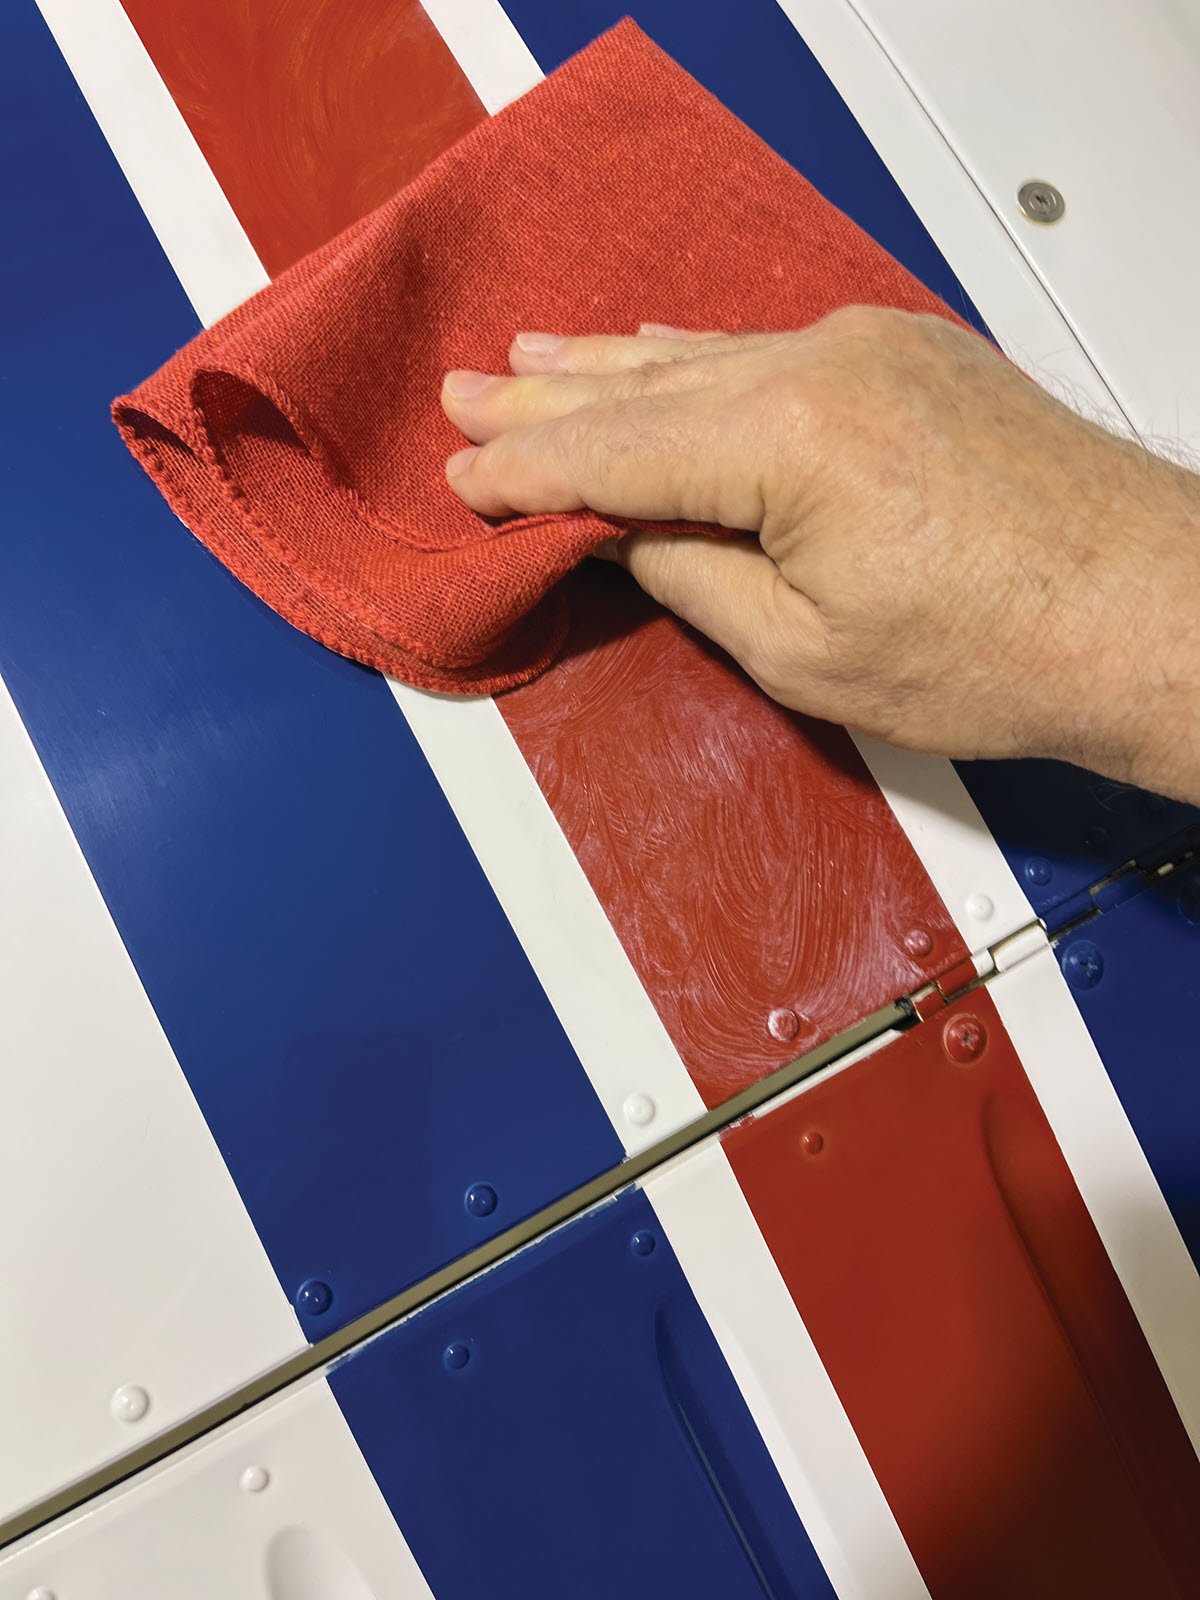
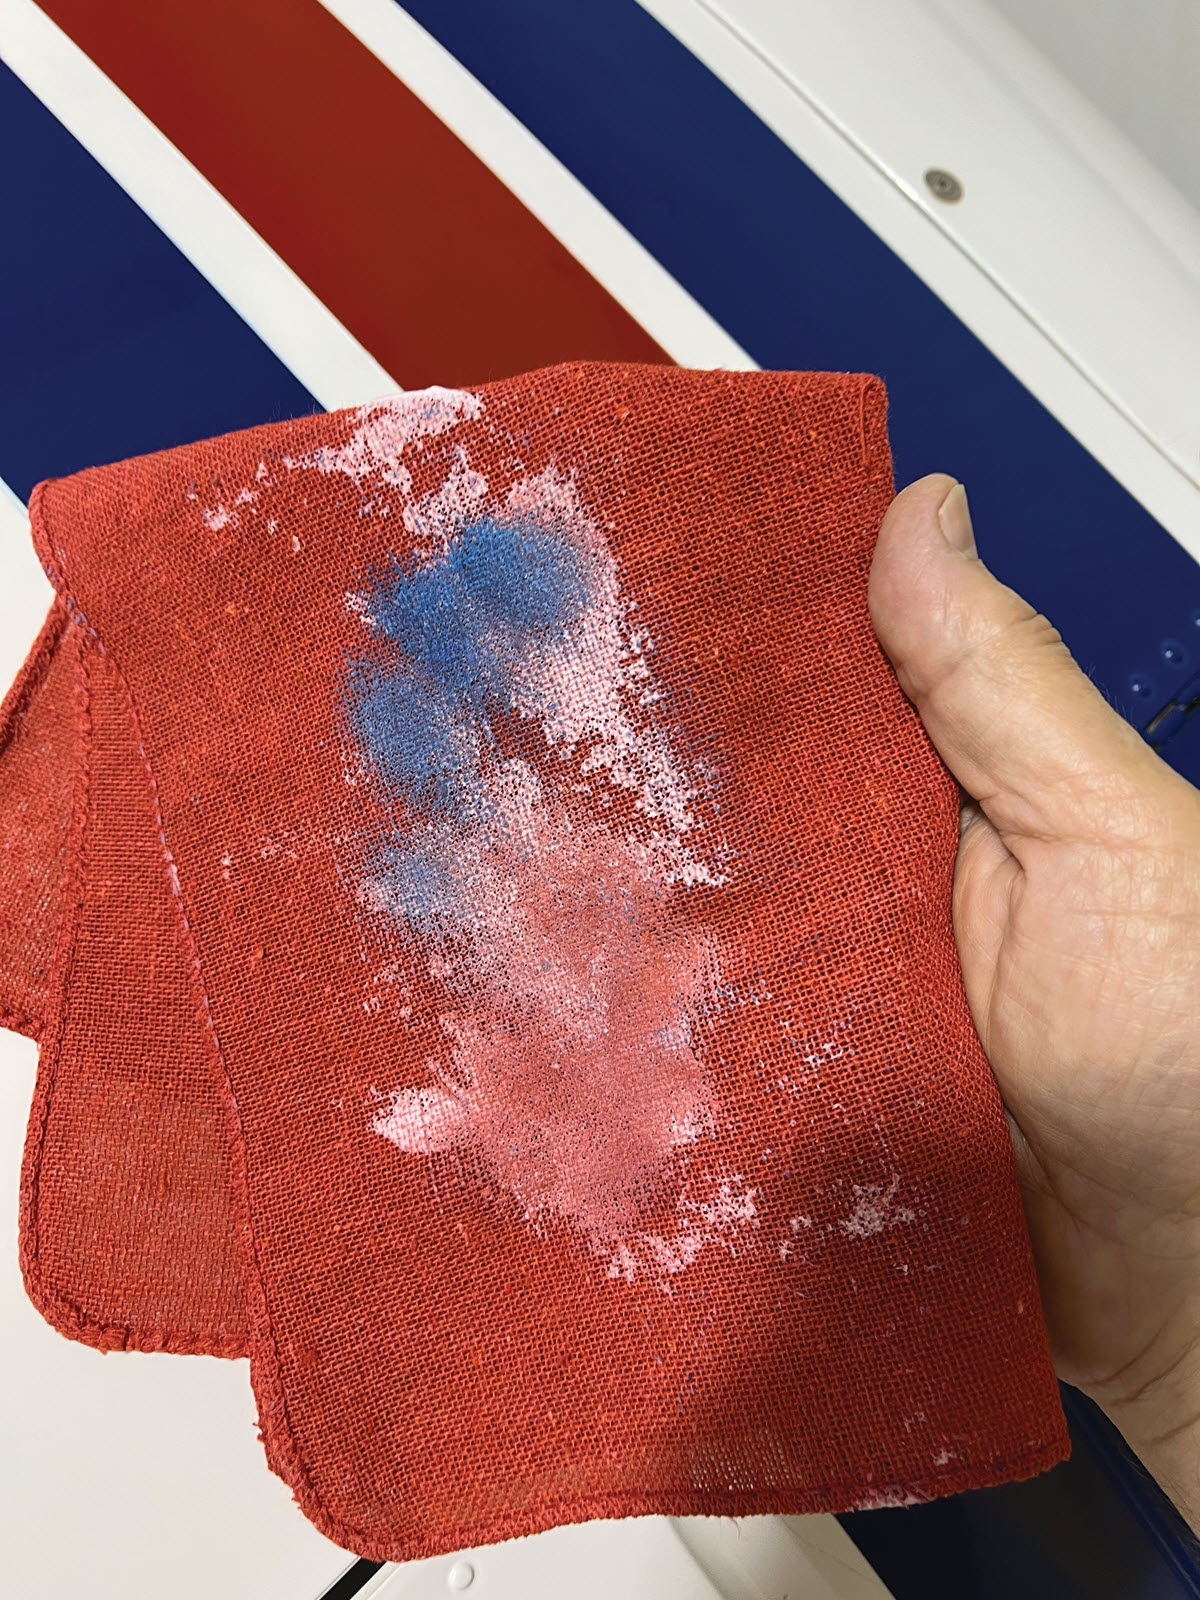
The Avenger kit from John’s 360° Coatings contains a two-part nanoceramic coating, measuring cup, applicator bottle, two microfiber-covered applicator sponges, and a microfiber polishing cloth. John recommended two other products to help prepare the surface for coating. The first is what they call Correction Compound. It comes in a plastic pump bottle and is a pink gel-like polishing compound to remove oxidation, stains, and other surface blemishes. The second product is called Decon Spray. This is a cranberry-colored liquid in a plastic spray bottle used to remove any trace of surface prep materials, leaving a chemically clean surface to which the ceramic coating will bond.

How Much Do You Need?
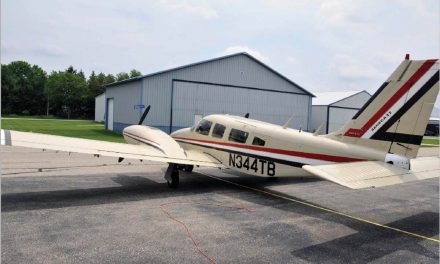
It was recommended that, to save some time and expense, only one Avenger kit would be required for my 1966 Cherokee 180 if applied to just those parts of the aircraft that have the most sun exposure. For the shaded underside parts, like the bottom of the wings, they recommended their ceramic-based Speed Coat. But perhaps because of a learning curve, the condition of my paint, and not figuring on my wheel pants, I wound up using two Avenger kits, two bottles of Correction Compound, three bottles of Decon Spray, and two Speed Coats — one for the Corvette, of course! Your mileage may vary depending on the condition of your paint, your application technique, and how many bottles of Correction Compound drop to the floor and shatter (don’t ask). If you run short, it was easy to order more through their website, and when I had questions, a quick phone call to the company always brought a cordial and helpful response.
How Long Does It Take?
If you have a super clean airplane with shiny paint to start with, you could complete the ceramic coating process in a few days. However, if you have an aircraft with 37-year-old paint, like mine, in need of a very good cleaning, and have a full schedule of other commitments as well, it can, and did, take weeks. Here are the details — no pun intended!
Surface Preparation Is Key
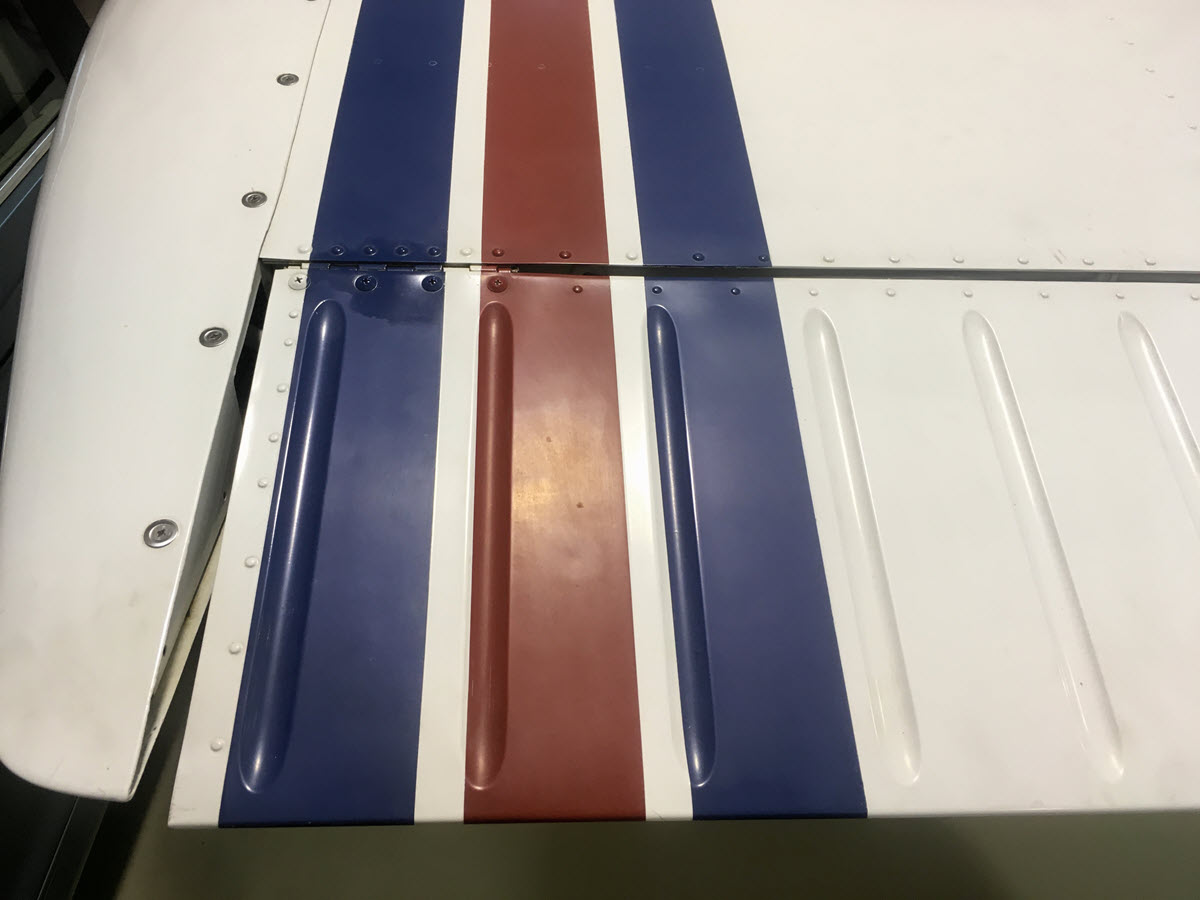
Like any coating process, surface imperfections will not be covered up by coating them. Those imperfections will show through to the final surface. It could be chalked paint, dirt, grime, weeping rivets, or stains of many kinds like fuel, exhaust, oil, and rust. The final result will be heavily influenced by your initial surface preparation. Plan on spending most of your time on this prep phase of the project, as most aircraft will need at least some of this work.
It helps to divide the airplane into sections. For example, ailerons, flaps, a portion of the fuselage or wing bounded by rivet lines, or just the top of the cowl. You can use small pieces of masking tape to mark off boundaries. When you get tired and want to stop, you will know exactly where to pick up next time. Doing too much at once risks producing less than stellar results. So, do one section at a time but complete it, from surface prep to the final coating. That way, you can fly between work periods. Let’s get started!
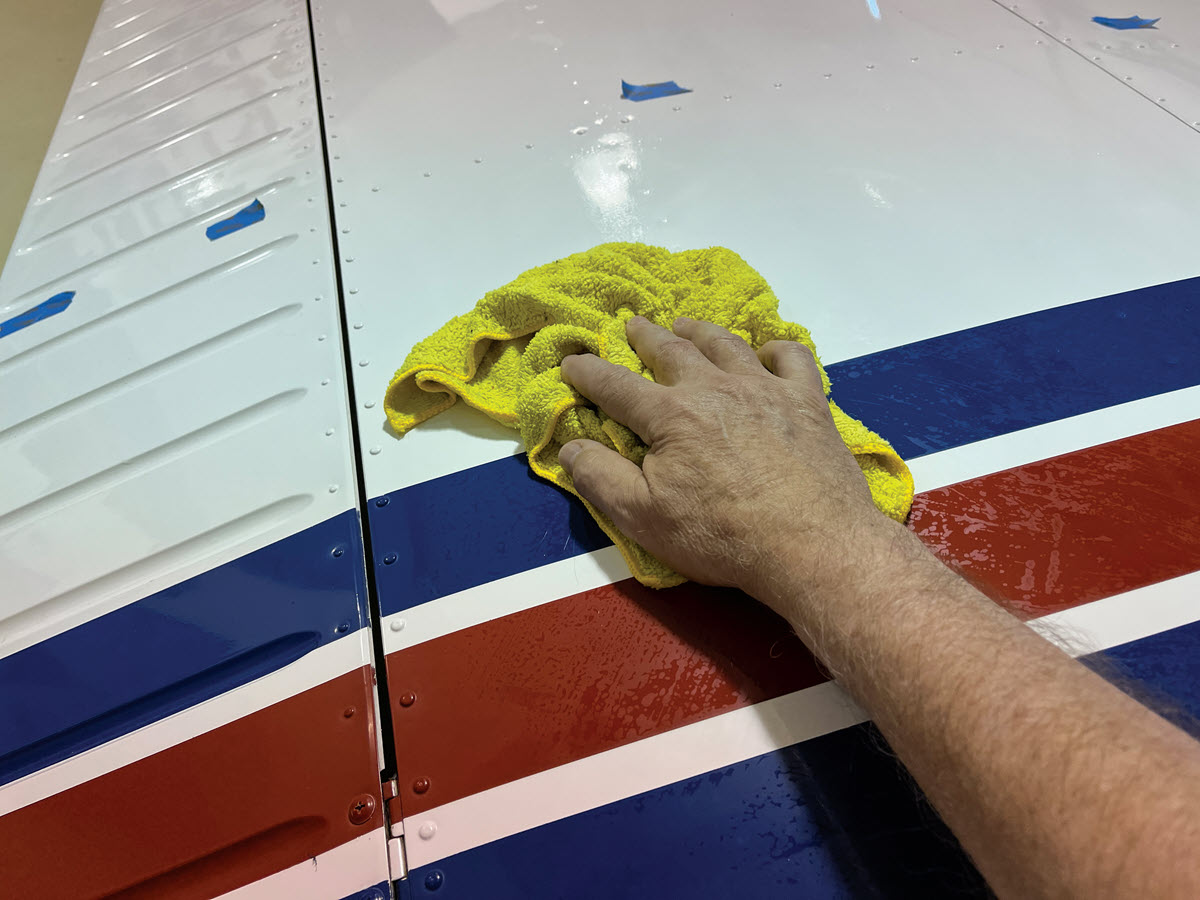
Surface Wash
The first step is to wash the area really well with warm water, detergent, and a soft cloth. I used Mr. Clean to remove as much grime and dirt as I could, but you could use your favorite cleaner. Just be sure it’s just a cleaner, with no wax or silicone additives. Follow the wash with a clean water rinse, and finally, use John’s Decon Spray to remove all traces of cleaner. Dry the area and inspect it for stubborn stains, chalking paint, dirt, etc. These will be addressed in the next step.
Have a website login already? Log in and start reading now.
Never created a website login before? Find your Customer Number (it’s on your mailing label) and register here.
JOIN HERE
Still have questions? Contact us here.

