
By John A. Bradley
This article is a continuation of “How to Repair Plastic Trim”, and it’s assumed that all the procedures have been followed and the materials listed in the previous article have been used during the repairs.
Preparation for Painting
Sand the Trim Part
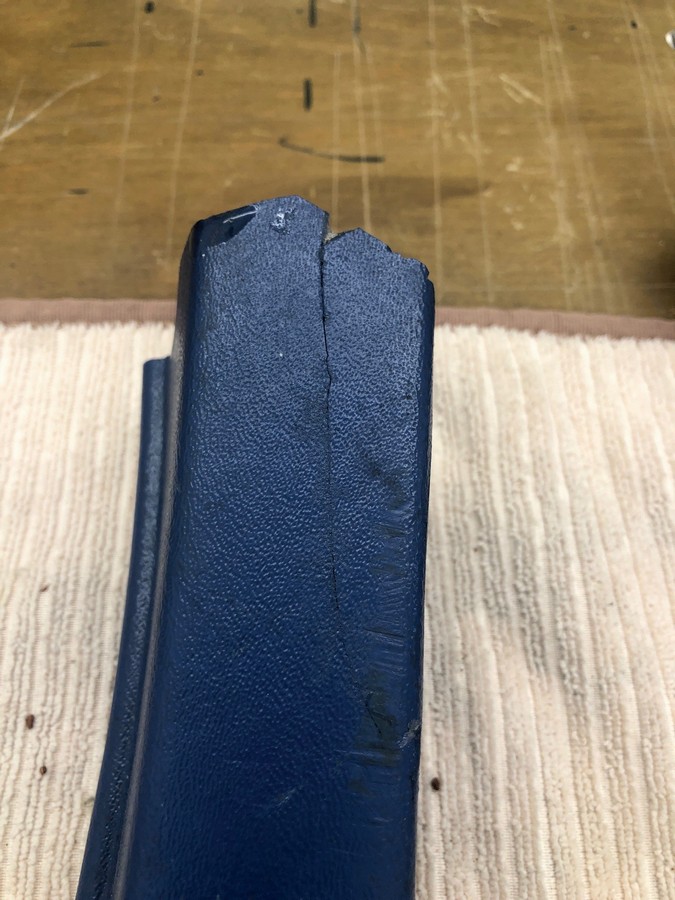
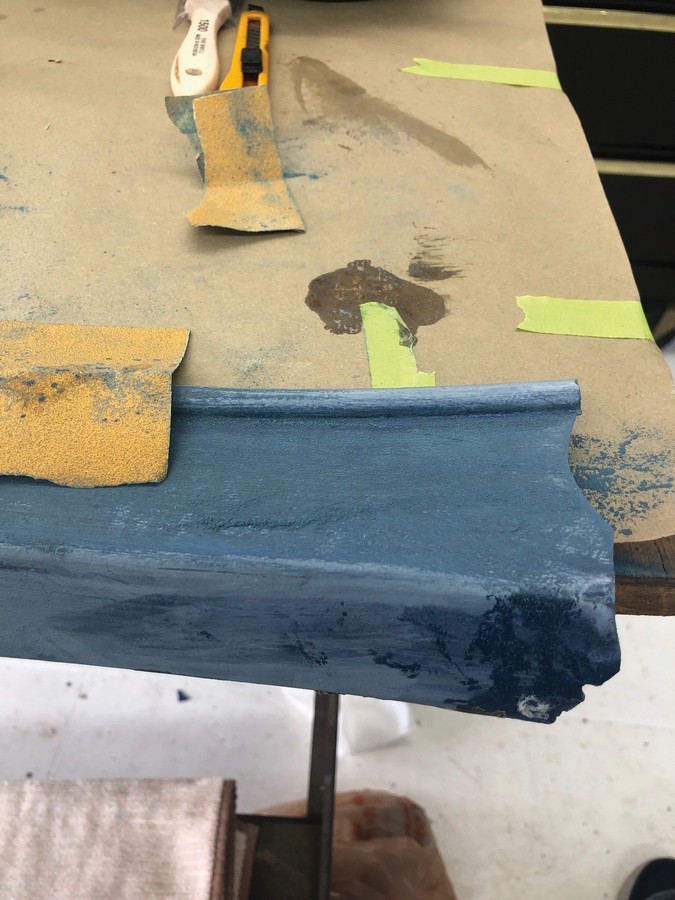
Inspect the outside surface of the trim part for imperfections and/or resin material remaining from the repair process. Remove a 4-inch length from a roll of 3M 80 grit sandpaper and fold it in half. Sand the outside surfaces of the trim part to remove all imperfections. Support the trim part on a flat surface when possible due to the brittleness of the material.
Blow off the sanded area with clean compressed air. Reinspect for any remaining imperfections and re-sand as necessary to remove as many defects as possible on the outside of the part.
Visible cracks in trim pieces are common and could be visible after the trim repairs are completed, as described in my previous article. The remaining cracks will be addressed during the primer painting process.
Clean the Trim Part
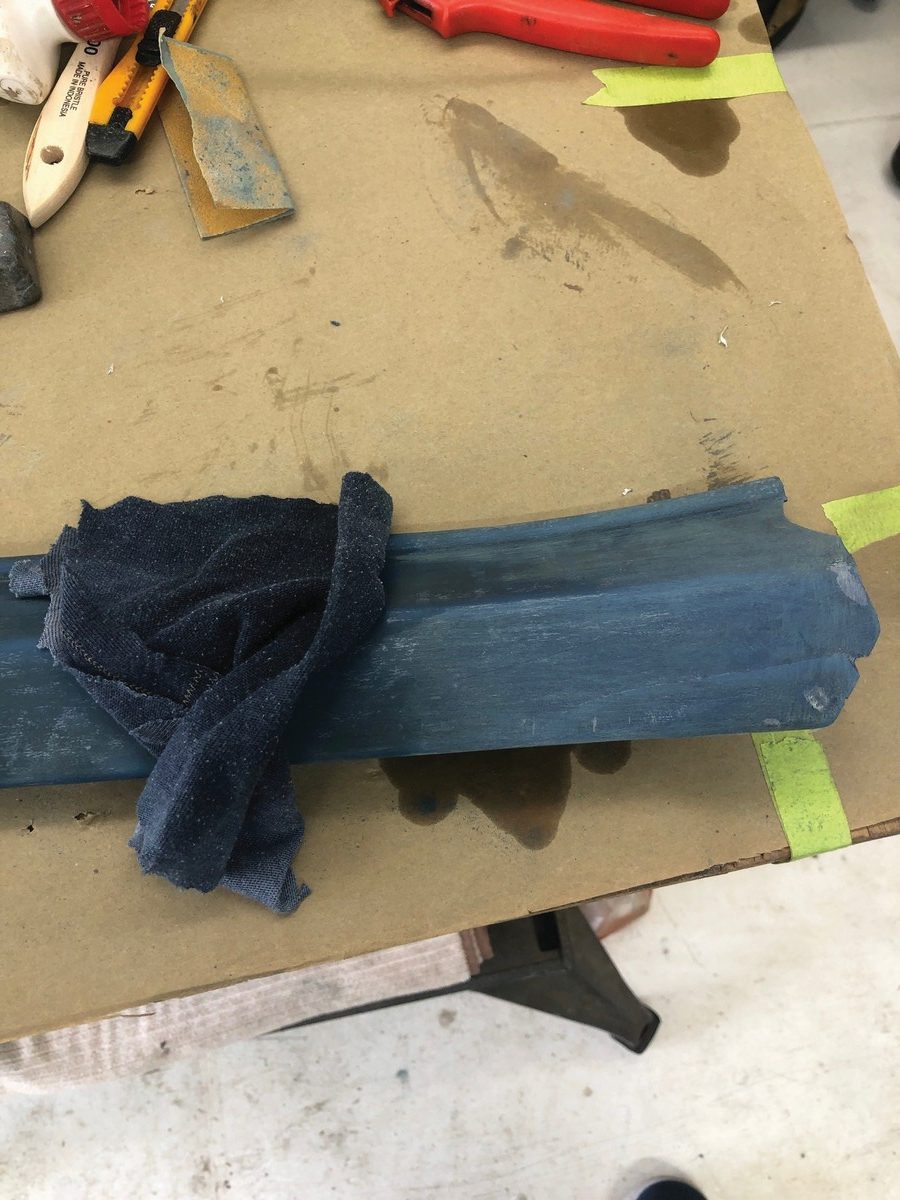
The next step is critical to the quality of the final paint finish. Wipe down the entire outside surface of the trim part using rags cut from old T-shirts (which have no lint) and a commercial grade of grease and wax remover, such as PPG JX101 Grease and Wax Remover or an equivalent, which can be purchased from any automotive paint supplier. Repeat the wipe-down a second time using a clean T-shirt rag. This will remove all residual sanding dust, grease, oil, and silicone that would cause paint defects. Note: Wear nitrile gloves while using the grease and wax remover.
Click images to enlarge

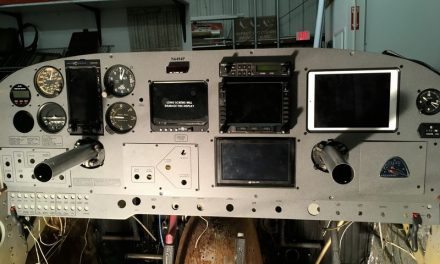
Priming and Painting
Apply Primer
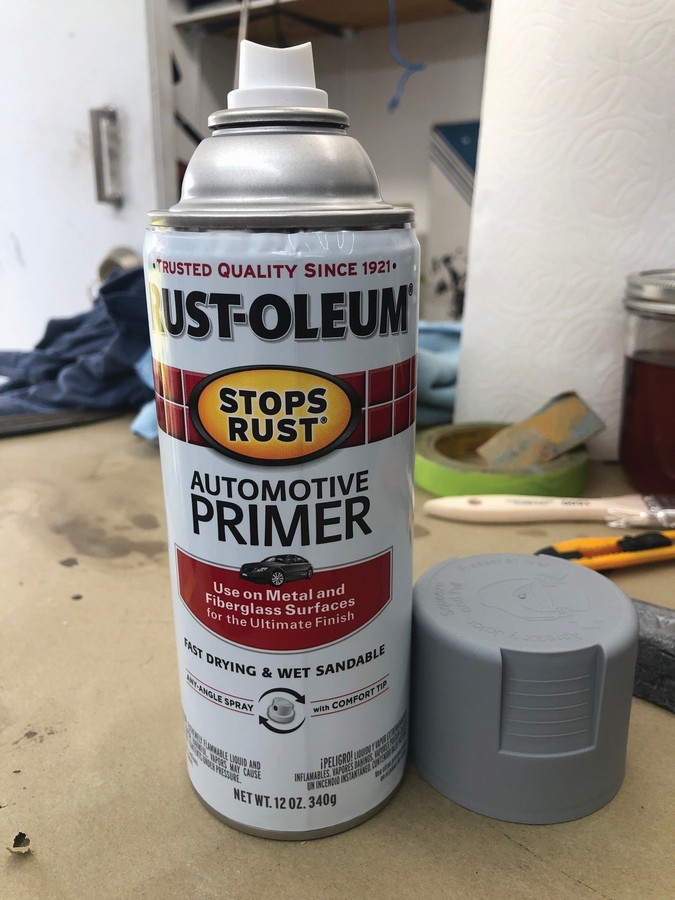
Purchase gray sanding primer, available at local DIY stores. Make sure the paint is recommended for fiberglass and plastic. Rust-Oleum is fast-drying and goes on smoothly. I’ve used it for many years with great success.
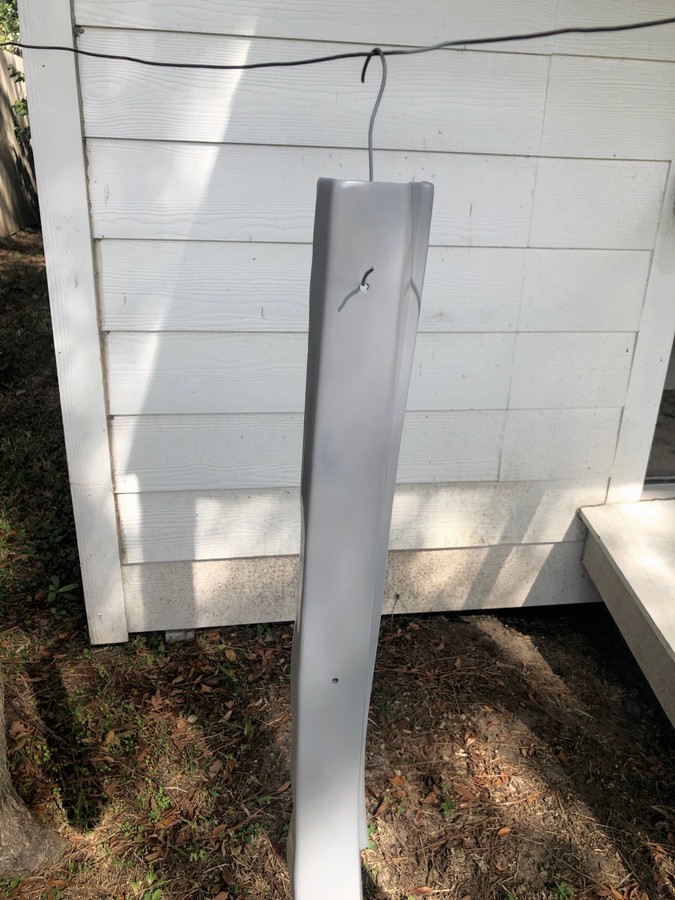
Hang the part in a well-ventilated area above 70 degrees F. Shake the primer can well, as the primer contains heavy solids. Apply two light, even coats of primer to all surfaces, waiting 10 minutes between applications. Inspect the part for thin areas in the primer. To cover thin areas, apply an additional light coat of primer. Allow the primer to dry 24 hours in a warm, dry area.
Note: While painting, always wear a vapor/particulate-rated respirator, such as Home Depot 3M series 6000 respirator ($15) and series 6006 filter cartridges ($14). Cloth masks, such as COVID-19 masks, will not filter chemical vapors.
Sand the Primer
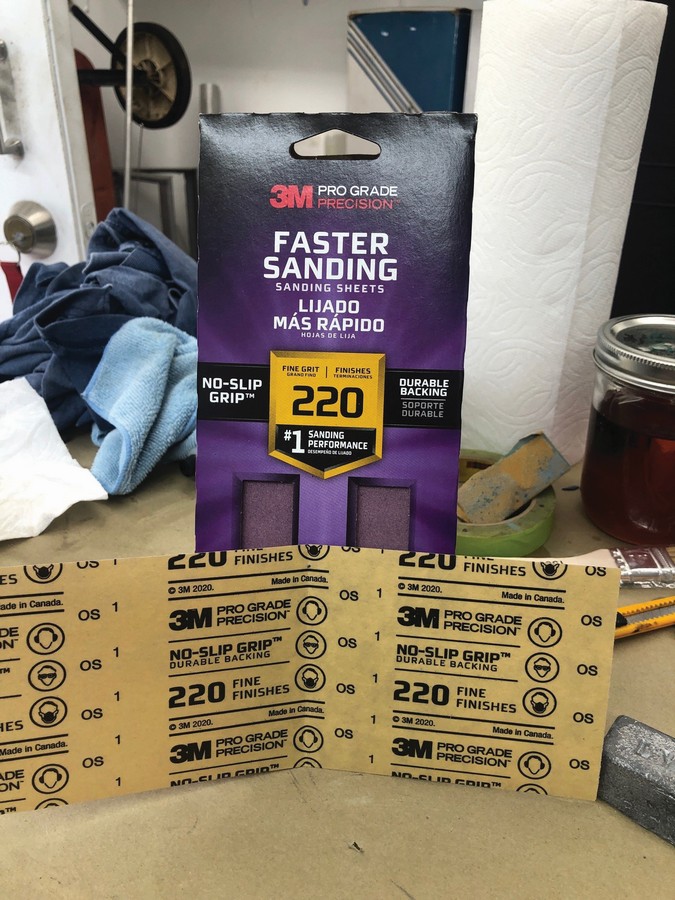
Begin sanding the primer in a small area using 3M 220 grit sandpaper with light pressure to make sure the primer isn’t sticking to the sandpaper. If the primer does stick, change the sandpaper often. Continue sanding until the complete surface is smooth, with no visible imperfections.
Click images to enlarge
Additional Primer Sanding
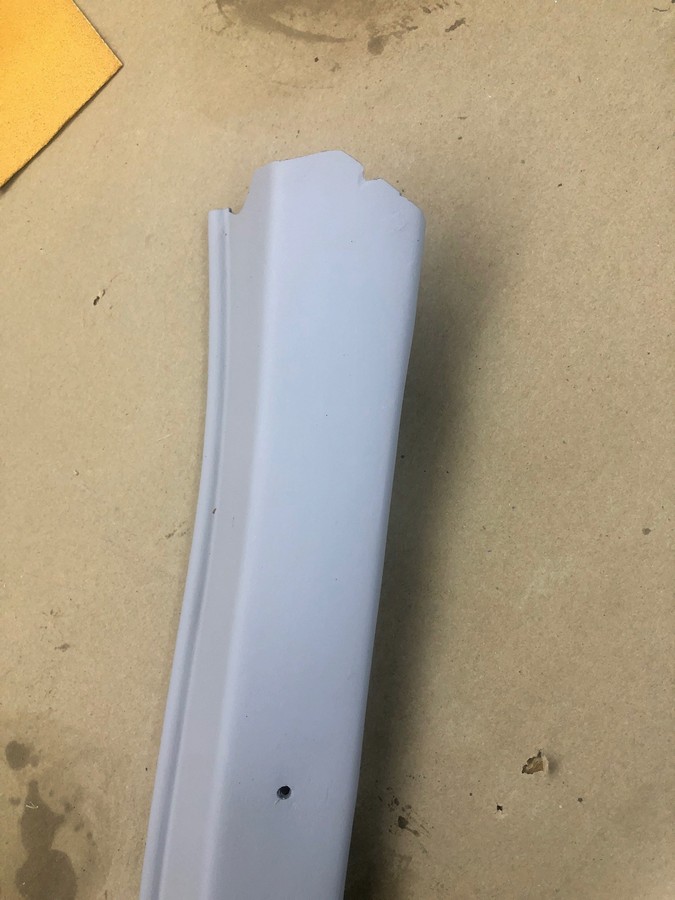
After primer has been applied, do not wipe down with grease and wax remover. Instead, blow off the part with clean air and wipe off sanding dust with a new T-shirt rag. Inspect the outside surface of the trim part for any remaining imperfections.
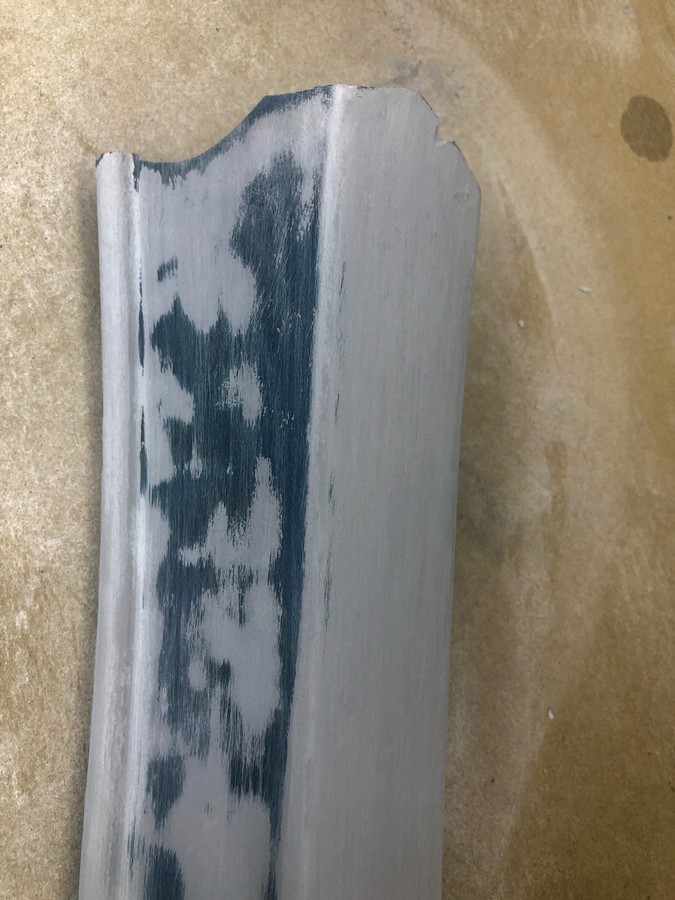
Continue light sanding to remove all visible imperfections. Sanding through the primer to the base material to eliminate imperfections is acceptable and will not affect the final paint. Streaks from the initial 80 grit sanding will be visible but are filled in with primer. Note that the visible cracks in the trim part are no longer visible.
If additional coats of primer and sanding are needed to fill imperfections, follow the previous procedures for applying primer and sanding.

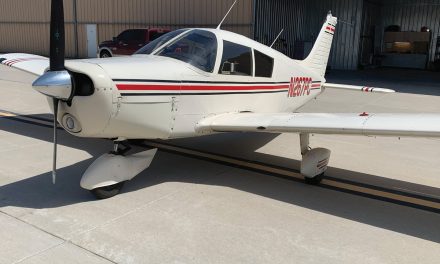
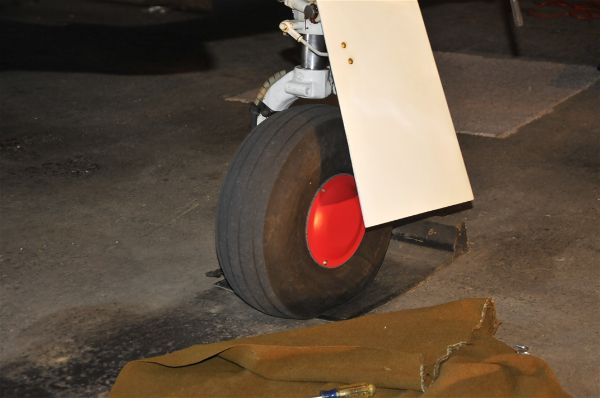
Final Painting
Rust-Oleum Gloss Protective Enamel paint is recommended for the final paint. It’s quick drying, smooths out well, and is durable. Shake the can well before spraying. Remember, always wear a vapor/particulate-rated respirator while painting.
Hang the trim part in a well-ventilated area above 70 degrees F. Apply two light, even coats, waiting 10 minutes between applications. Do not attempt to cover the part with one coat, as runs will occur. Inspect the part for thin areas between each coat. Apply additional light coats, if needed, waiting 10 minutes between coats. Re-inspect the part for thin areas. If no light areas are found, move the part to a warm, inside location. Allow the part to dry 24 hours in a warm area before handling.
Mr. Bradley is a retired mechanical engineer with 34 years’ experience designing oil field pressure equipment and subsea pressure vessels. He is an instrument-rated private pilot with 700 hours in four different aircraft. Mr. Bradley owns a restored 1968 Cessna 172I. He is a certificated A&P mechanic with 10 years’ experience. EAA #1019569, AOPA #06229440.

