
What to Know BEFORE You Go
Sponsored by AirMart, Inc. – www.AirMart.com
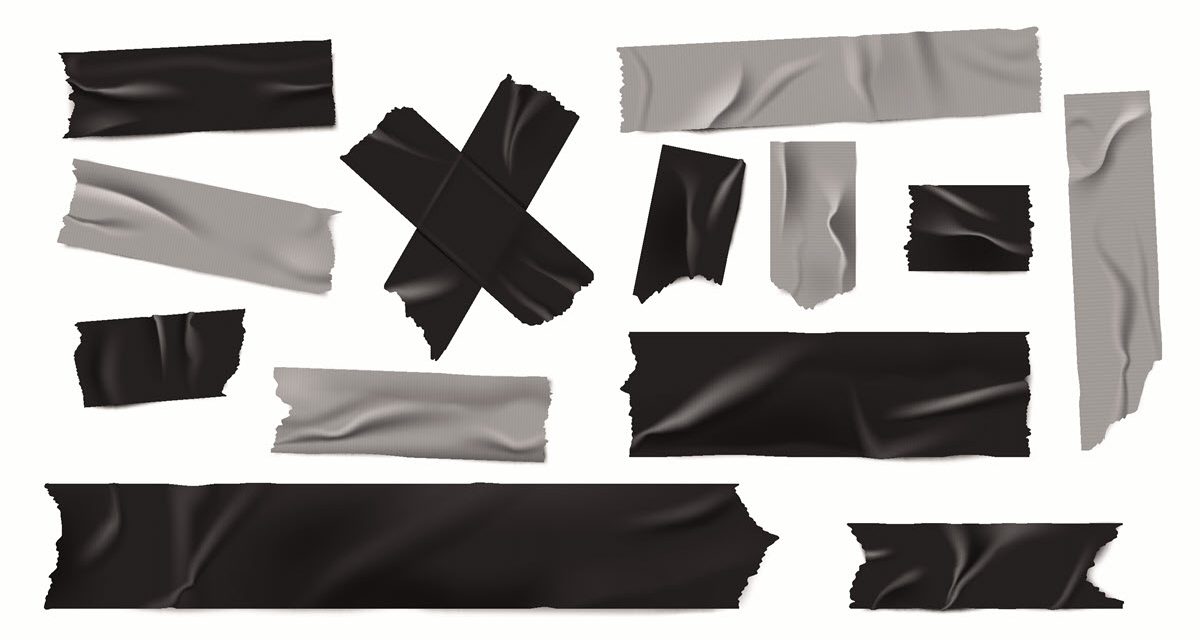
STOP USING DUCT TAPE to Hold Your Plastic Interior Panels Together!
If you’ve ever owned, rented, ridden in, or even seen a pre-‘90s Piper, you know the cosmetic issues associated with the plastic interior panels. As a mechanic, I always dread removing and installing the interior panels during an annual because I know it’s going to be almost impossible to get it all back together without a chunk breaking out. And sometimes, when I’m having a really bad day, an entire panel will completely crumble in my hands. Most owners understand this (though they may grumble a bit). However, there are always a few owners who want to hold the mechanic responsible for all the cracks in their 35-year-old interiors. Face it folks: Interior plastics need to be changed about every 15 years and, because it is very labor intensive, it can get expensive.
To save all that labor cost, this is a great job for the owner to do himself. In fact, FAR 43 Appendix A specifically allows cabin and cockpit interiors to be replaced by the pilot/owner. However, if you decide to take the plunge and install all new interior plastics yourself, it’s important to know that it is not a “quick and easy” job! Every year I have the following conversation with an owner and (I have to admit) I always find it a bit humorous:
Owner: “Tom, I bought a new set of plastic interior panels. While the plane is in the shop, can I go pop these in real quick?”
Me: “Sure you can put them in while it’s in the shop, but it’s not going to be real quick. It’s a very labor intensive and time consuming process of fitting, trimming and drilling.”
Owner: “Oh not these. They’re exact replacements. I just unscrew the old ones and screw in the new ones.”
Me: “Well…good luck with that. Enjoy!”
Owner (days later): “Wow, you weren’t kidding.”
Again, I think it’s a great job for an owner to tackle himself; you just need to know what you’re getting into. I’ve installed quite a few interiors, so I thought I would list some things to consider as you work on yours.
- Expect that each piece will have to be trimmed. I generally use sheet metal snips to make a nice, clean, straight edge. I prefer the red or green handled snips because they are designed to cut curves (red cuts to the left and green cuts to the right). Using the appropriate snip, you can make a precise cut that follows the contour of the panel. A Dremel tool is nice for small detail trimming, but not for removing large amounts of plastic.
- Look at the fit of the original piece BEFORE you remove it from the plane. It’s very frustrating to cut your new piece to match the old one, only to find out that the old one didn’t fit correctly to begin with.
- Do NOT match drill the screw holes by laying the old piece over the new one. They will NOT be in the correct position! For me, getting the holes in the correct places is the most difficult part of the whole process. If the screw is going into a support bracket, you can often just drill a new hole through the plastic and into the bracket. However, if the screw is in a structural component, you do not want to drill a new hole and risk turning your aircraft structure into Swiss cheese! Instead, here’s a trick that I’ve used quite a bit with good success:
Before placing the undrilled panel into position, put the screws into each of the holes. Take a Sharpie marker and color the head of each screw. Now quickly, before the Sharpie completely dries, place the panel into position. Press the plastic hard against each screw head. Now, when you remove the panel, you should see a small Sharpie mark at each screw location.
- Fitting the door panels on a Piper isn’t too difficult, but on some planes it can be a challenge. I recently had a heck of time getting the door panel on a Bonanza to fit correctly so that the door would still close. The panel is molded so that it curves around the edge of the door on three sides, so there isn’t any way to trim it. In hindsight, the trick turned out to be rather obvious. Place the panel on the door loosely without any screws. Close the door and allow the panel to move around and find its “happy place.” Then, tape the panel in place, open the door, and install the screws. In this situation, I drilled new holes.
- Don’t be surprised if some panels just won’t fit. On the F33A Bonanza I mentioned above, we couldn’t find anyone that made panels quite like the originals. Fortunately, the people at Vantage Plane Plastics (planeplastics.com) were super helpful. I just sent them the old panels and they used them to create new copies that they then returned to me. The new panels still had to be trimmed, but they worked out great.
- Take your time, measure carefully, and don’t cut off too much at one time.
- Don’t forget to install new placards once the panels are installed. Many of these placards are required by the Type Certificate or POH and the plane is not considered airworthy without them.
If you’re ready to tackle your plane’s tacky interior, there’s no better time than now (when the weather is cold and miserable) to grab a little space heater, a good set of metal snips, a Dremel tool, a cordless drill, and that set of new plastic panels. With time, care, and patience, you’ll have a beautiful new interior that you can be proud of when that nice spring flying weather comes around.
