
Authors Note: It’s very difficult to photograph the various stages of the headliner project. The text of this article works hard to make up for the lack of great ceiling photos and subsequently is very long. This is Part 1 of two.
Read Part 2 or find it in the August 2020 issue of PIPERS.
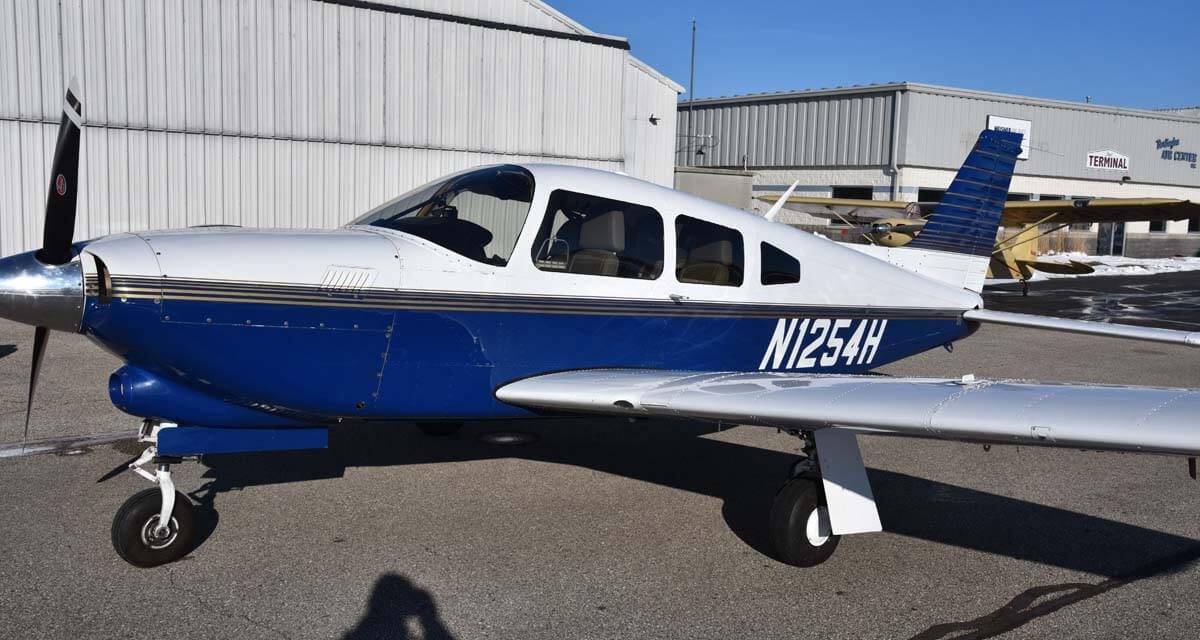
Since my 1977 Turbo Arrow III was in really great shape when I got it, the restoration and customization projects have been relatively minor. However, as you no doubt know, simple is not the same as cheap. My own man-hours are free but man-hours from a mechanic at $100 an hour add up.
The first thing I did was to make a couple of changes to a really great panel. The previous owner removed the entire panel and vacuum system and put in one made out of carbon fiber with an Aspen EFD1000 Pro primary flight display, JP Instruments 830 engine monitor, Garmin 650 GPS, Garmin 345 transponder, L-3 standby attitude indicator, and an S-TEC 55X autopilot. Frankly,
it doesn’t come much better than that. However, in my prior plane, a Seneca, I replaced my much-loved and well-used Garmin 530 with an Avidyne 540 FMS. While there’s nothing wrong with the Garmin 650, I was used to a larger screen and Avidyne buttons. I also swapped out the old mechanical clock with a new, high-tech SC-5 Super Clock from Electronic Instruments. I’ve had these clocks in my last half-dozen planes and I love them.
Also, I removed my old whiskey compass and put in a new Precision PAI-700 Vertical Card Compass. I’ve had these compasses in my last half-dozen planes as well and wouldn’t fly without it. So, with these minor changes I have an awesome and very modern panel.
Next on the list was a Mountain View door steward.
This is an amazing little device that opens your door and keeps it open when you unlock it. These are available for all Pipers for both the front door and baggage compartment. You can find them at Knots 2U and Aircraft Spruce.
The next project that required a whole wheelbarrow full of money was the wing walk. Under the black, non-skid surface is a two-layered structure that takes a beating over the course of 40 years. The underneath layer gets cracked and needs to be replaced. The bill to replace this was about $6,000 and a month in the shop.
Unless you’re buying a fixer upper for very little money (and I like to buy planes like that), you’d better get a pre-purchase inspection! This issue was caught by JA Aero in Aurora, Illinois, just west of Chicago during the inspection 2 years ago and the prior owner picked up the tab. The value of a thorough pre-purchase inspection cannot be ignored.
My exit stair had a crack in it and if it hadn’t been noticed, the stair could have broken off with someone standing on it and that could have resulted in a broken leg. A re-weld for $65 took care of that. Good catch by my mechanic!
Another item on the list was the restoration and rehanging of the door to factory specs. Thanks to $30 worth of door hinge parts from Knots 2U and a new Bob Fields inflatable door seal there are no air leaks and I saw a noise reduction of 5 db in the cockpit. I also replaced the seat rollers, bearings, and the seat adjustment spring; Knots 2U has these, too.
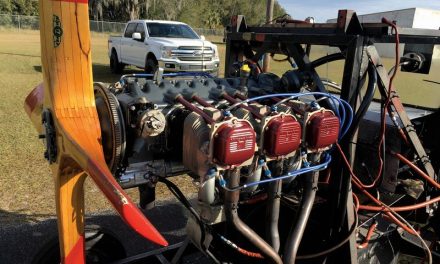
A few months ago, I got new side windows and windshield from LP Aero and an electronic ignition from Electroair installed. I also got a new headliner from Airtex and new window molding from Plane Plastics, which will be the focus of this article.
Headliner replacement plan
The headliner replacement project requires a plan. To start, I purchased a wool headliner from Airtex. I happen to prefer the feel of wool over vinyl and Airtex makes really great products at a very economical price. Also, after installation if there are any ripples in the wool, a little steam will get it to shrink a bit and those ripples or wrinkles go away leaving a perfect ceiling finish! My project is bigger than just replacing a headliner: I’m also going to remove all of the old fiberglass insulation from the ceiling. I’m going to inspect the entire ceiling for leaks, corrosion, working rivets, and anything needing attention while the old ceiling is out.
The headliner project is fairly complex and extremely tedious and should not be done by someone without patience. Having said that, if you follow my advice on this project you can get through it and get an A+ job your friends and spouse will admire, even if you’ve never done this kind of thing before. Just take your time and plan on being down for longer than you thought.
The rest of this article can be seen only by paid members who are logged in.Have a website login already? Log in and start reading now.
Never created a website login before? Find your Customer Number (it’s on your mailing label) and register here.
Still have questions? Contact us here.
Read Part 2 of this article or find it in the August 2020 issue of PIPERS.


